
We have been having a great time in the Art room so far. But first…..
MAJOR SHOUT OUTS! I want to give huge shout outs to all the awesome parent helpers who have come into the Art room to help out. I so appreciate your time and effort. Thank you Gretchen, Clea, Alex, Randi, Jandi, Bryan, Yulia, Corinne, Jenna, Kristin, Tanja, Nicole, Nikki, Shanna, Anna, Jennifer, Amy and Amber. I also want to say thank you to all the kind and generous parents who have donated magazines, newspapers, recycled house materials, masking tape, tissue and bric-a-brac to the art room. It will all get used 🙂
ART ON DISPLAY IN TOWN: There are 2 community shows up right now. The K-1st art show is up at the District Office. This contains art from all 4 elementary schools.


BROOKSIDE art is on display at the Red Hill Shopping Center. Check it out!

ART ON DISPLAY ON CAMPUS: 5th grade Leaf Prints on MPR Windows and Copy Room windows.

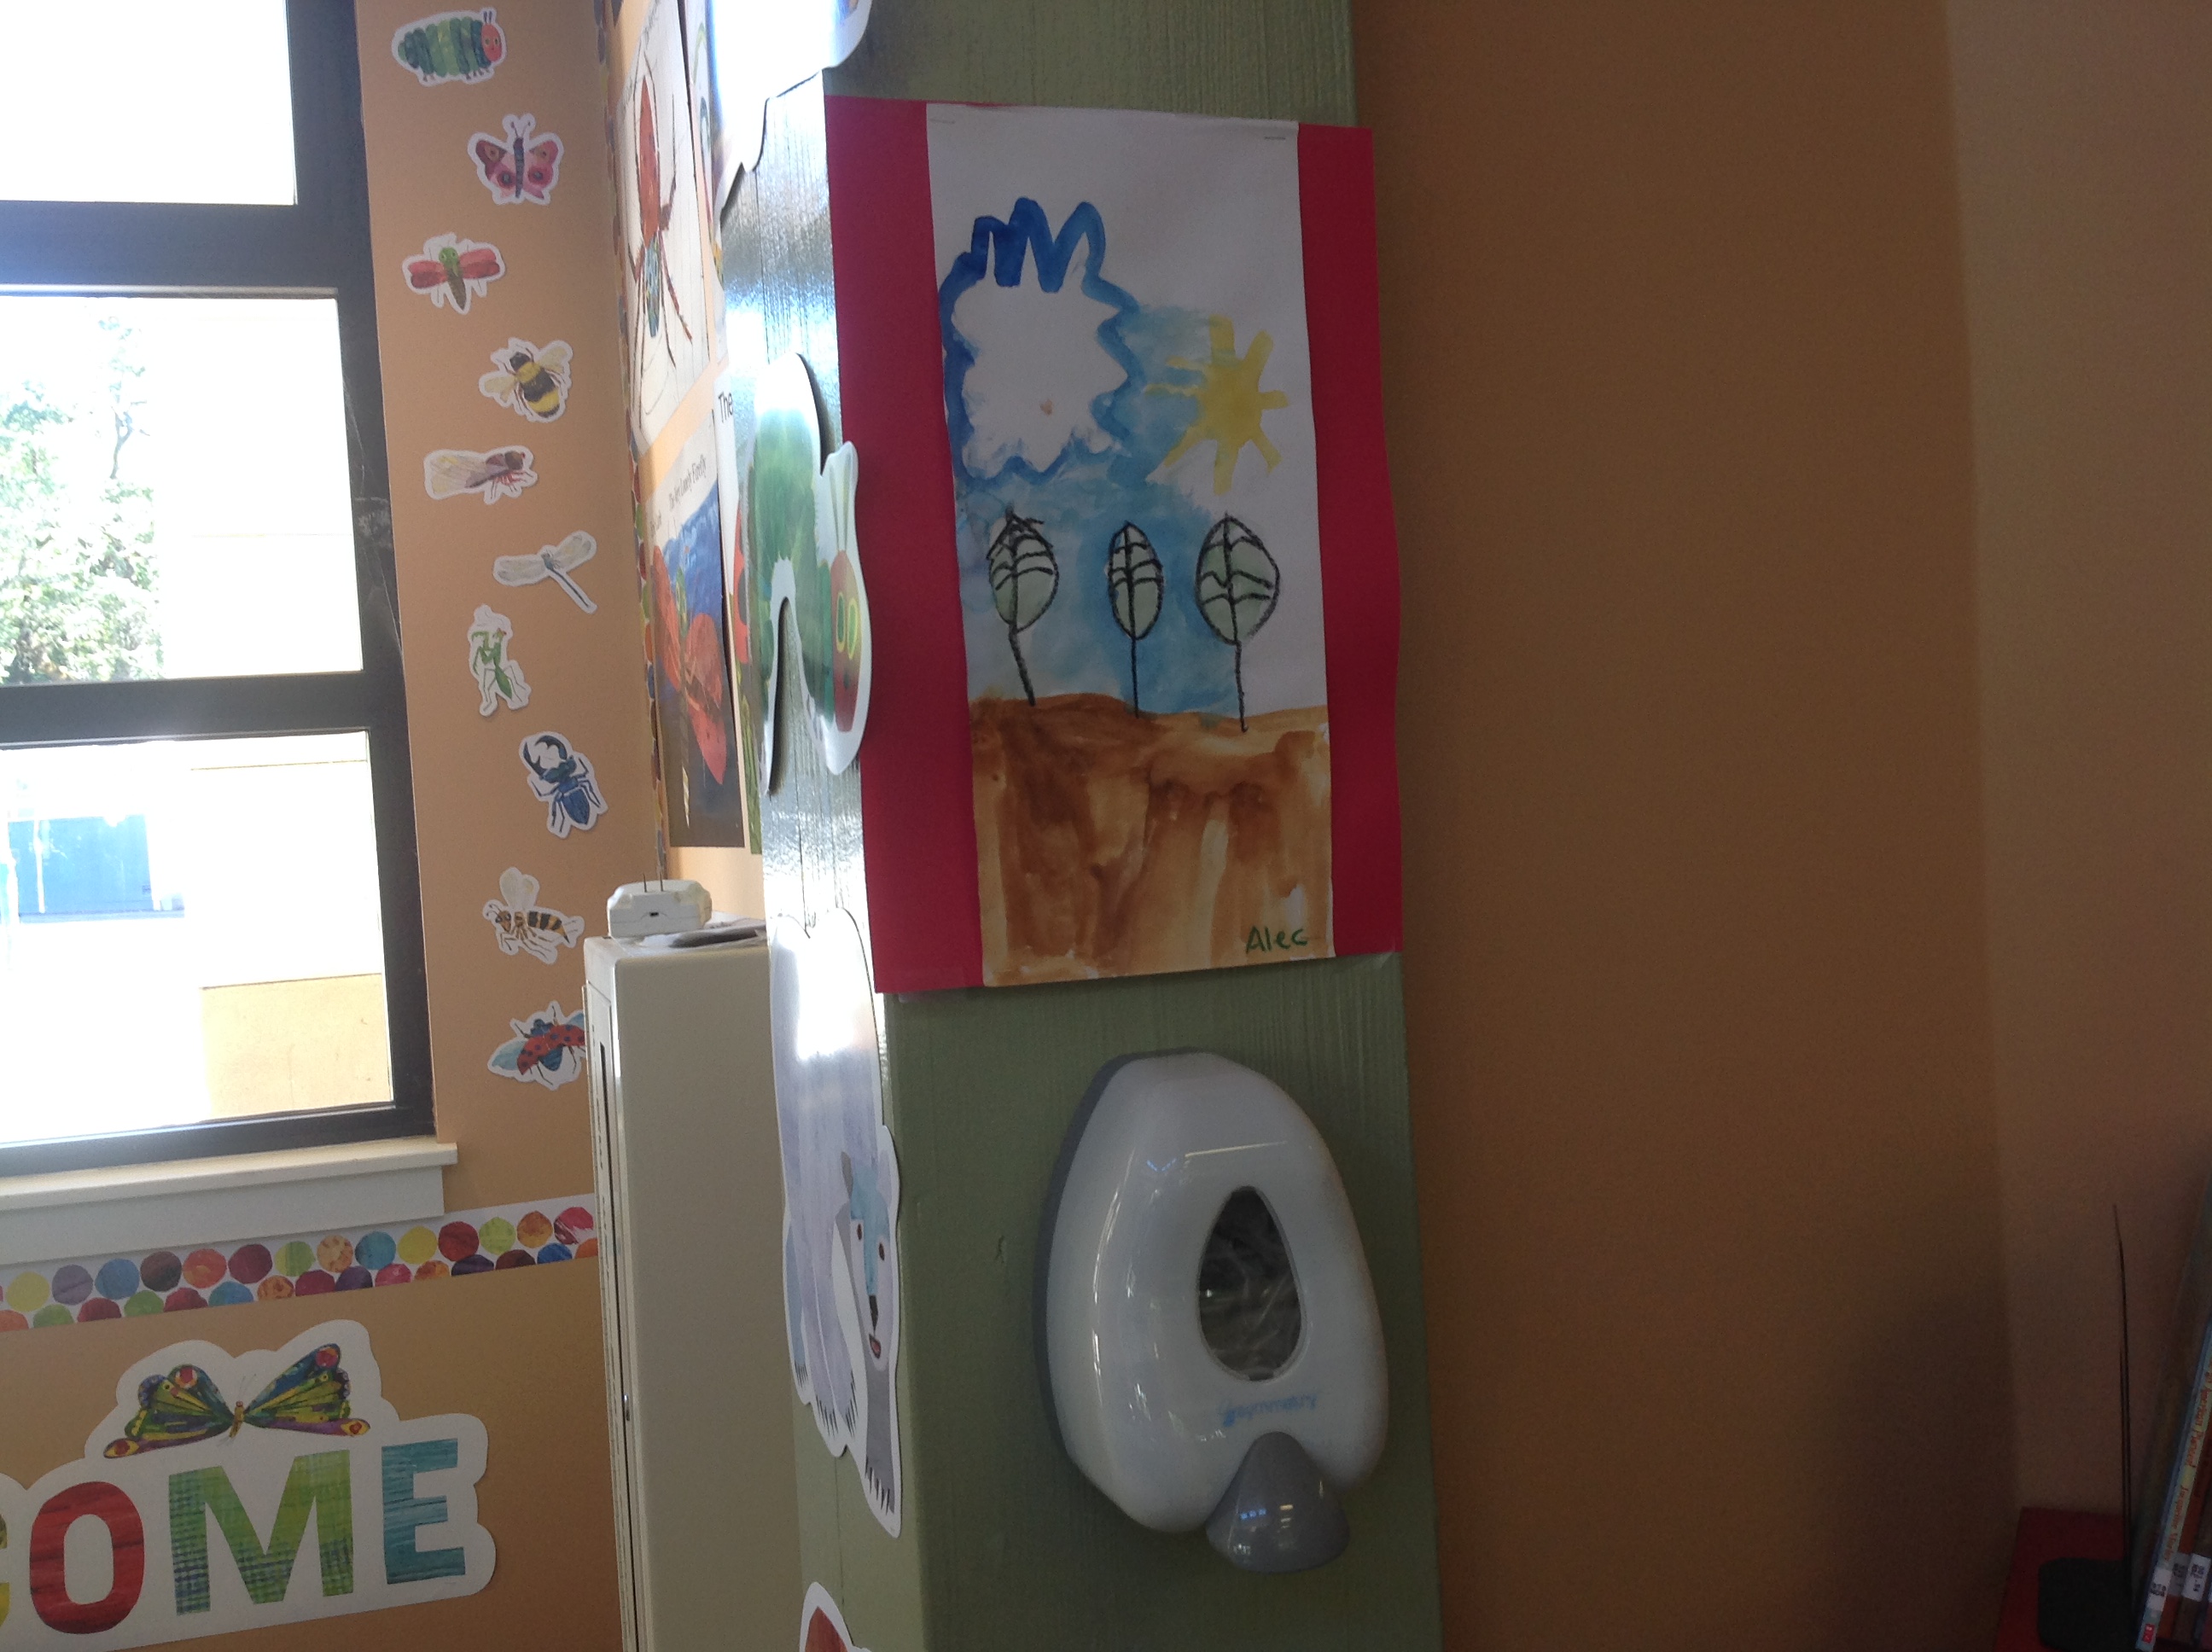
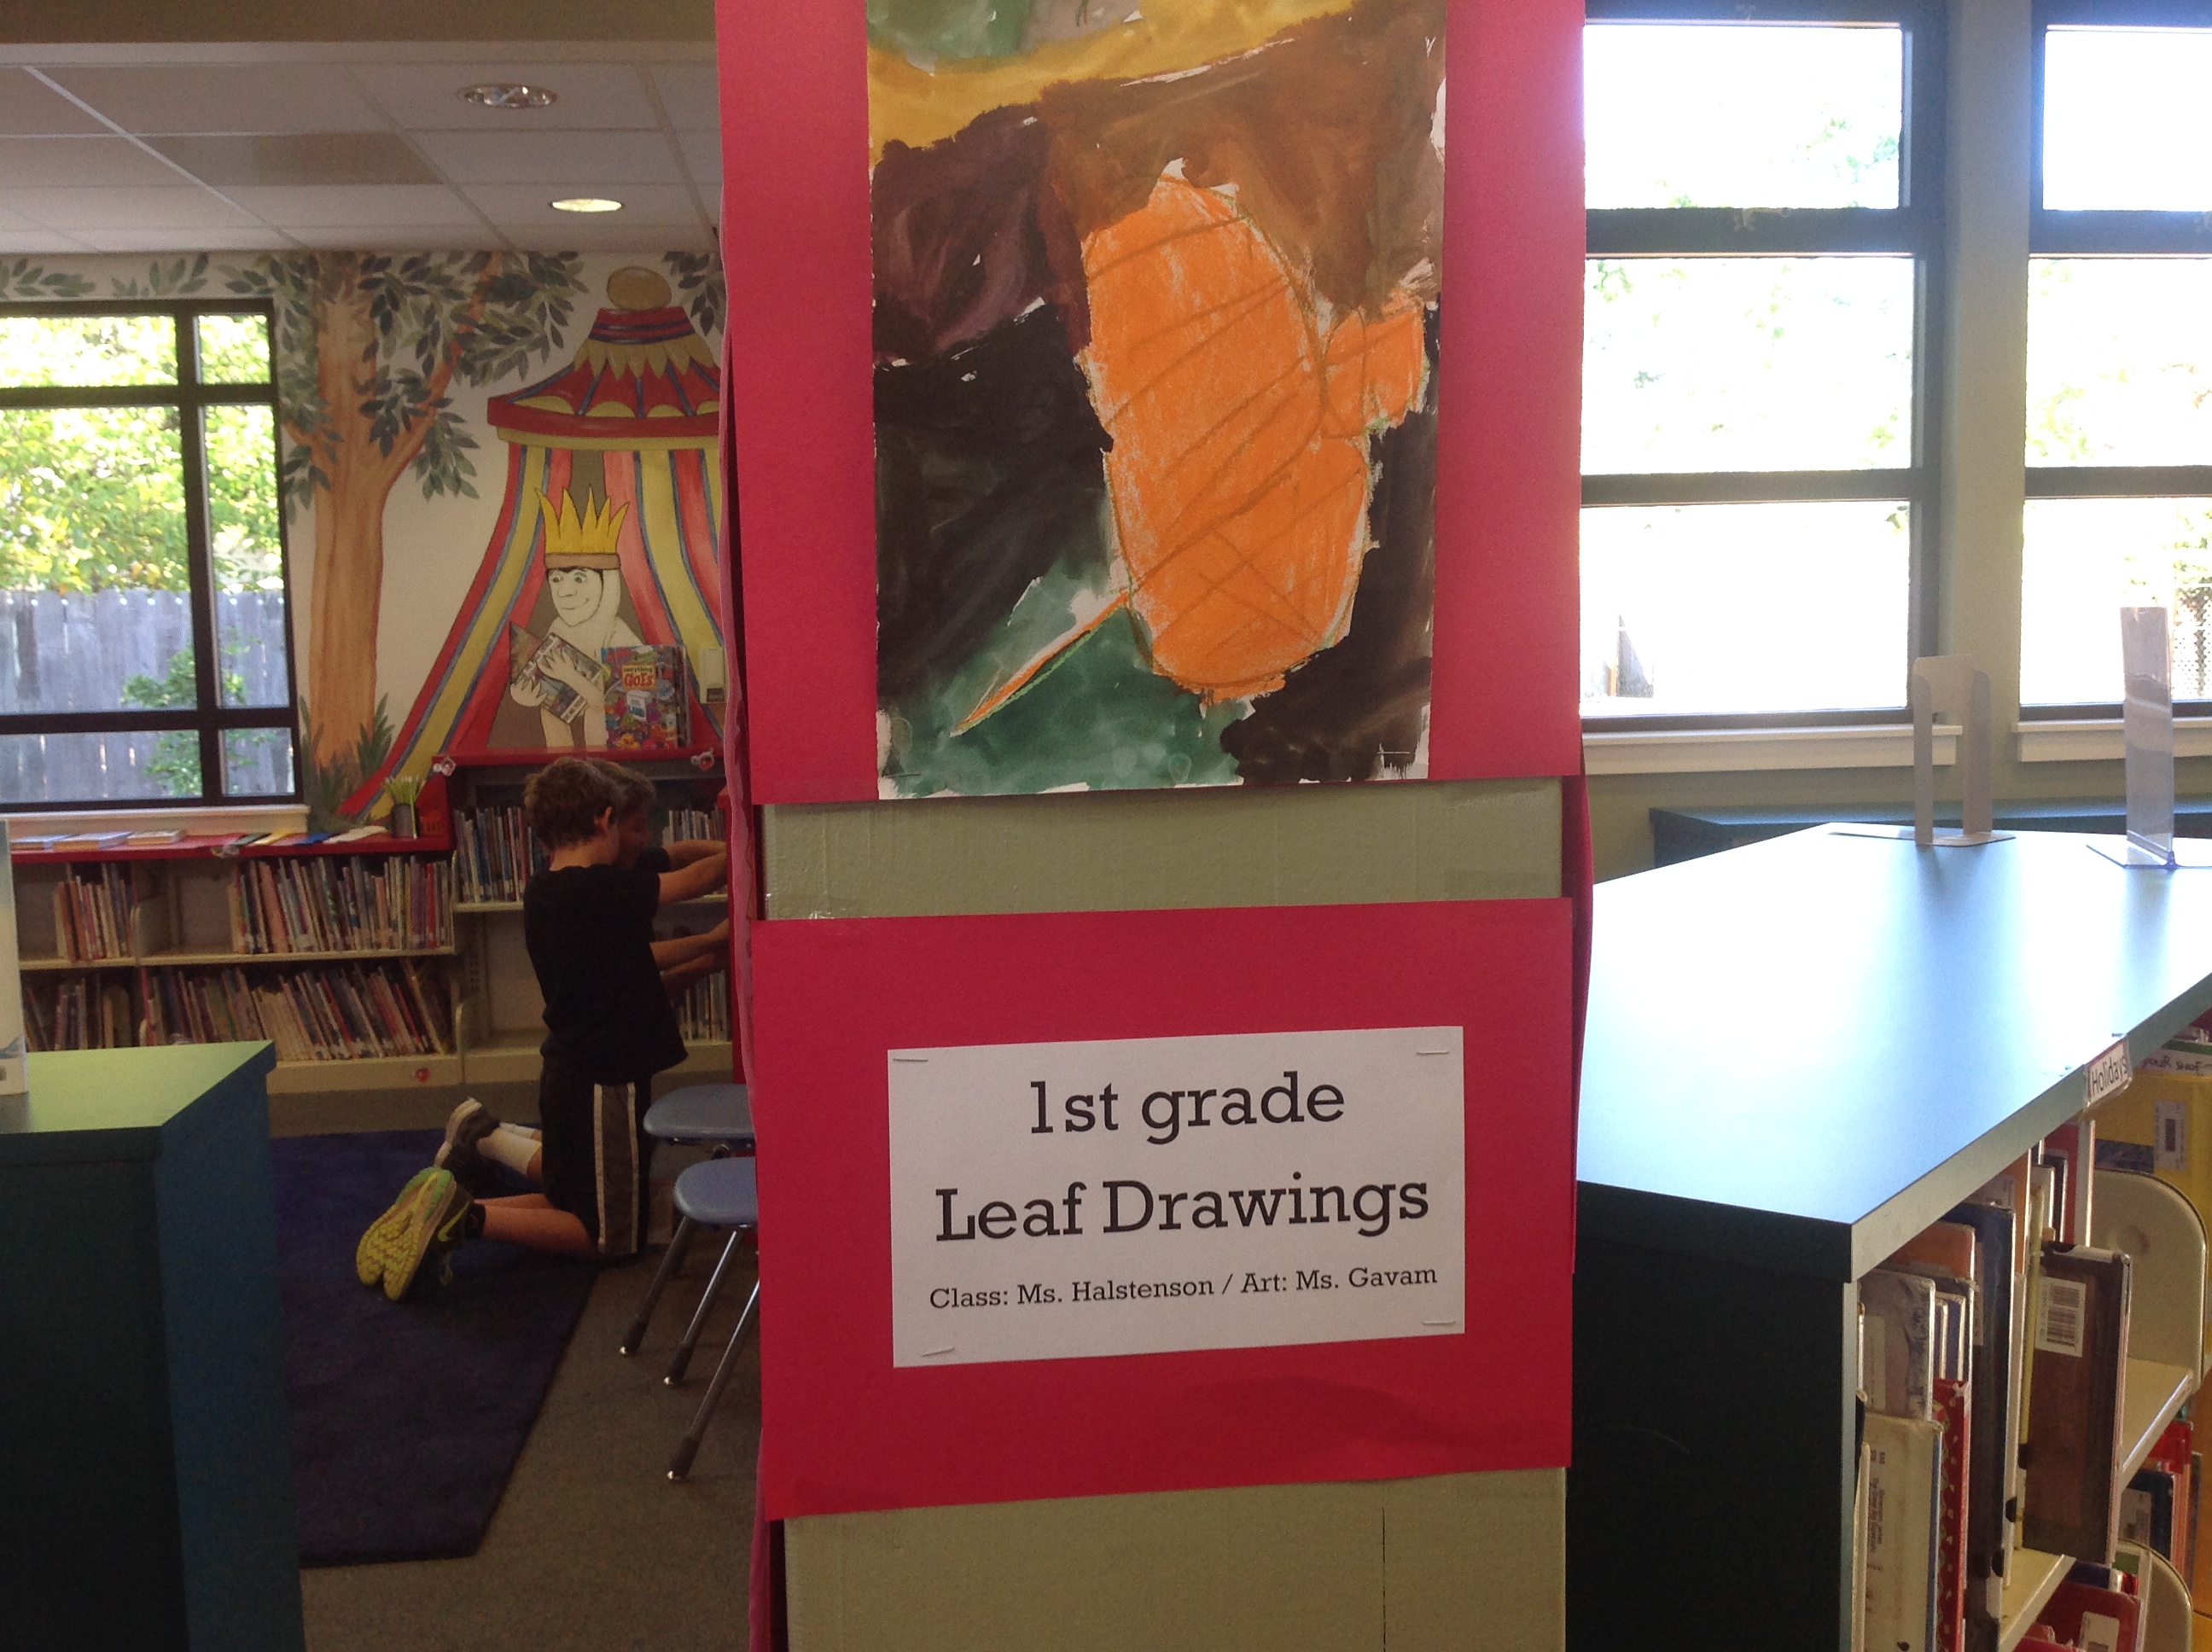
1st grade Leaves in the Library.


4th grade Up-cycled Mandalas in the Office and Conference Room.
 .
.


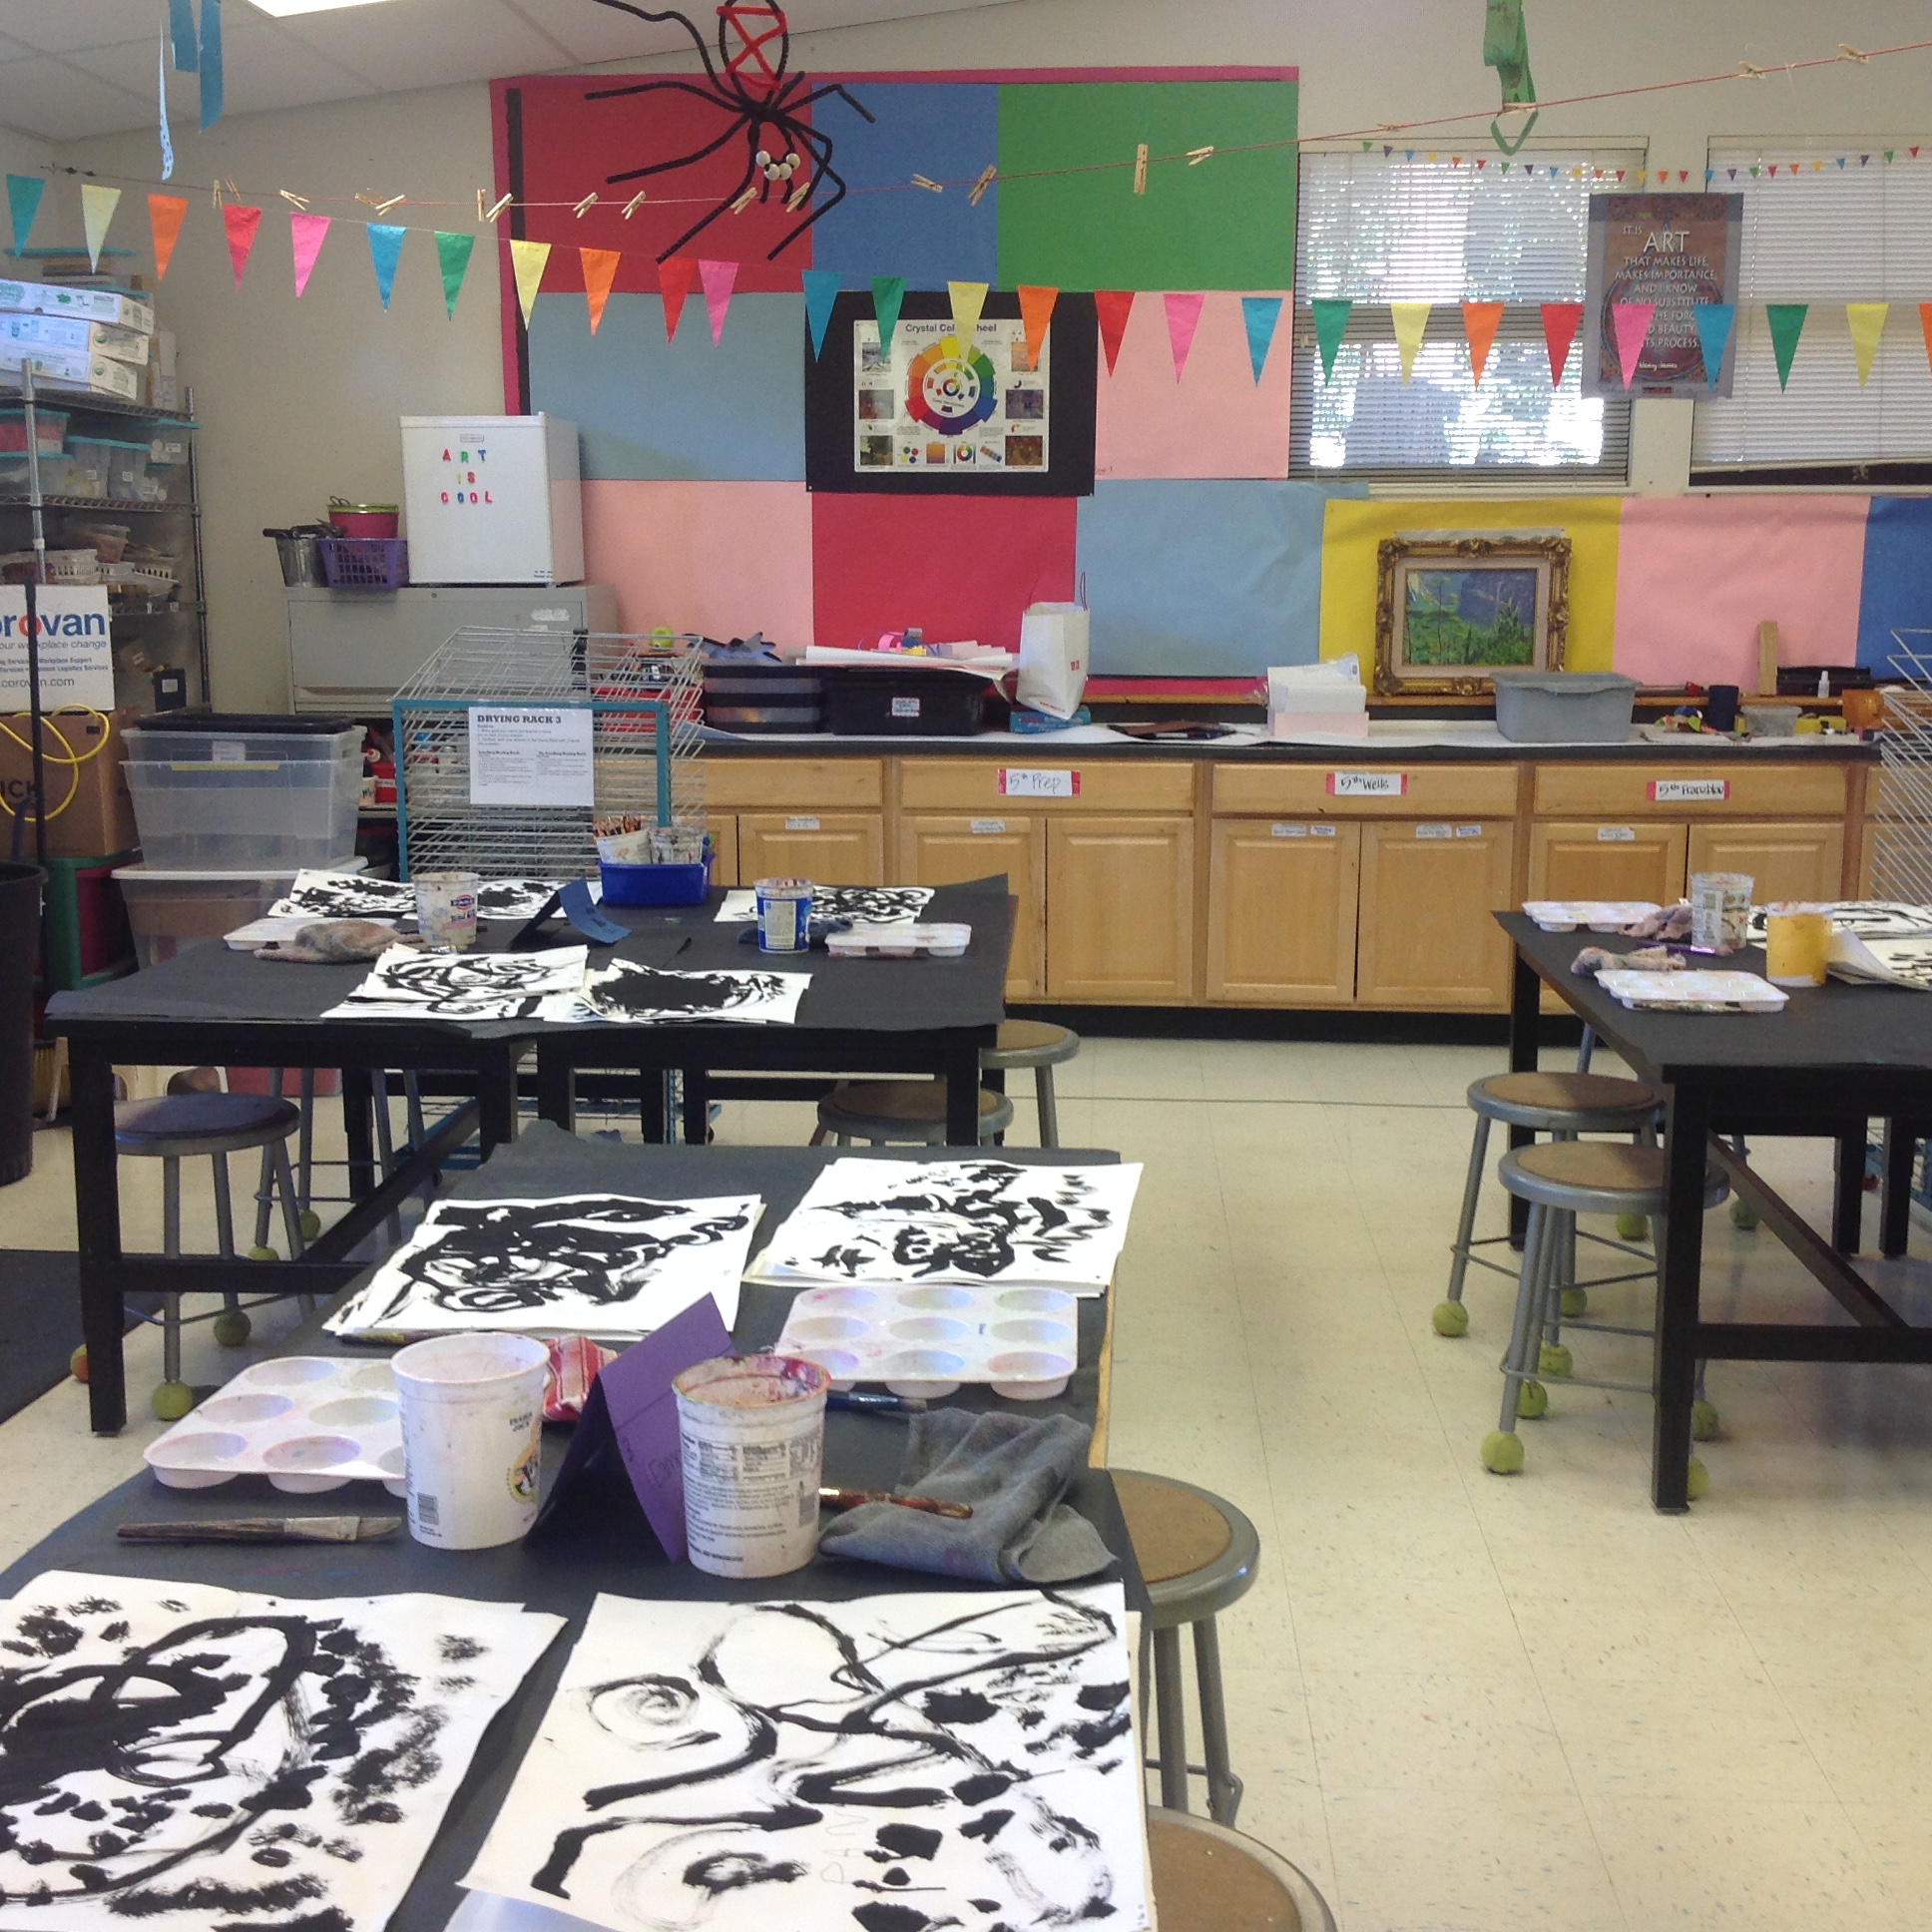
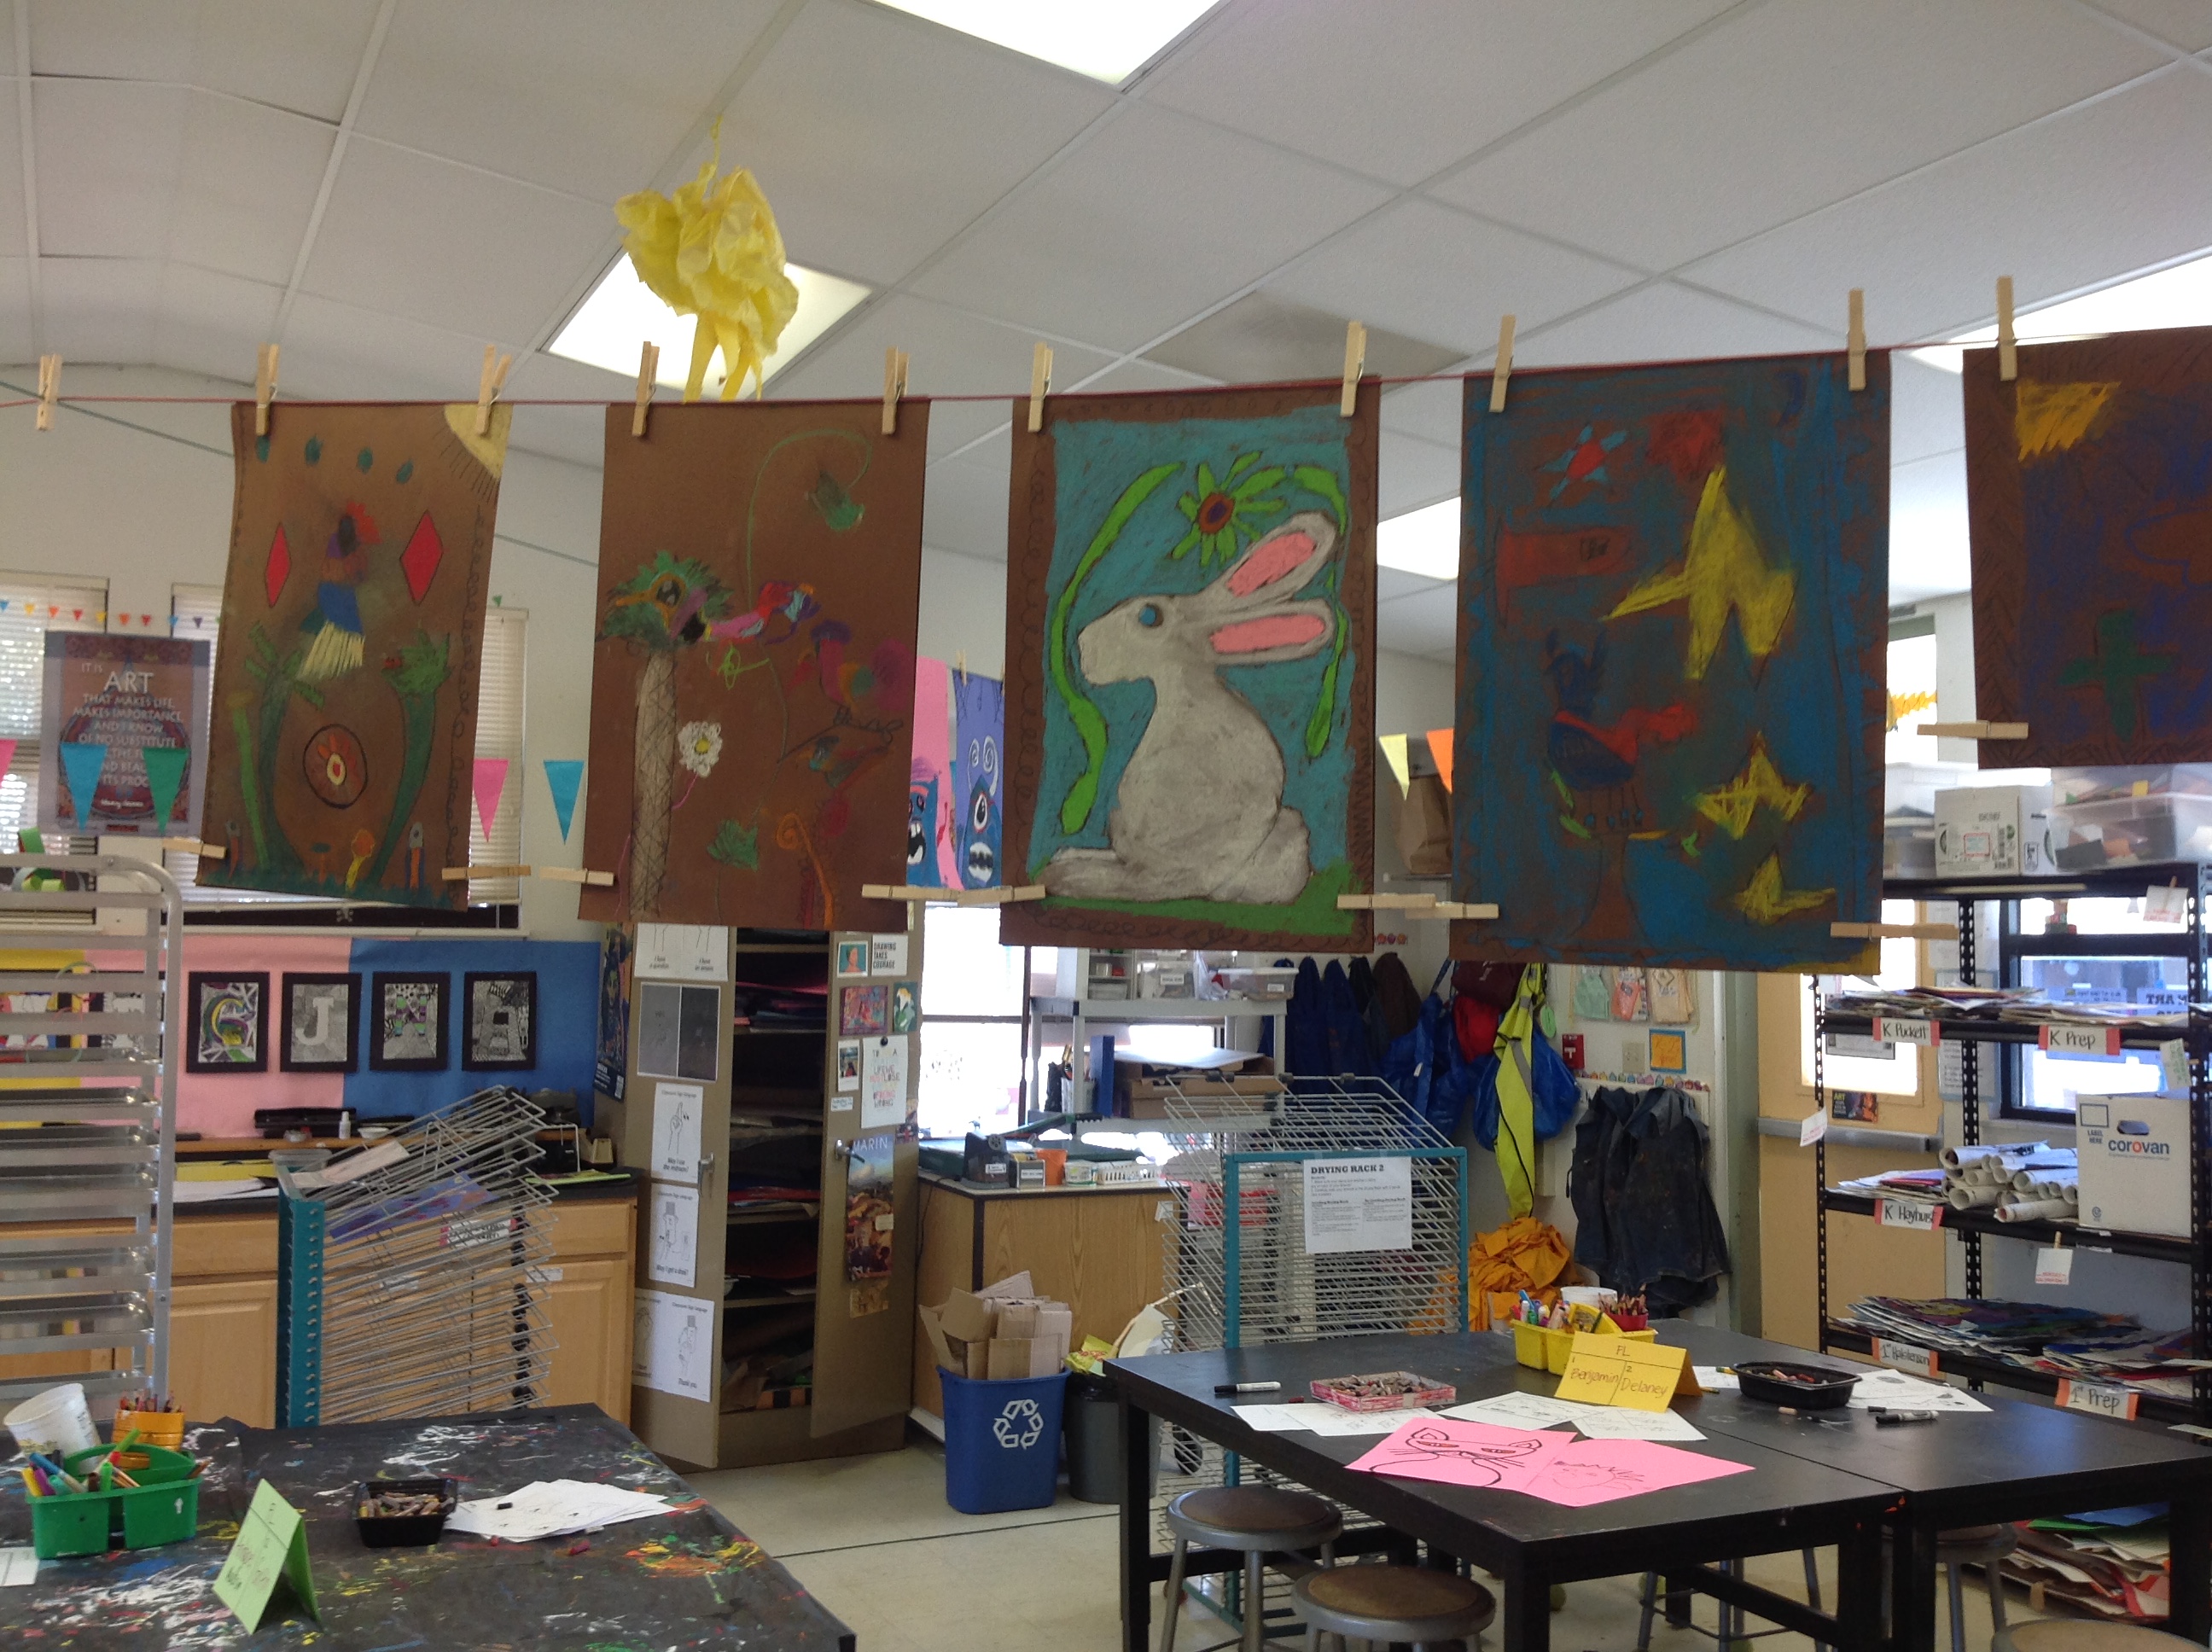
There is always art up in the art room. Feel free to come check it out before or after school or during your child’s art time. You are always welcome in.
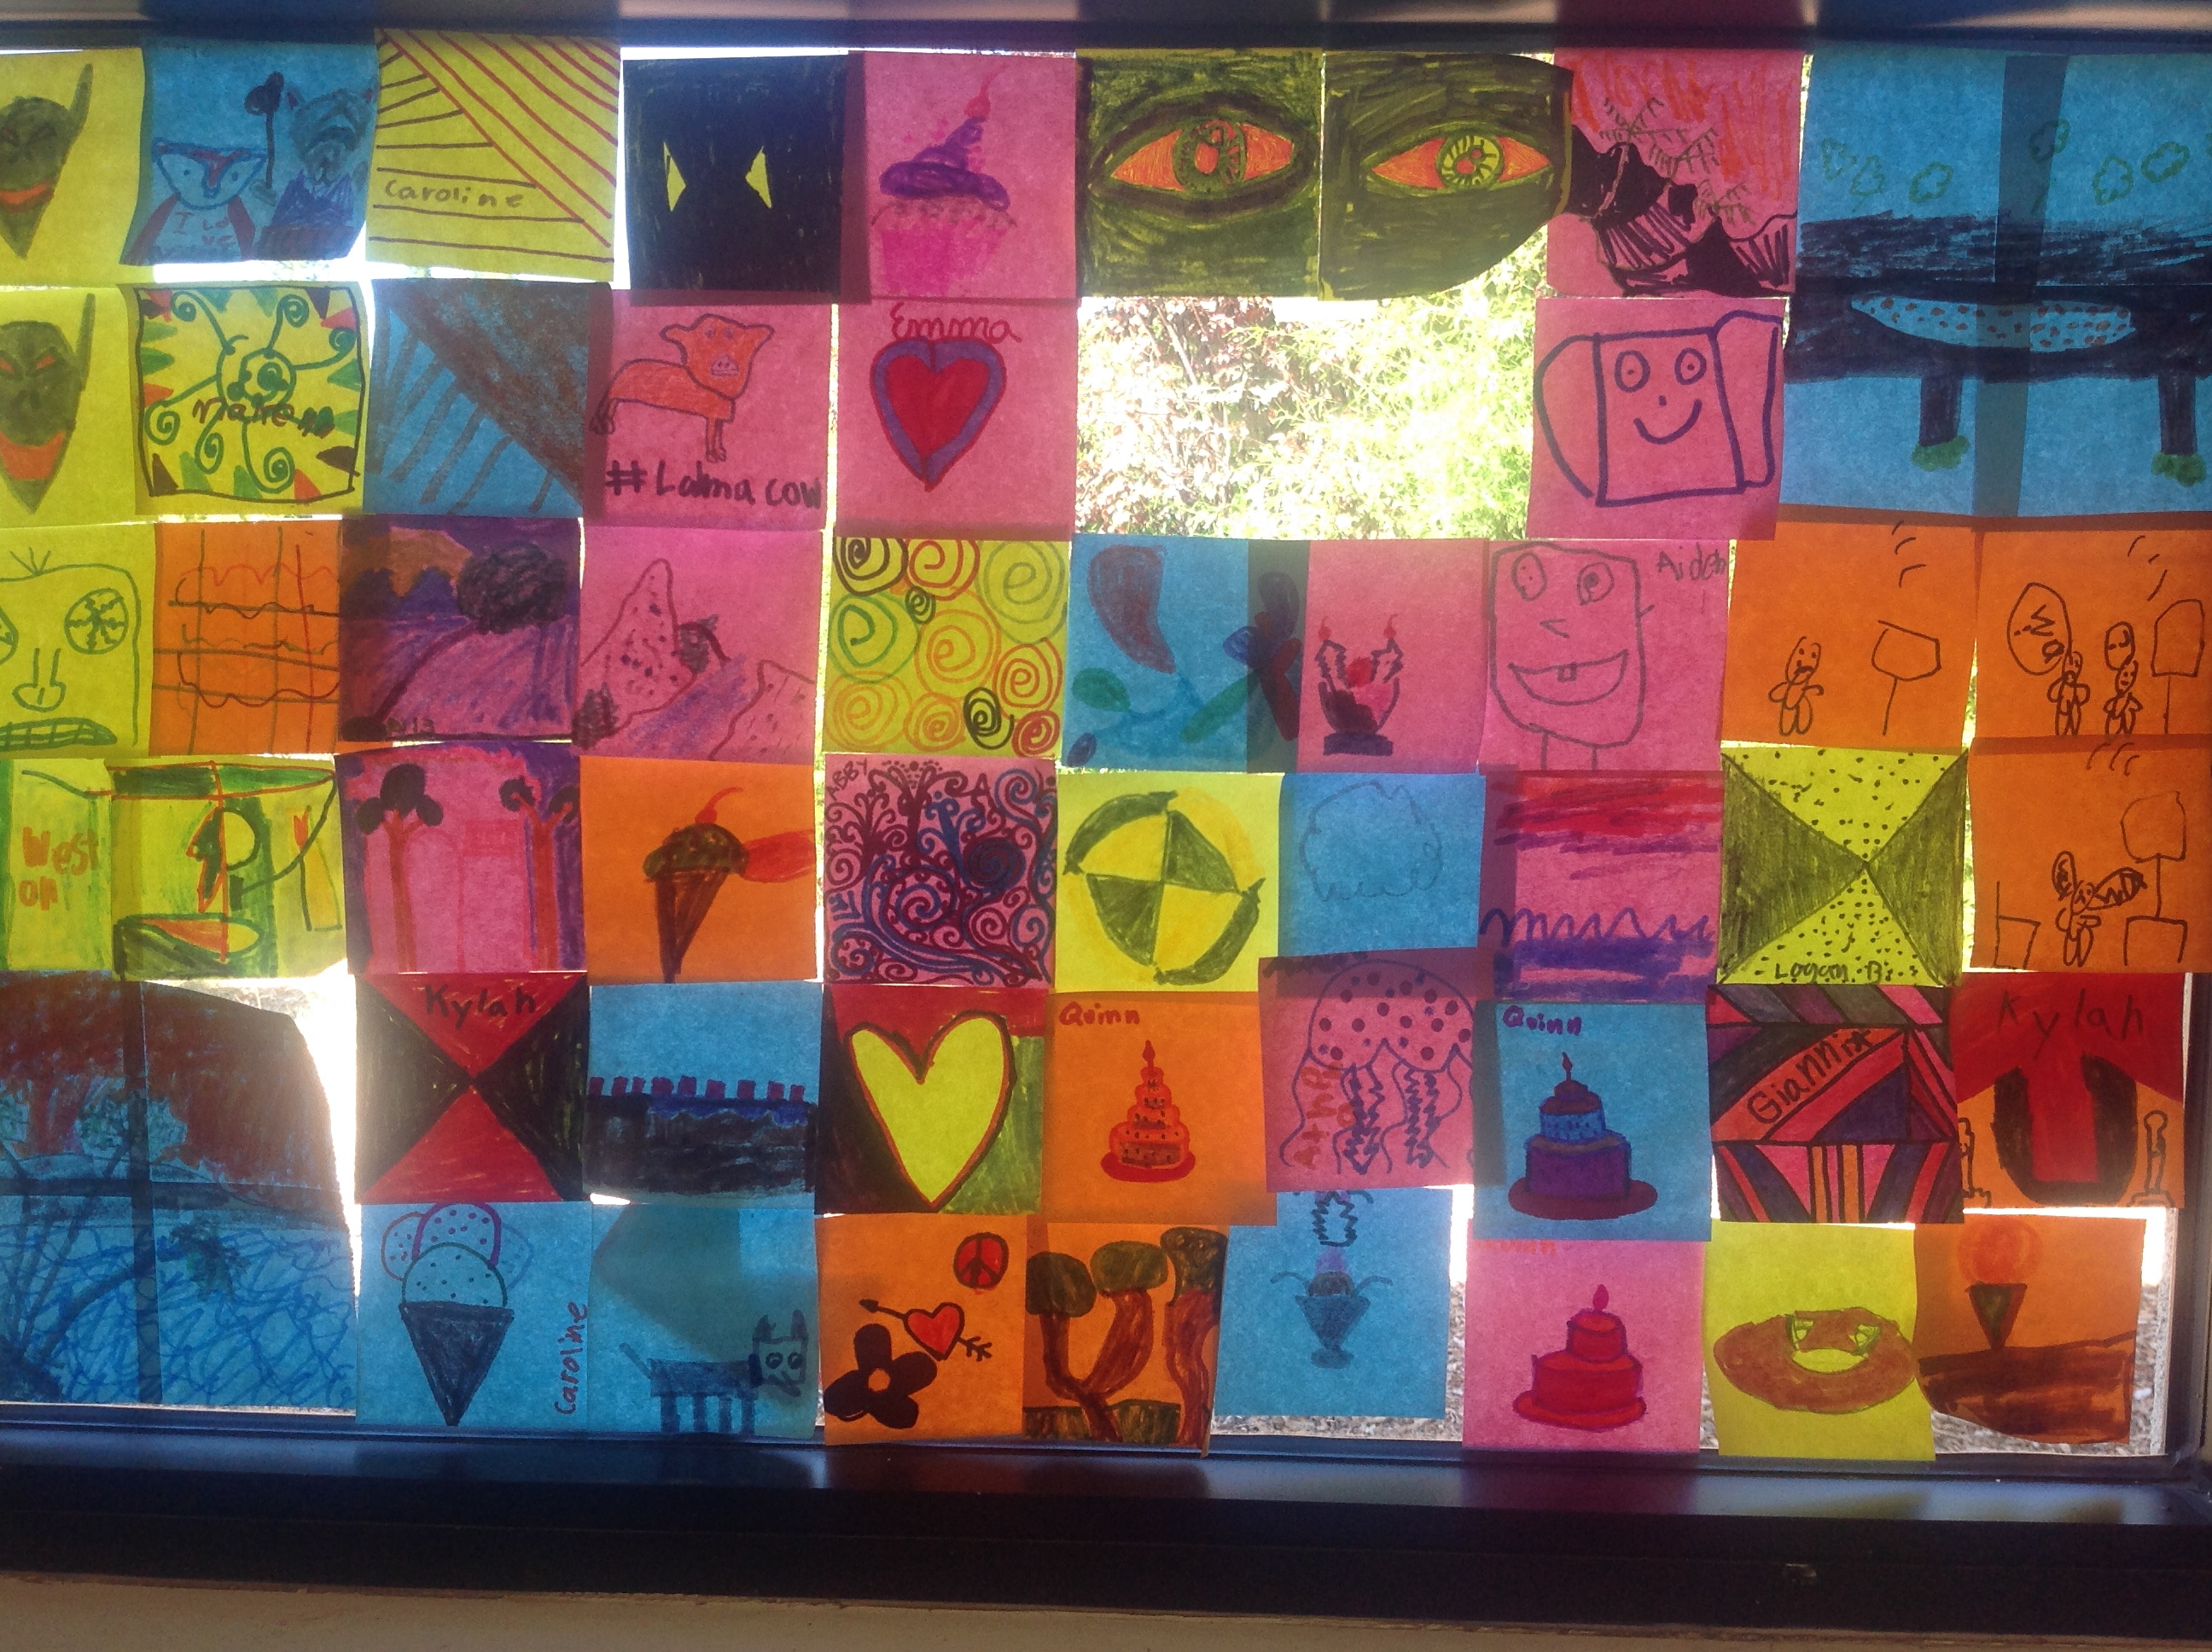
WHAT WE HAVE BEEN WORKING ON : All grade level classes spent the first two weeks of art taking in art room guidelines, expectations and consequences. All students created a mini-masterpiece on a post it. The end result is a window mural that adds color to the room as well as providing some privacy for the learners.


Sketchbooks: Each grade also created their sketchbook covers. Each students keeps a sketchbook in class throughout the year. The sketchbooks are used when they are done with a project to draw in, to sketch out initial ideas we for a final piece or and as a workbook when receiving direct instruction for a new art technique. In the upper grades students will also keep process drawings and ideas in their sketchbooks.
Kindergarten: Kinders have been creating lines and patterns. They have been and will continue to use and identify new art materials and tools. They will continue to develop their cutting and gluing skills for collage and 3d sculptures. They will make home school connections with a self portrait and a family portrait. They will make a simple, push/pull clay animal. They will learn about warm and cool colors and primary and secondary colors.
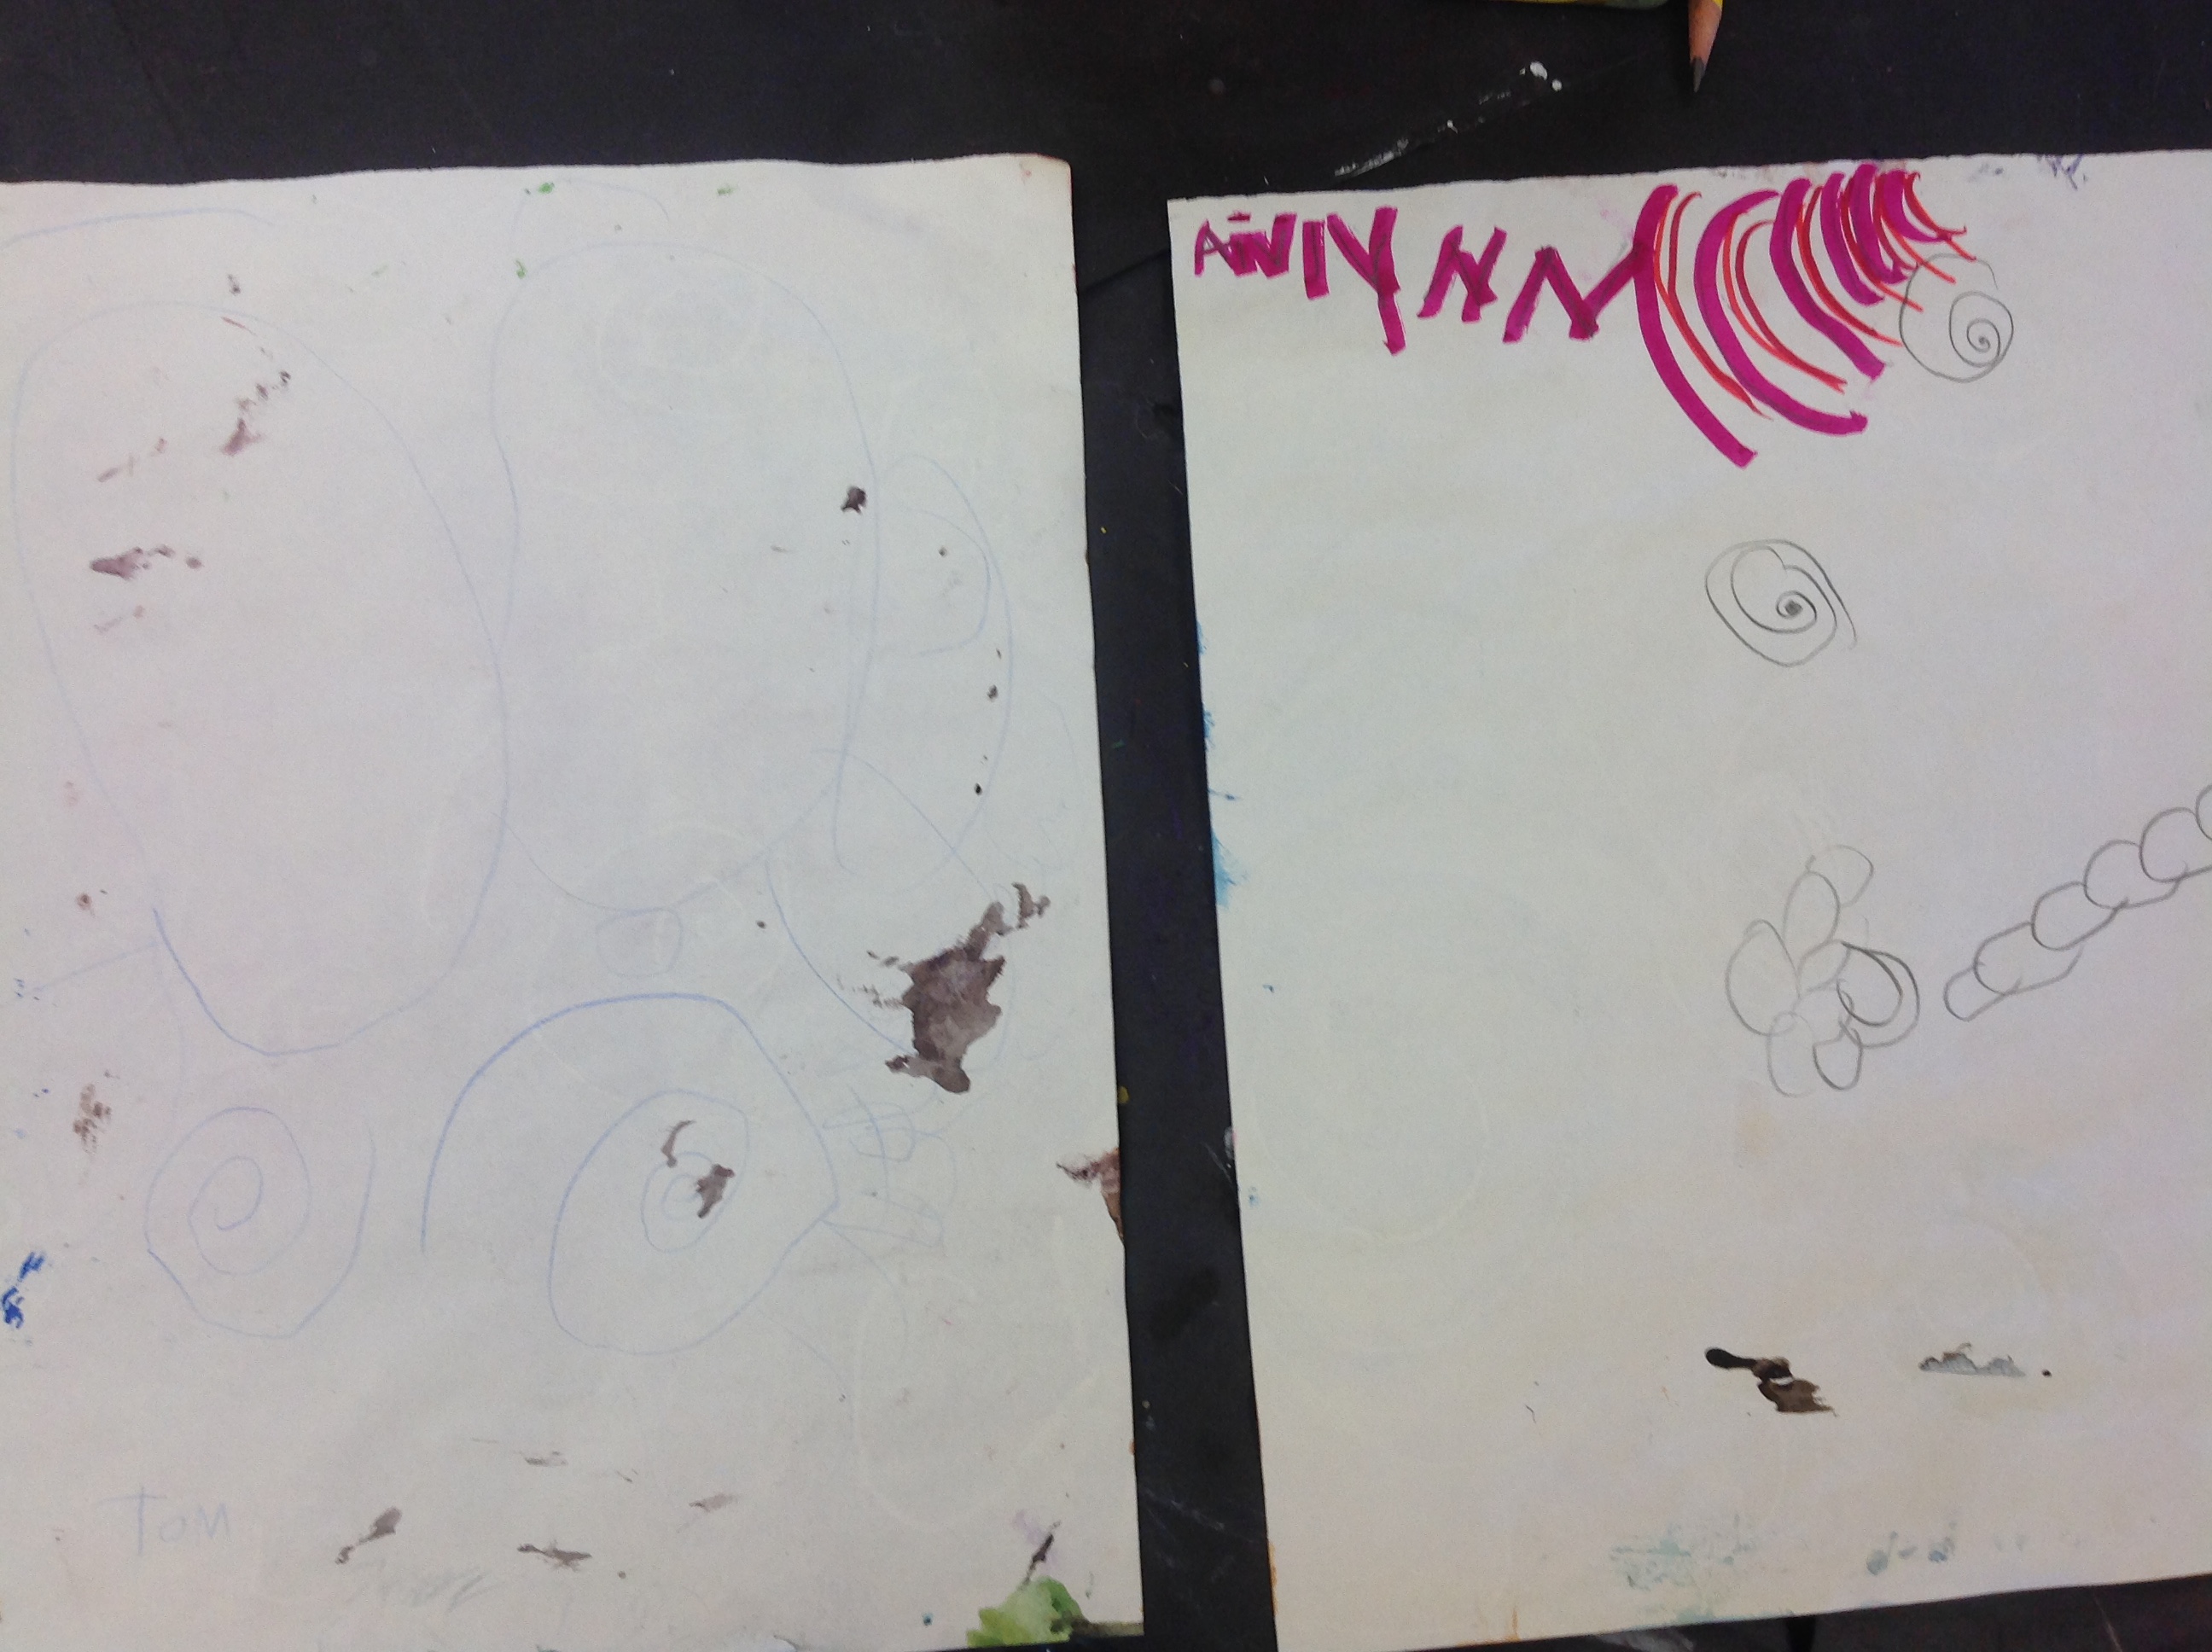
Sketchbooks: Sketchbooks began with a story called “the Line and the Dot” by Norton Juster. they practiced drawing a variety of lines on one side of their cover and then drew a “final” piece on the other side. The practiced drawing loopy, wavy, zig zag, straight and dotted lines with oil pastels. They painted over their lines with watercolor paint and noticed how the oil pastels resisted the oil pastel marks.


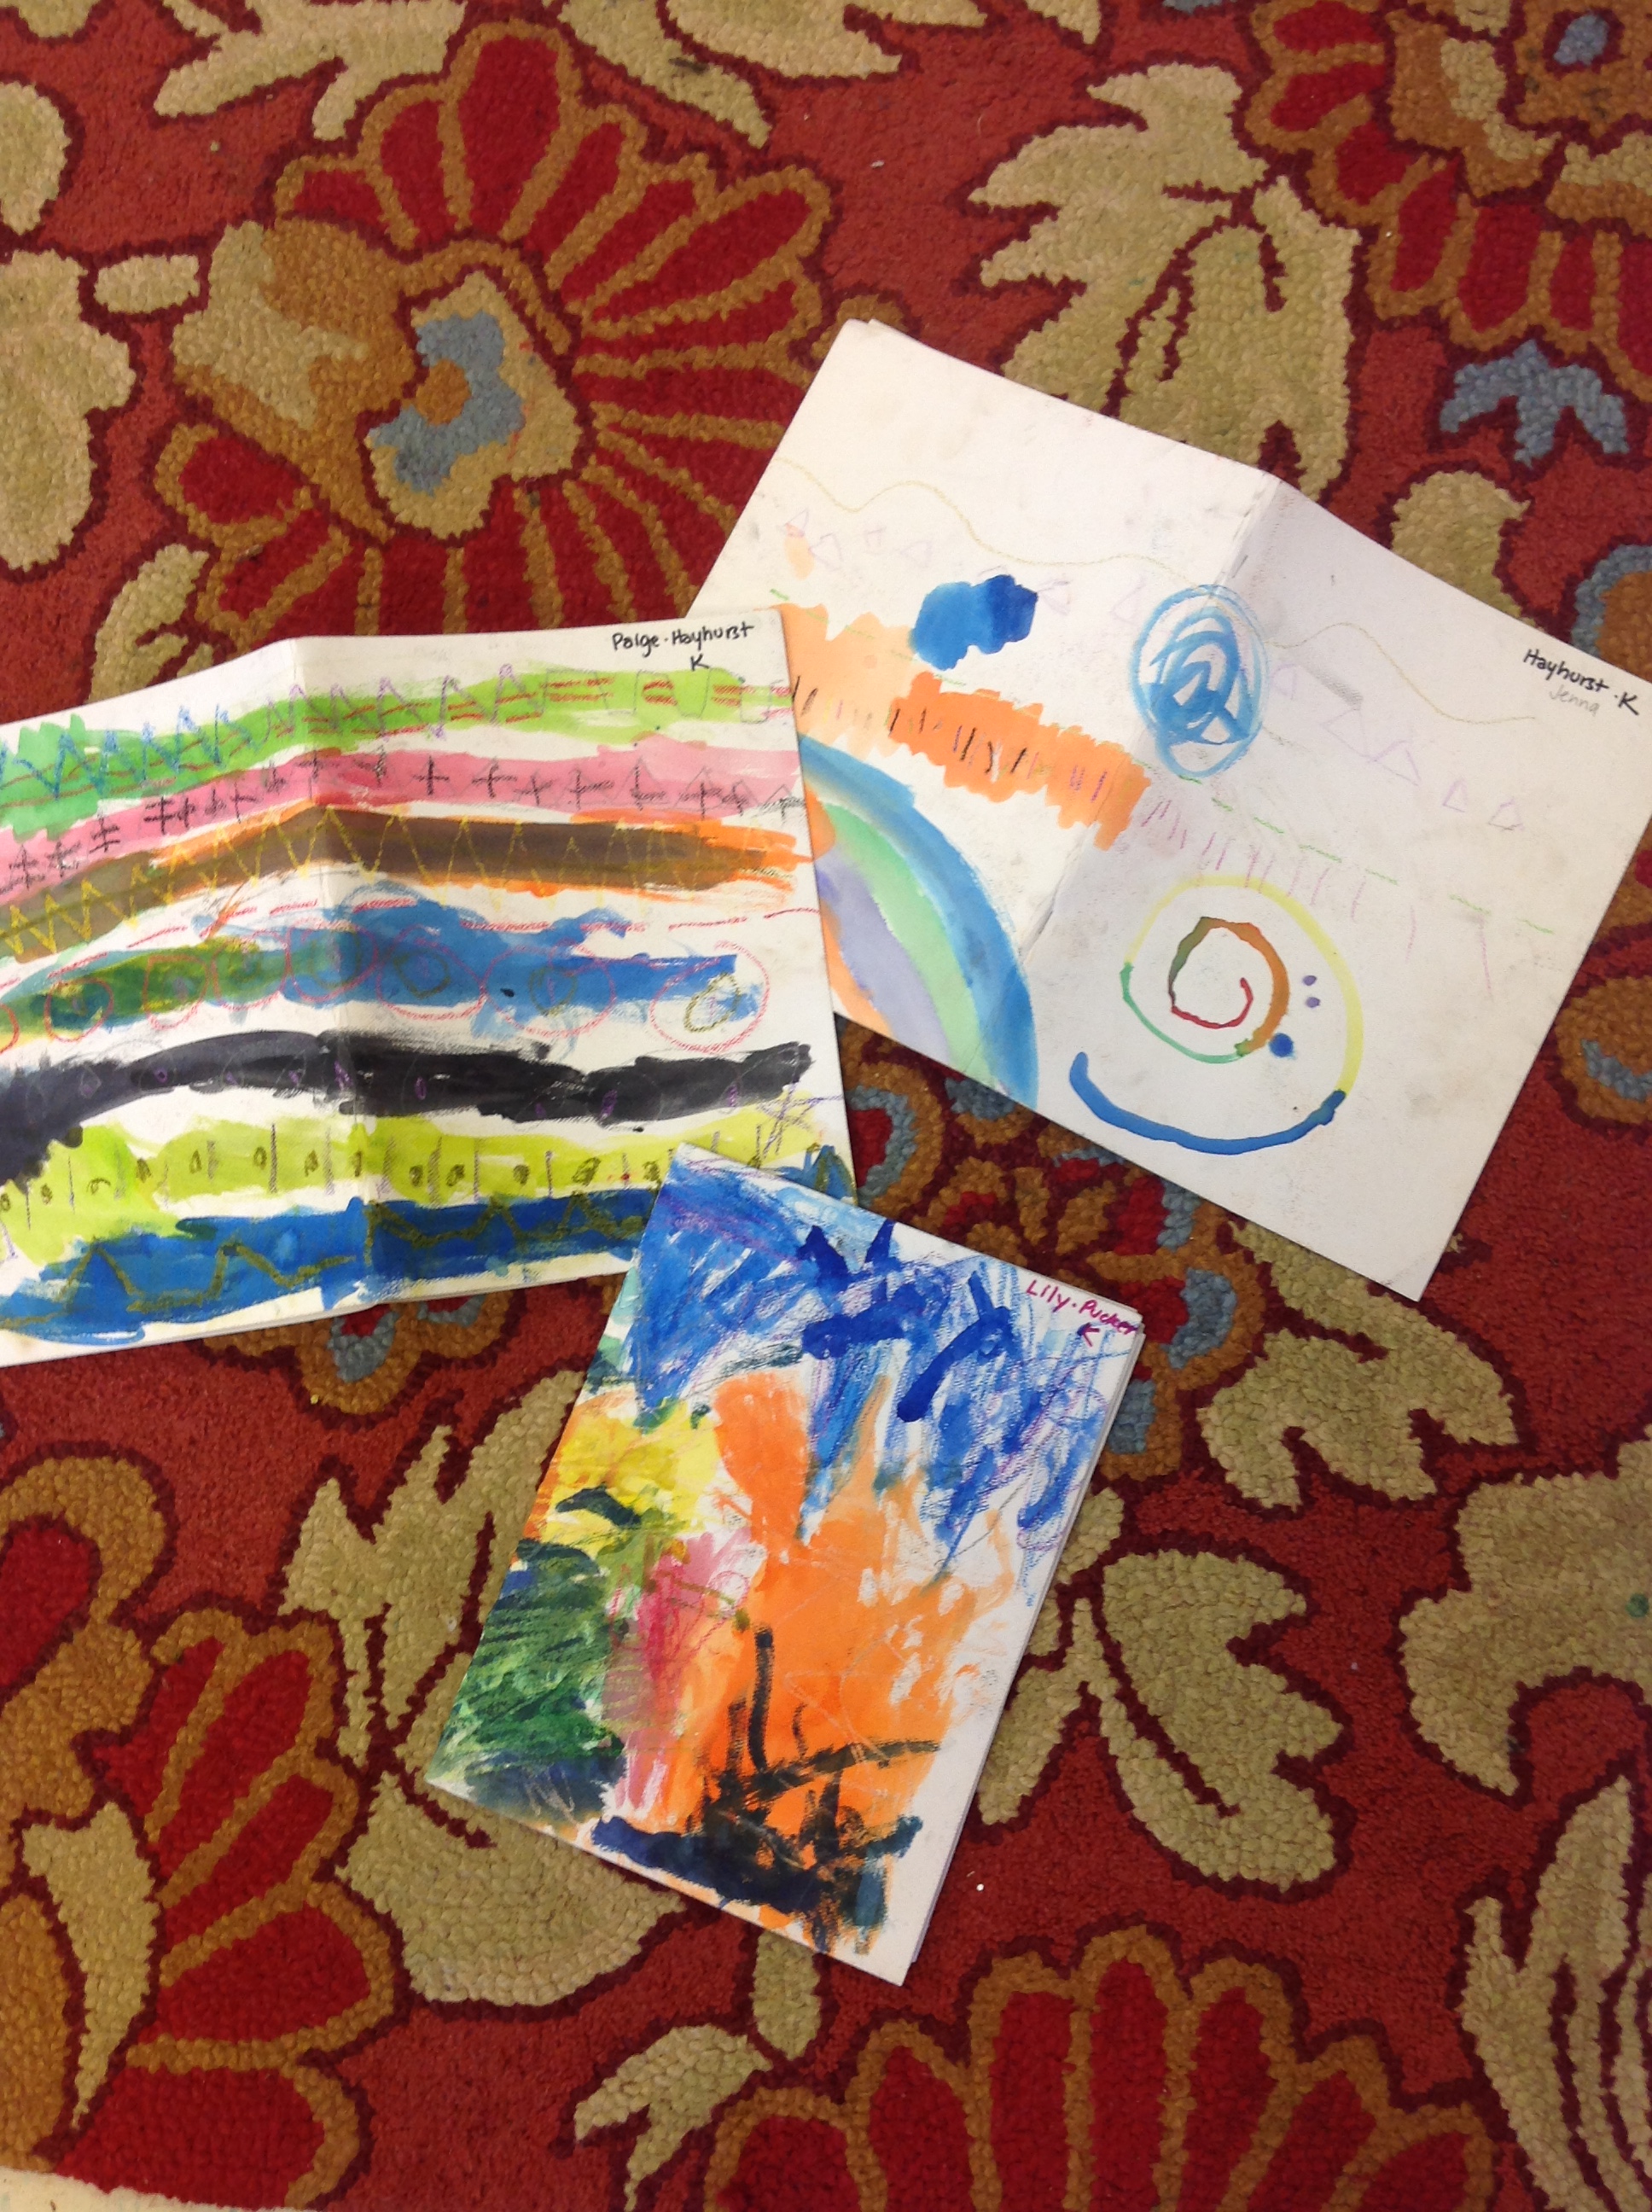
Sketchbooks were assembled and labeled and are used throughout the year.
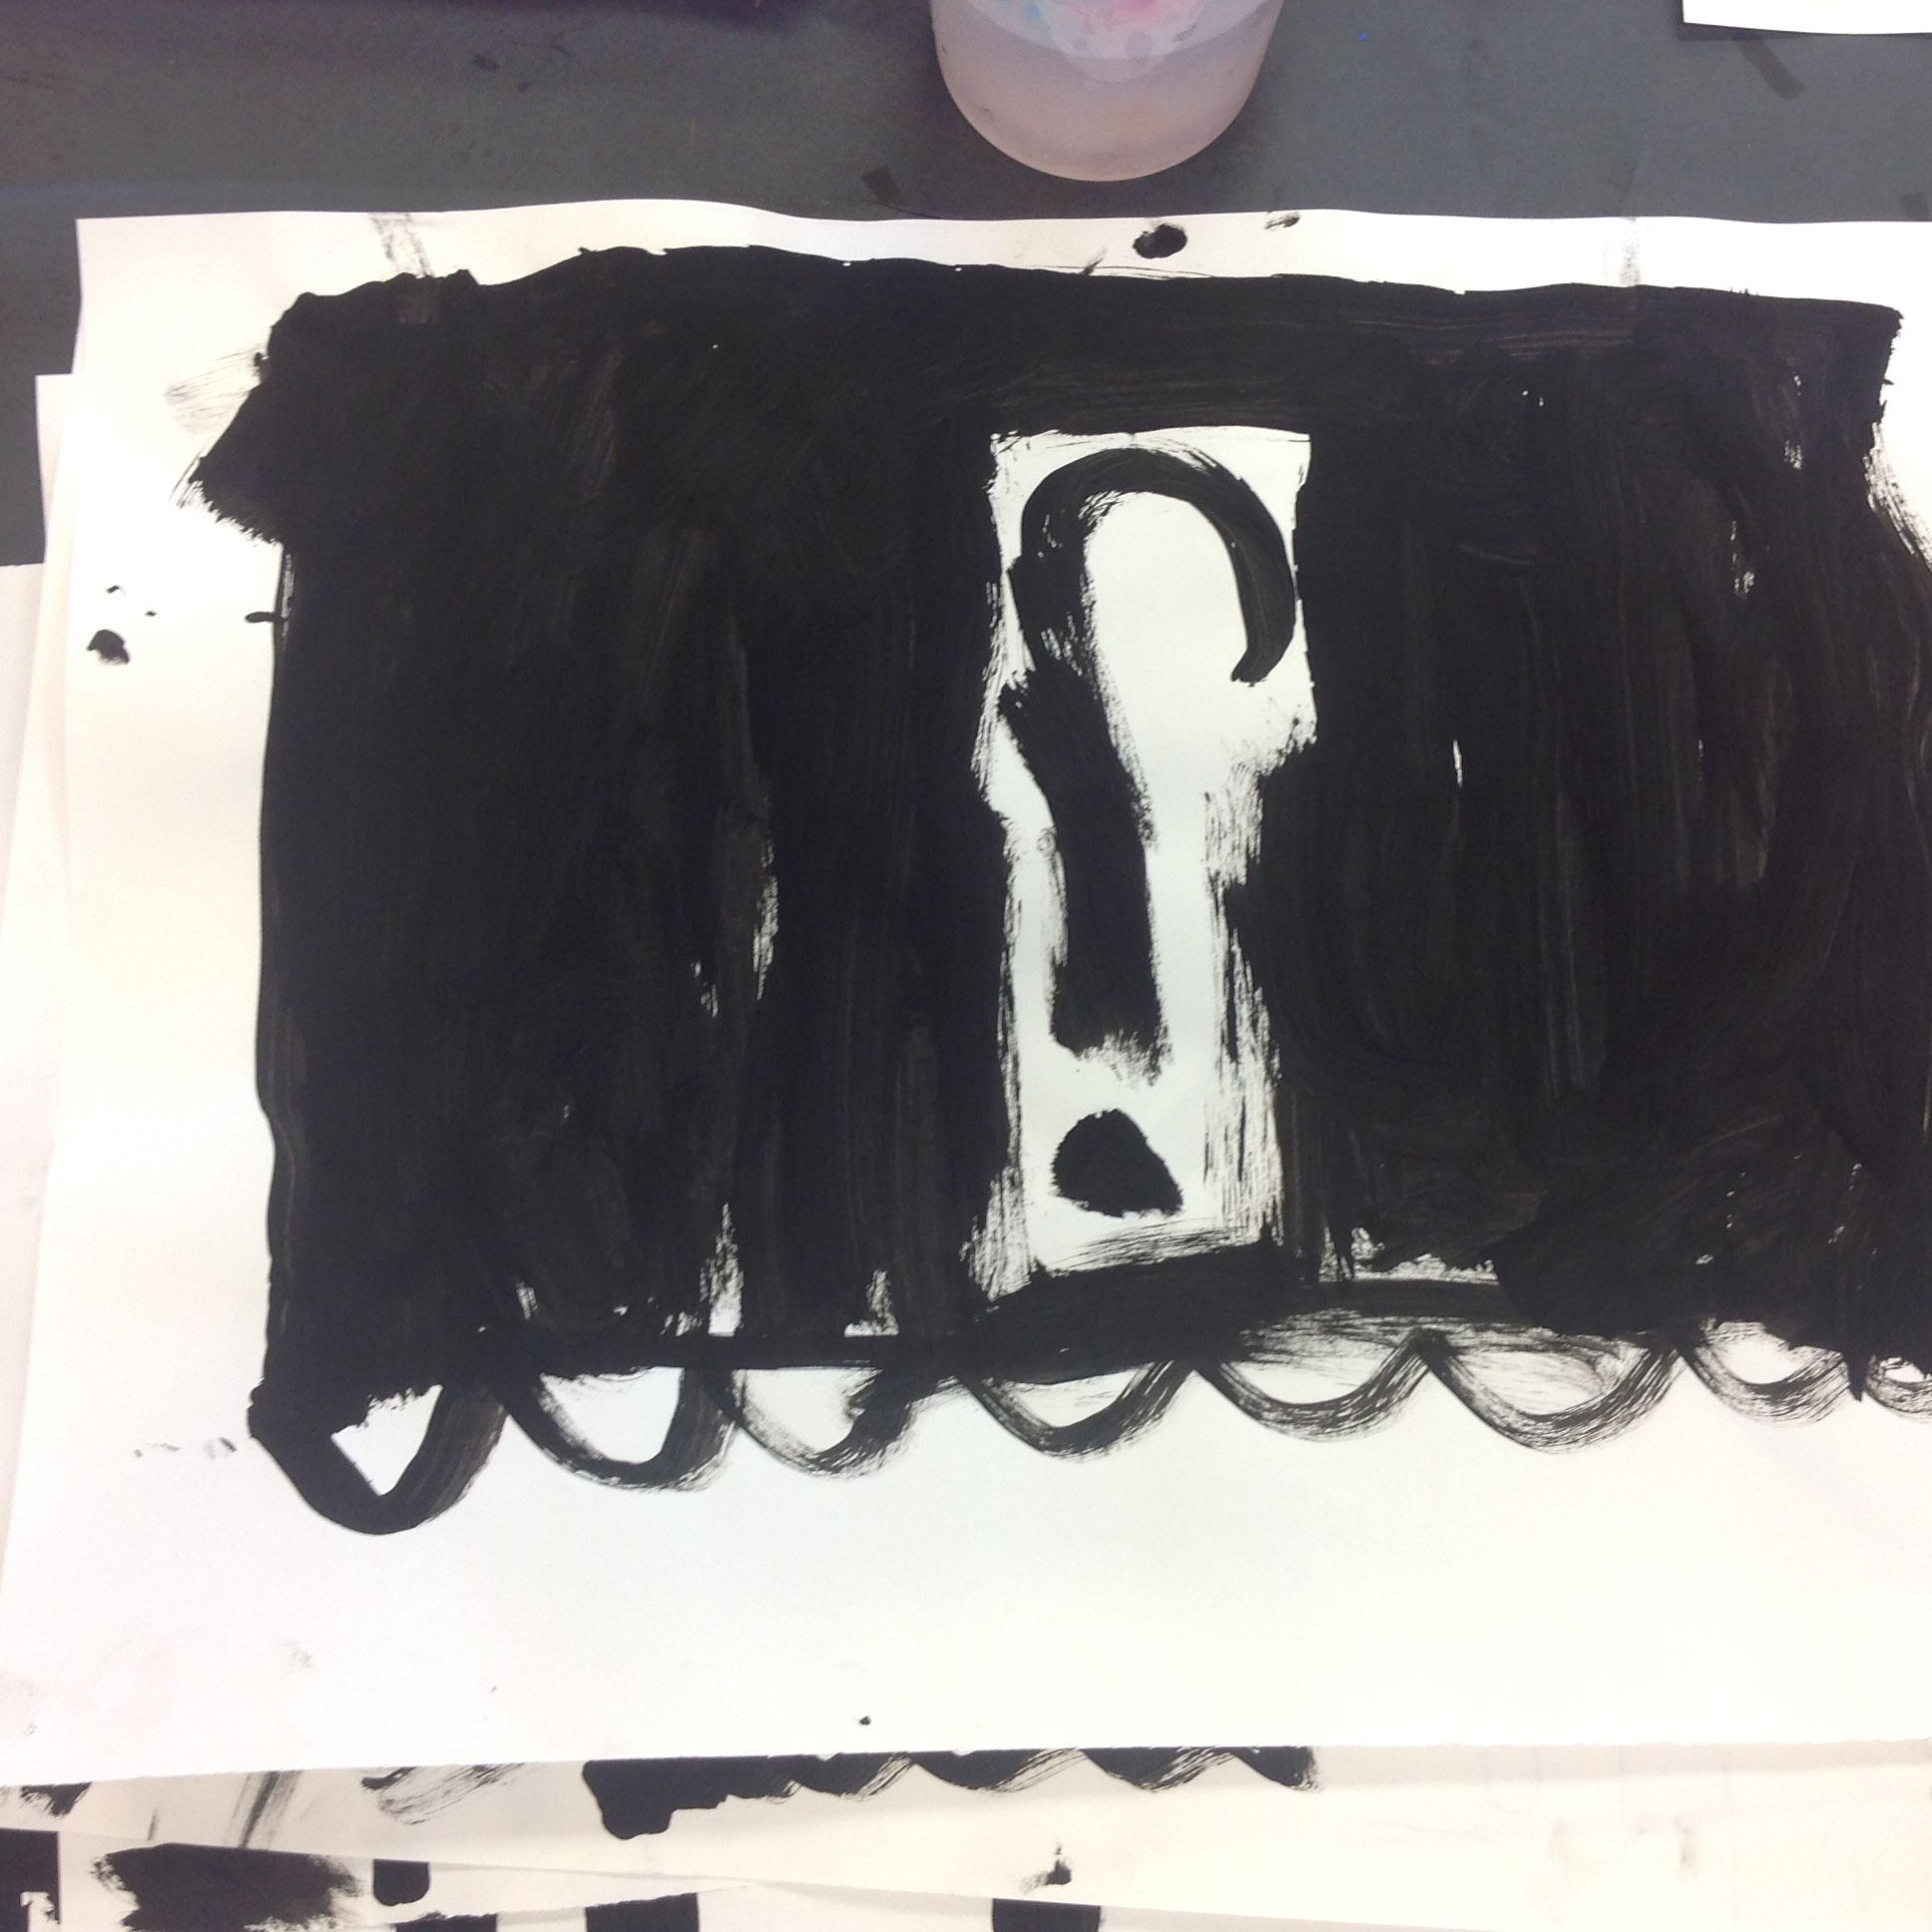
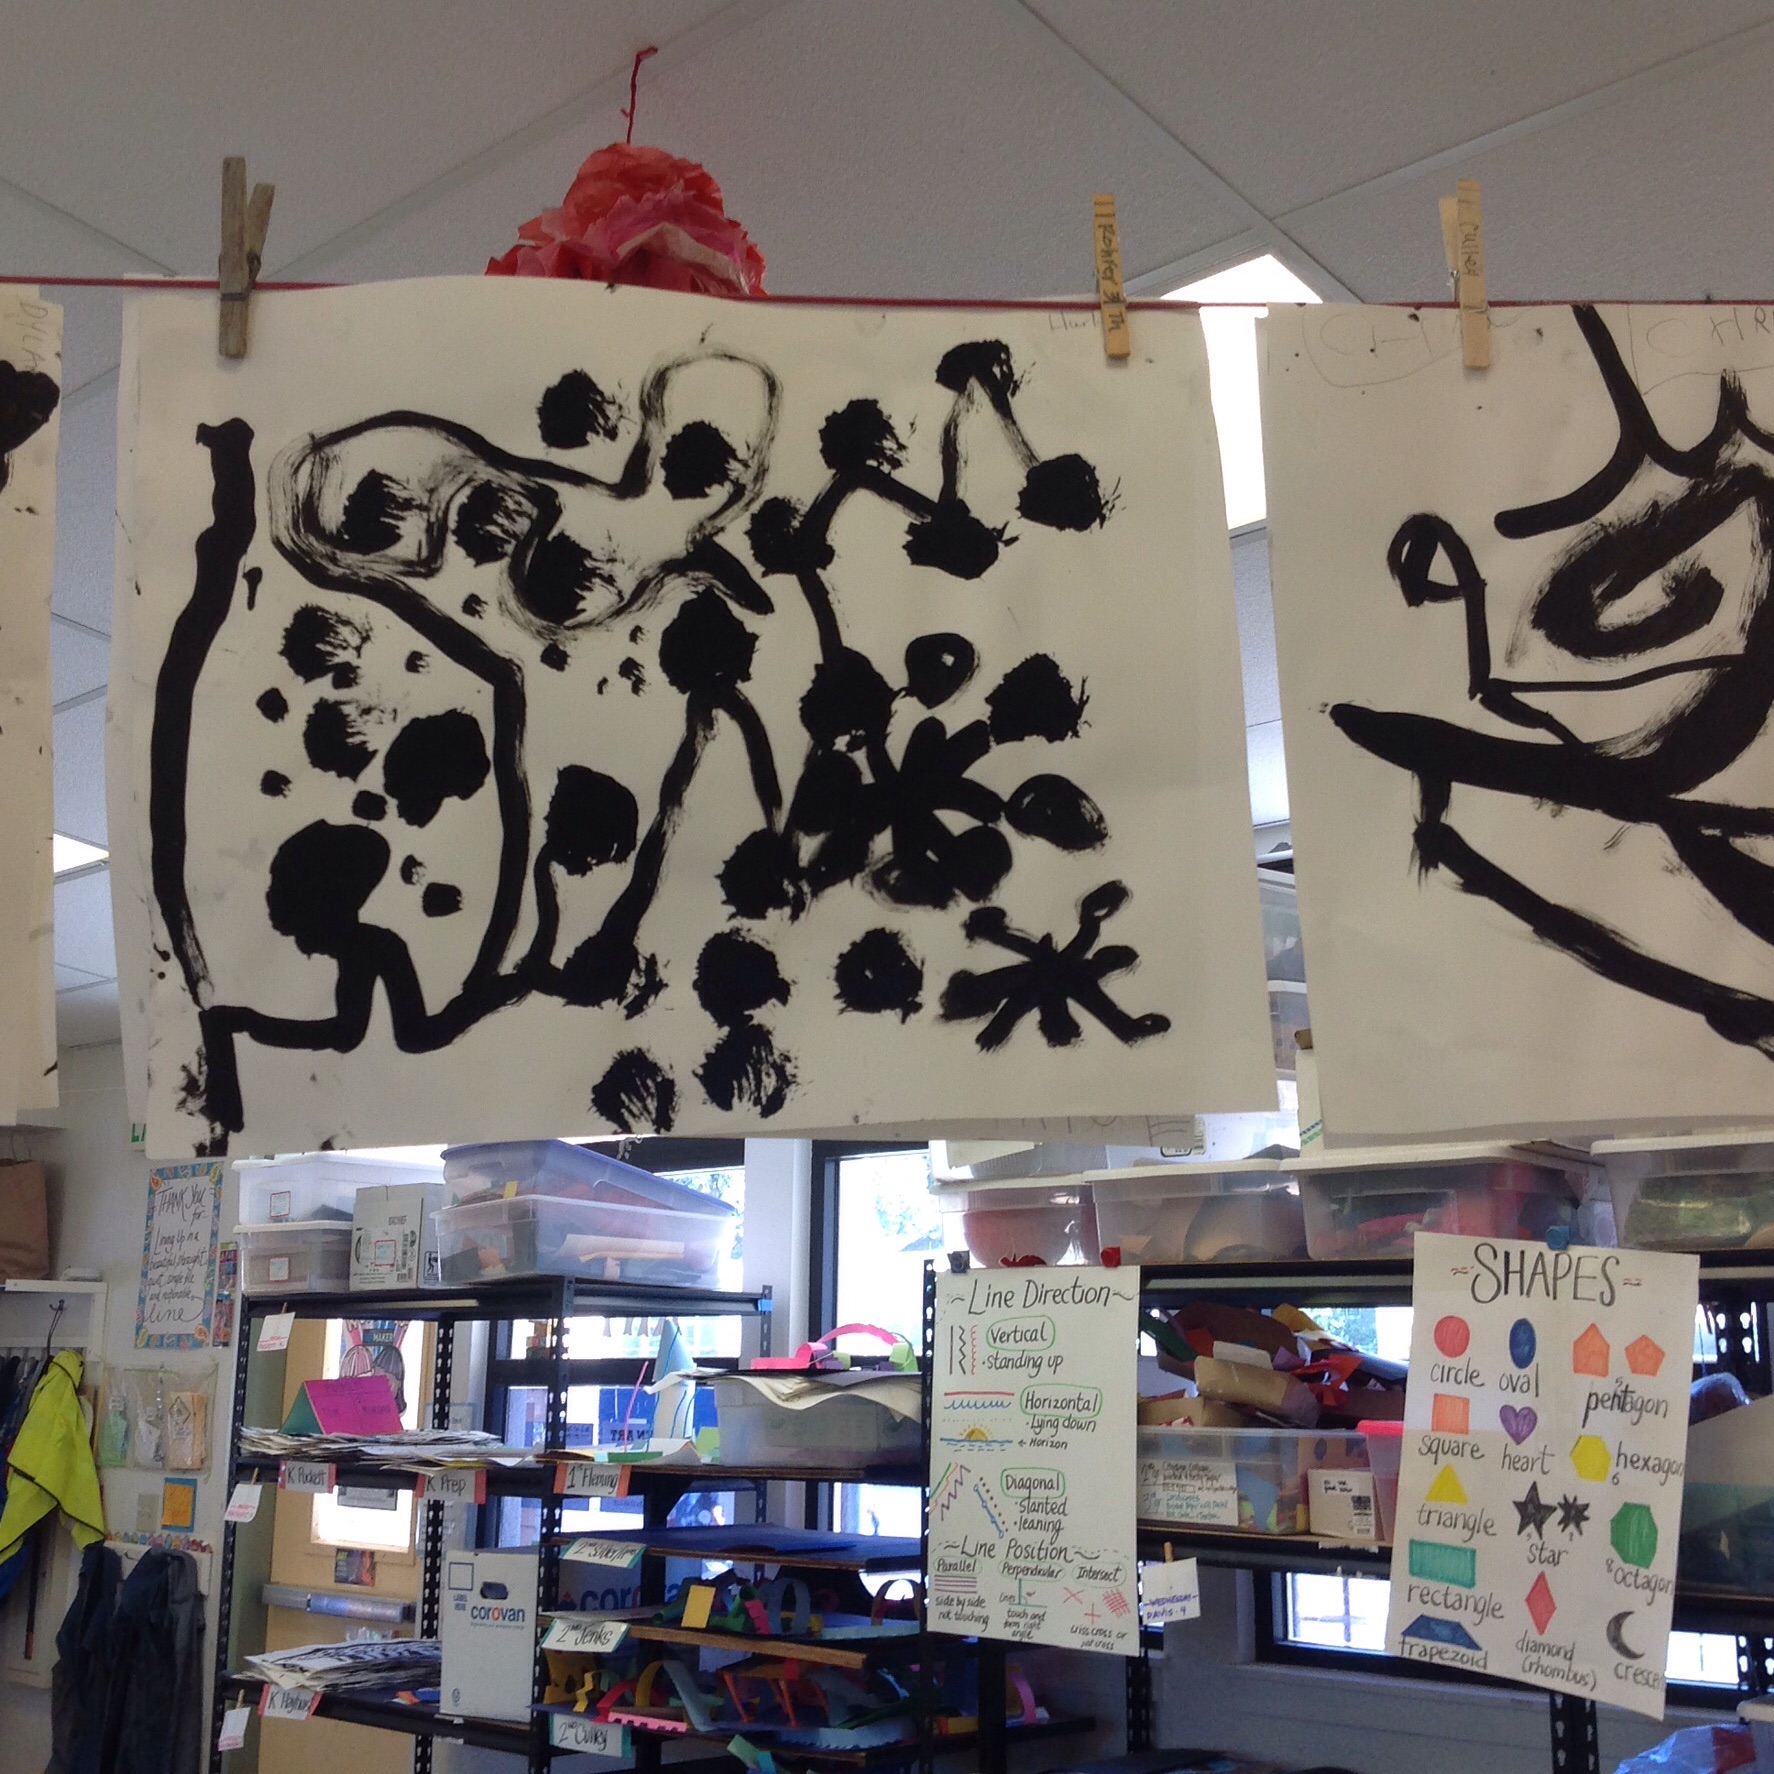
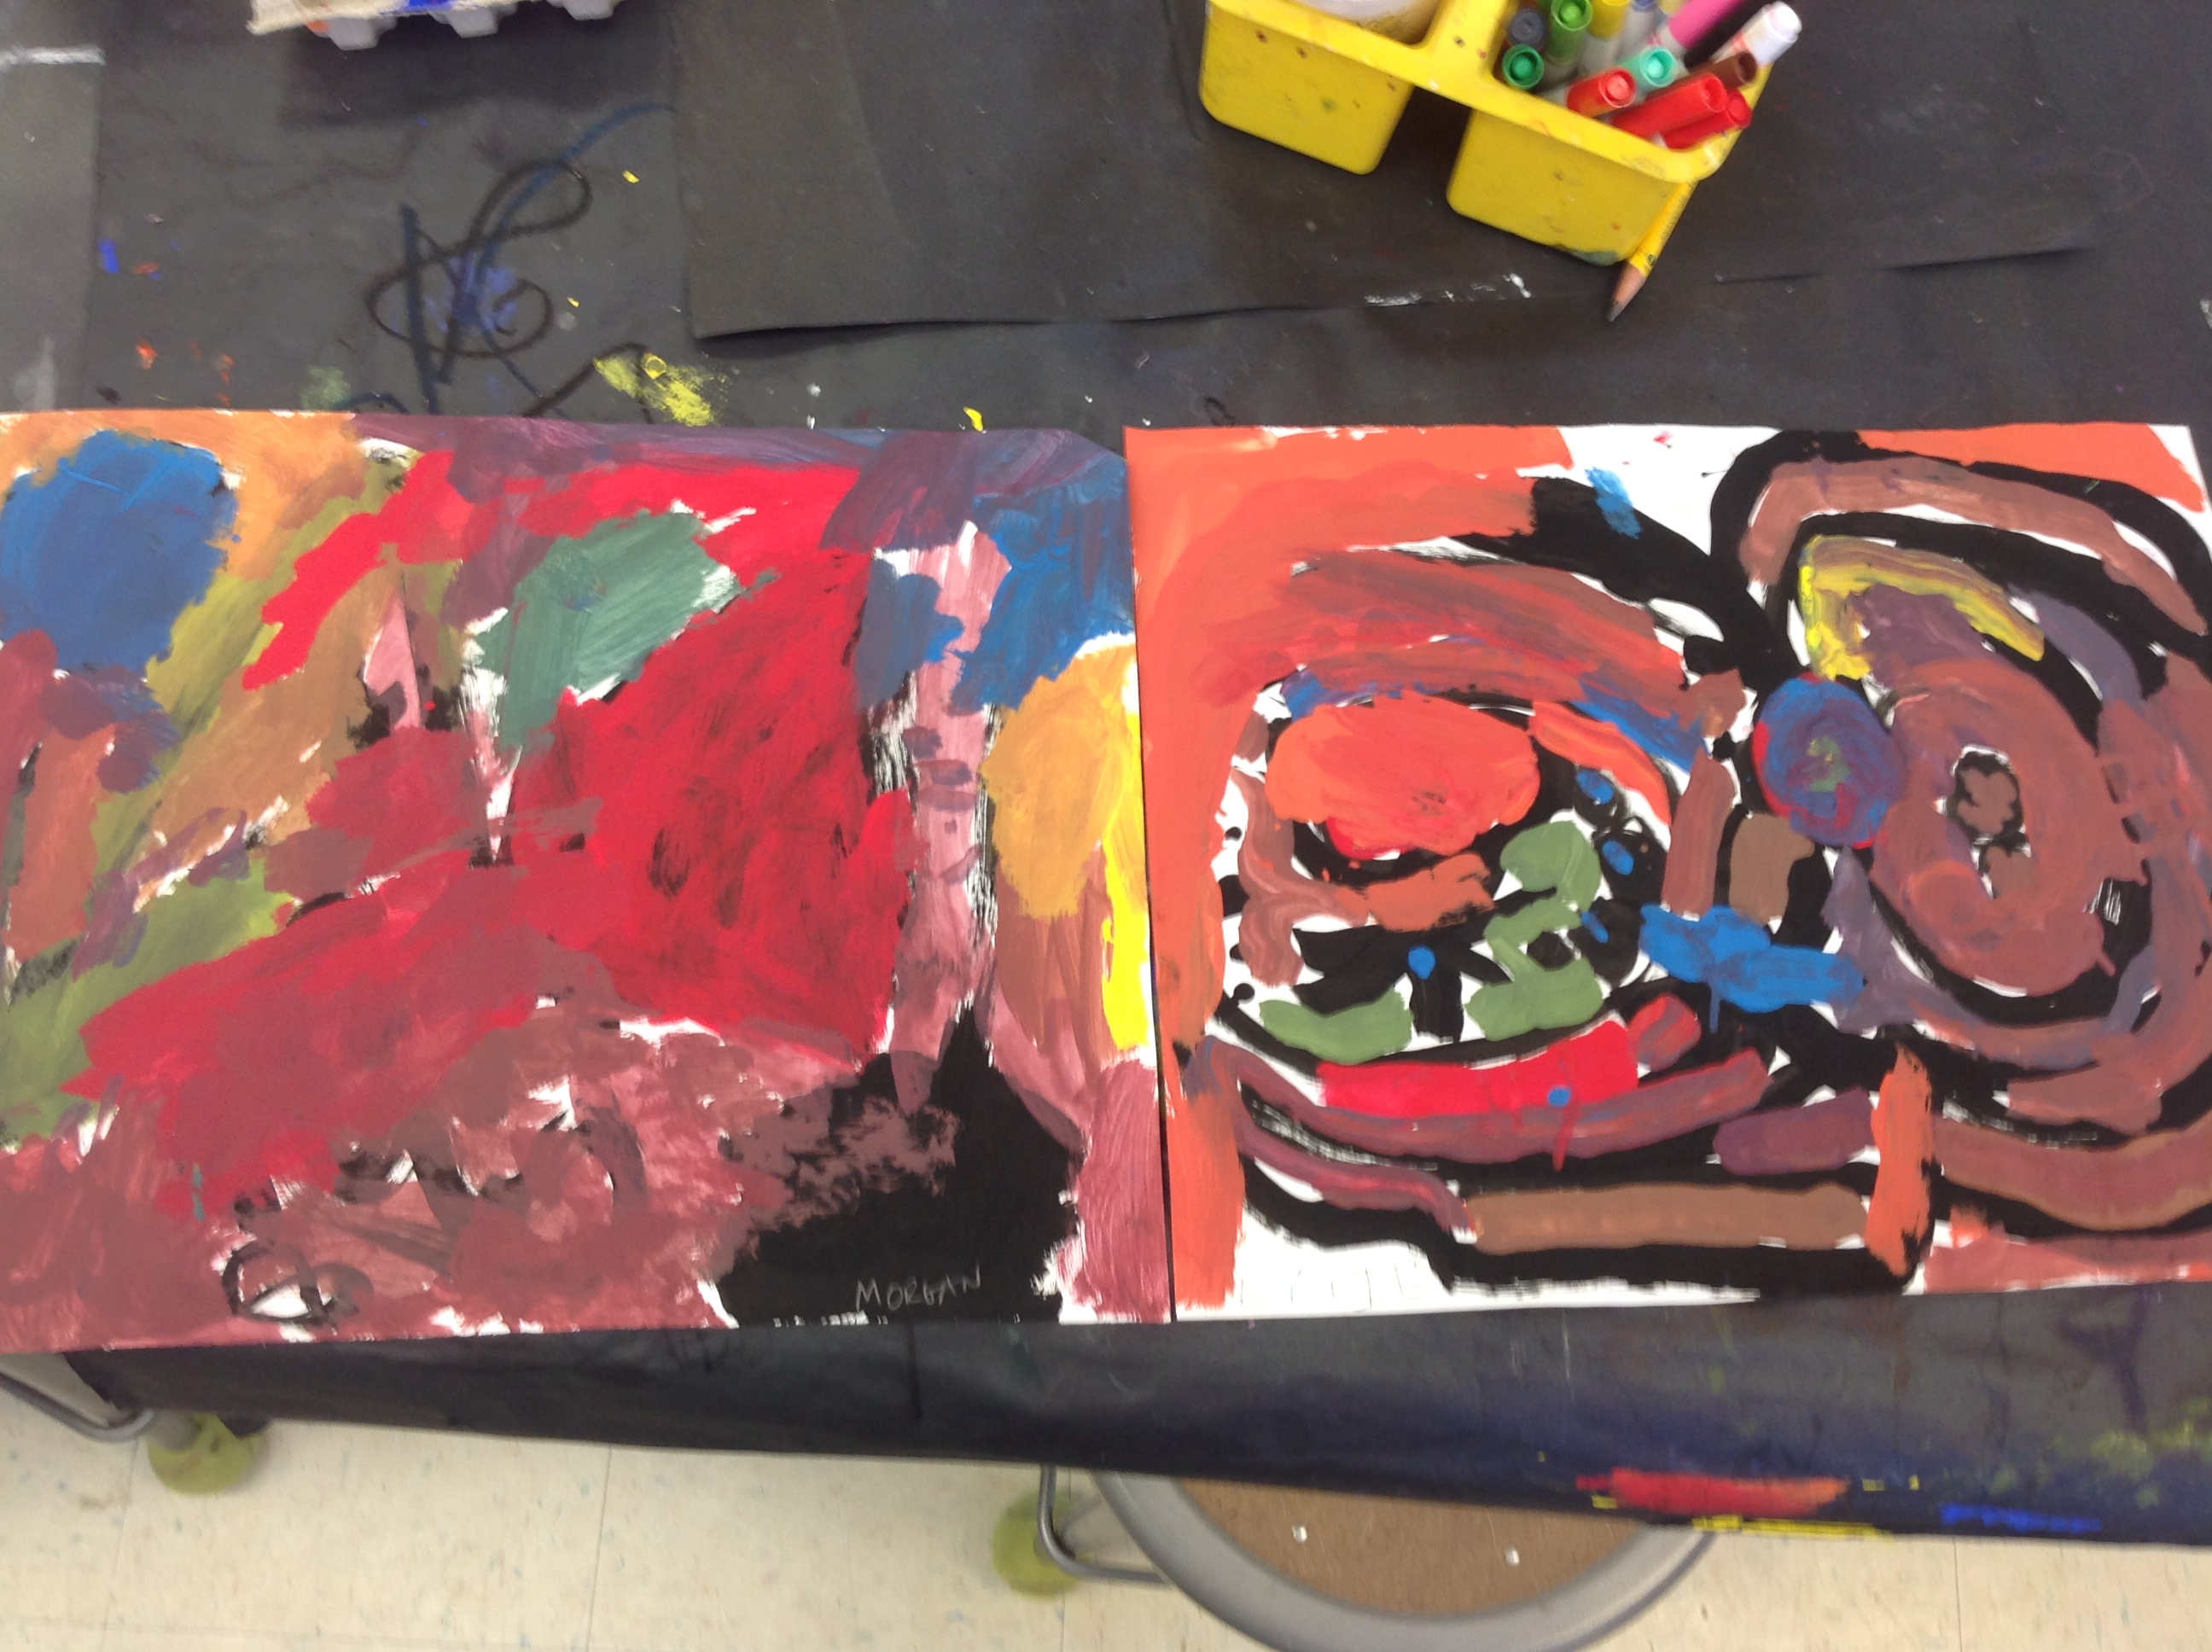
Lines and Dots: Kinders then spent the following art class painting to music. I talked about how they were not going to paint something specific beyond lines and maybe dots or shapes. They listened to three different songs: Eric Satie’s “3 Gynopedies”, Stevie Wonder’s “Sir Duke” and Devotchka’s “The Winner Is.”
Each painting corresponds to a song. They had to let their paint brush move to the music. They only used black tempera paint. They were very focused and took their time painting. It was pretty magical.


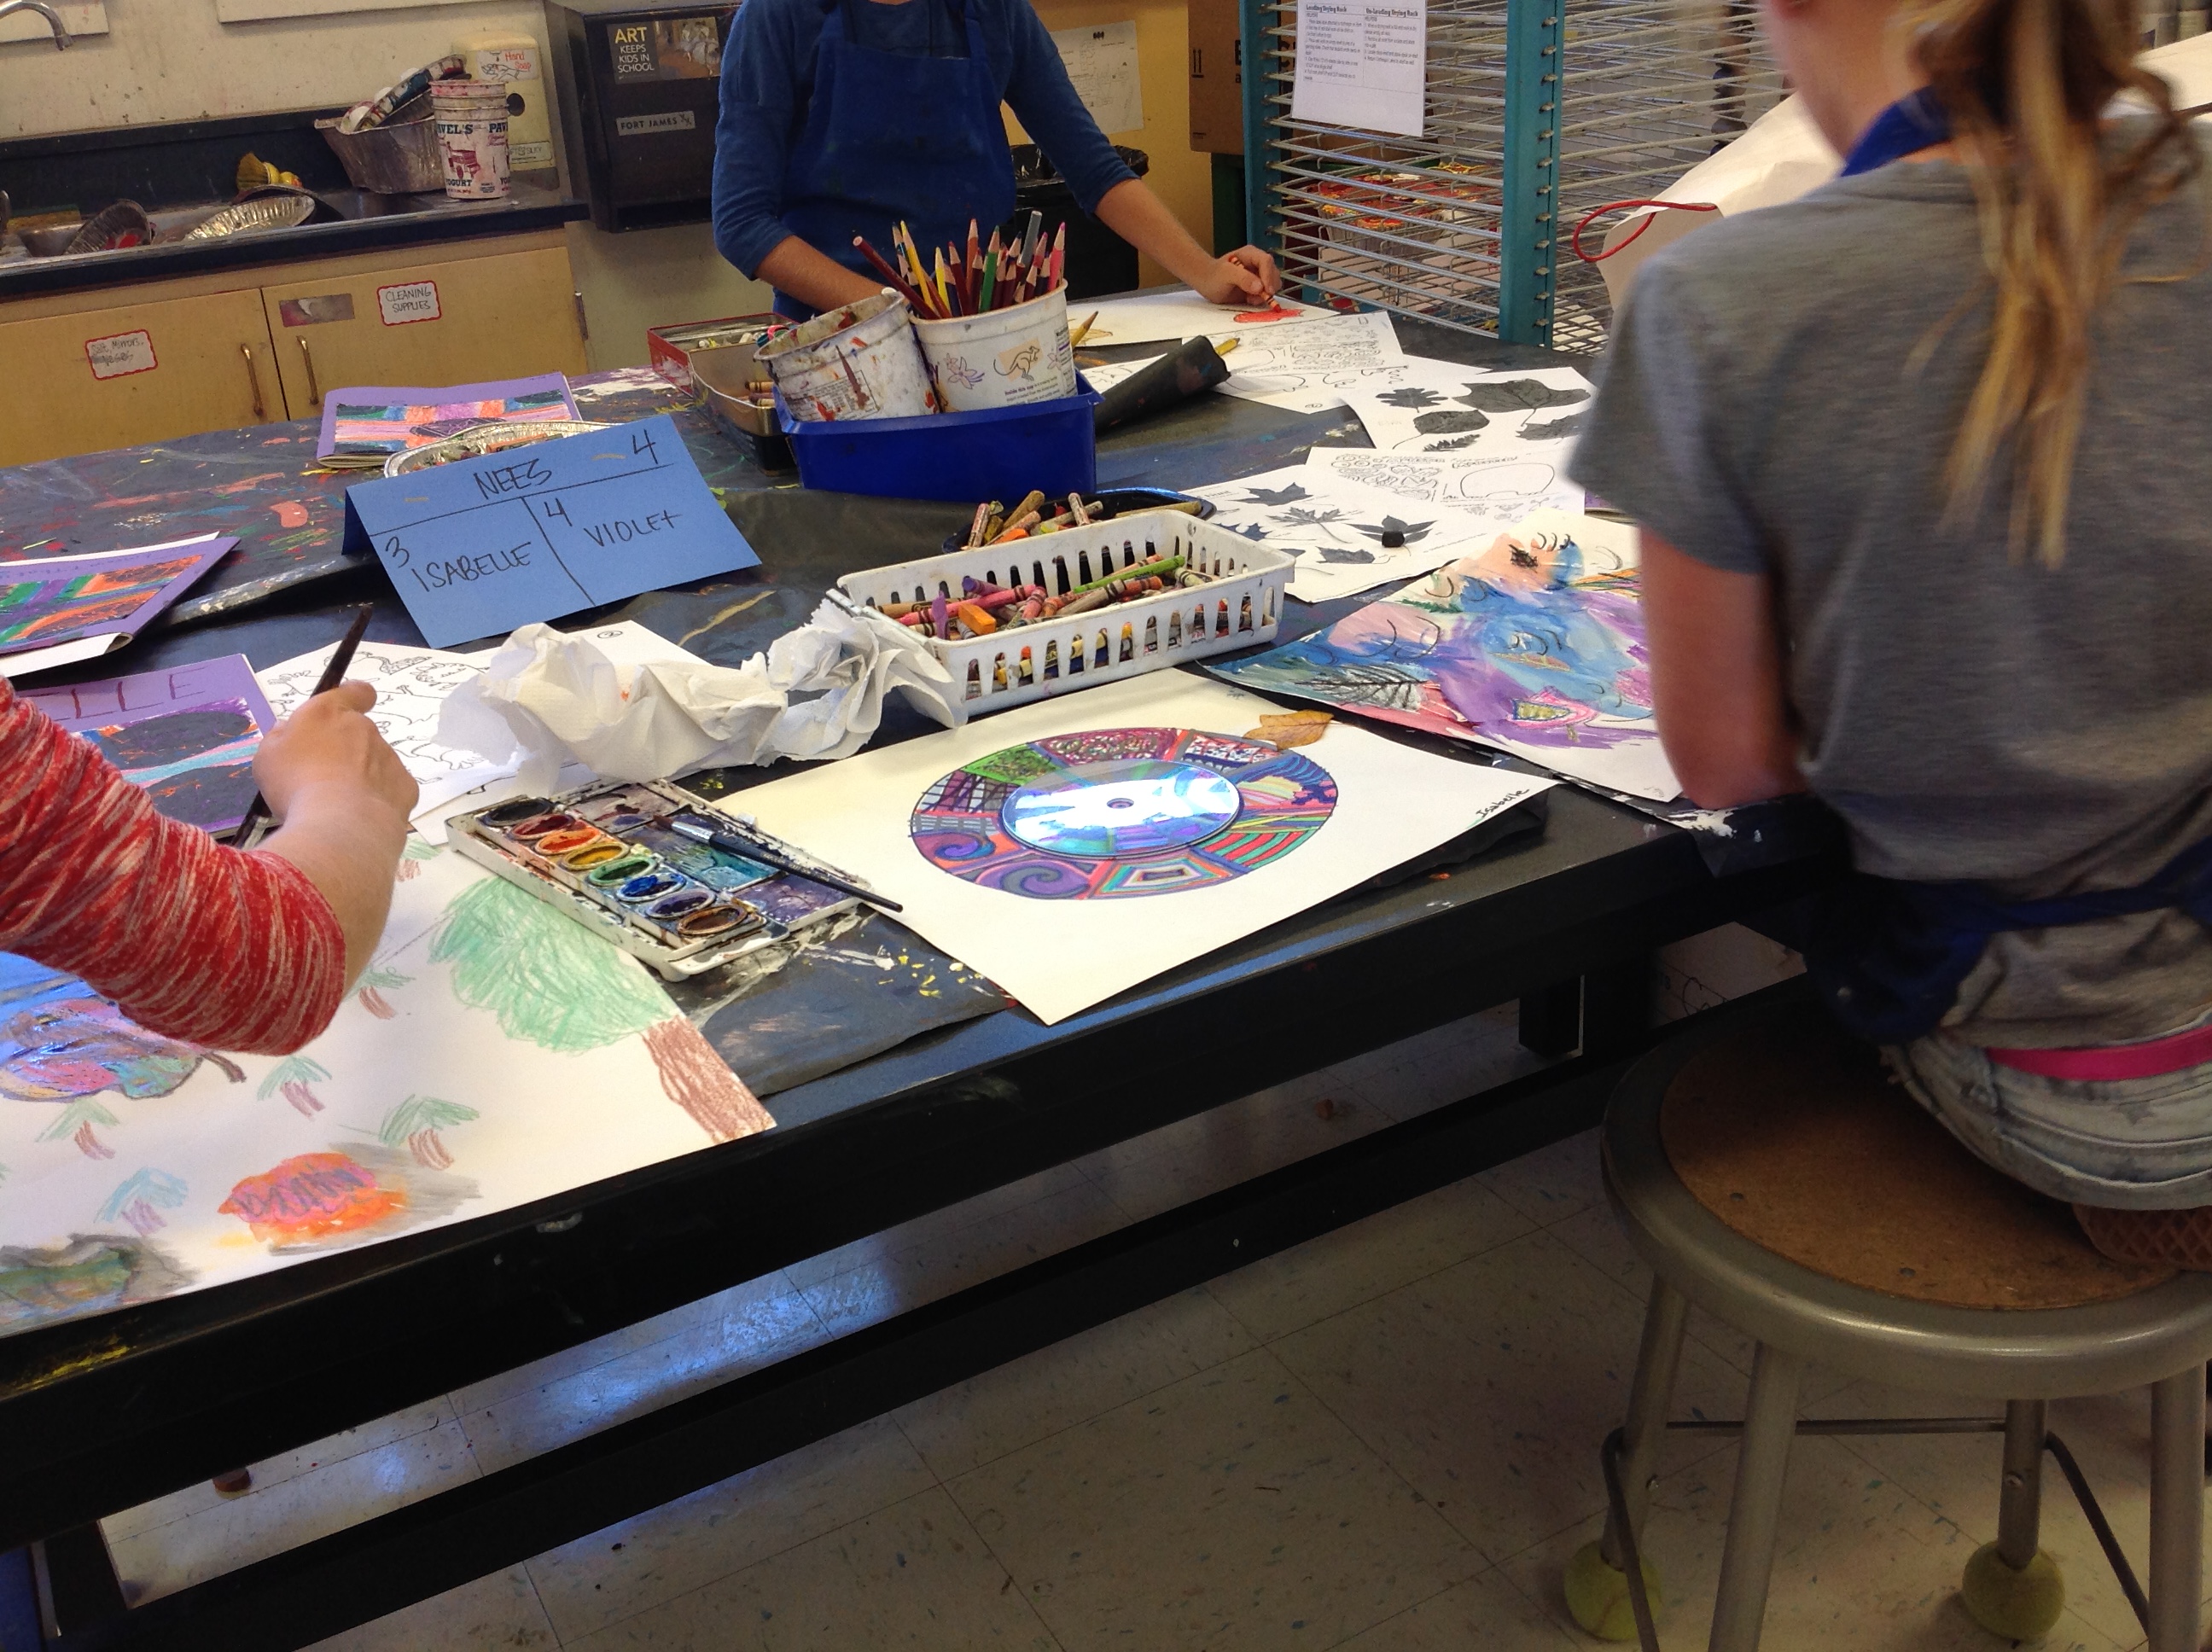
All students sit at art tables in groups of 4. They have the same seats for a semester and will move places after the winter break. Tables are each given a corresponding color. Each seat at each table corresponds to a number between 1 and 4 and each number corresponds to a job that a student must perform during art class.
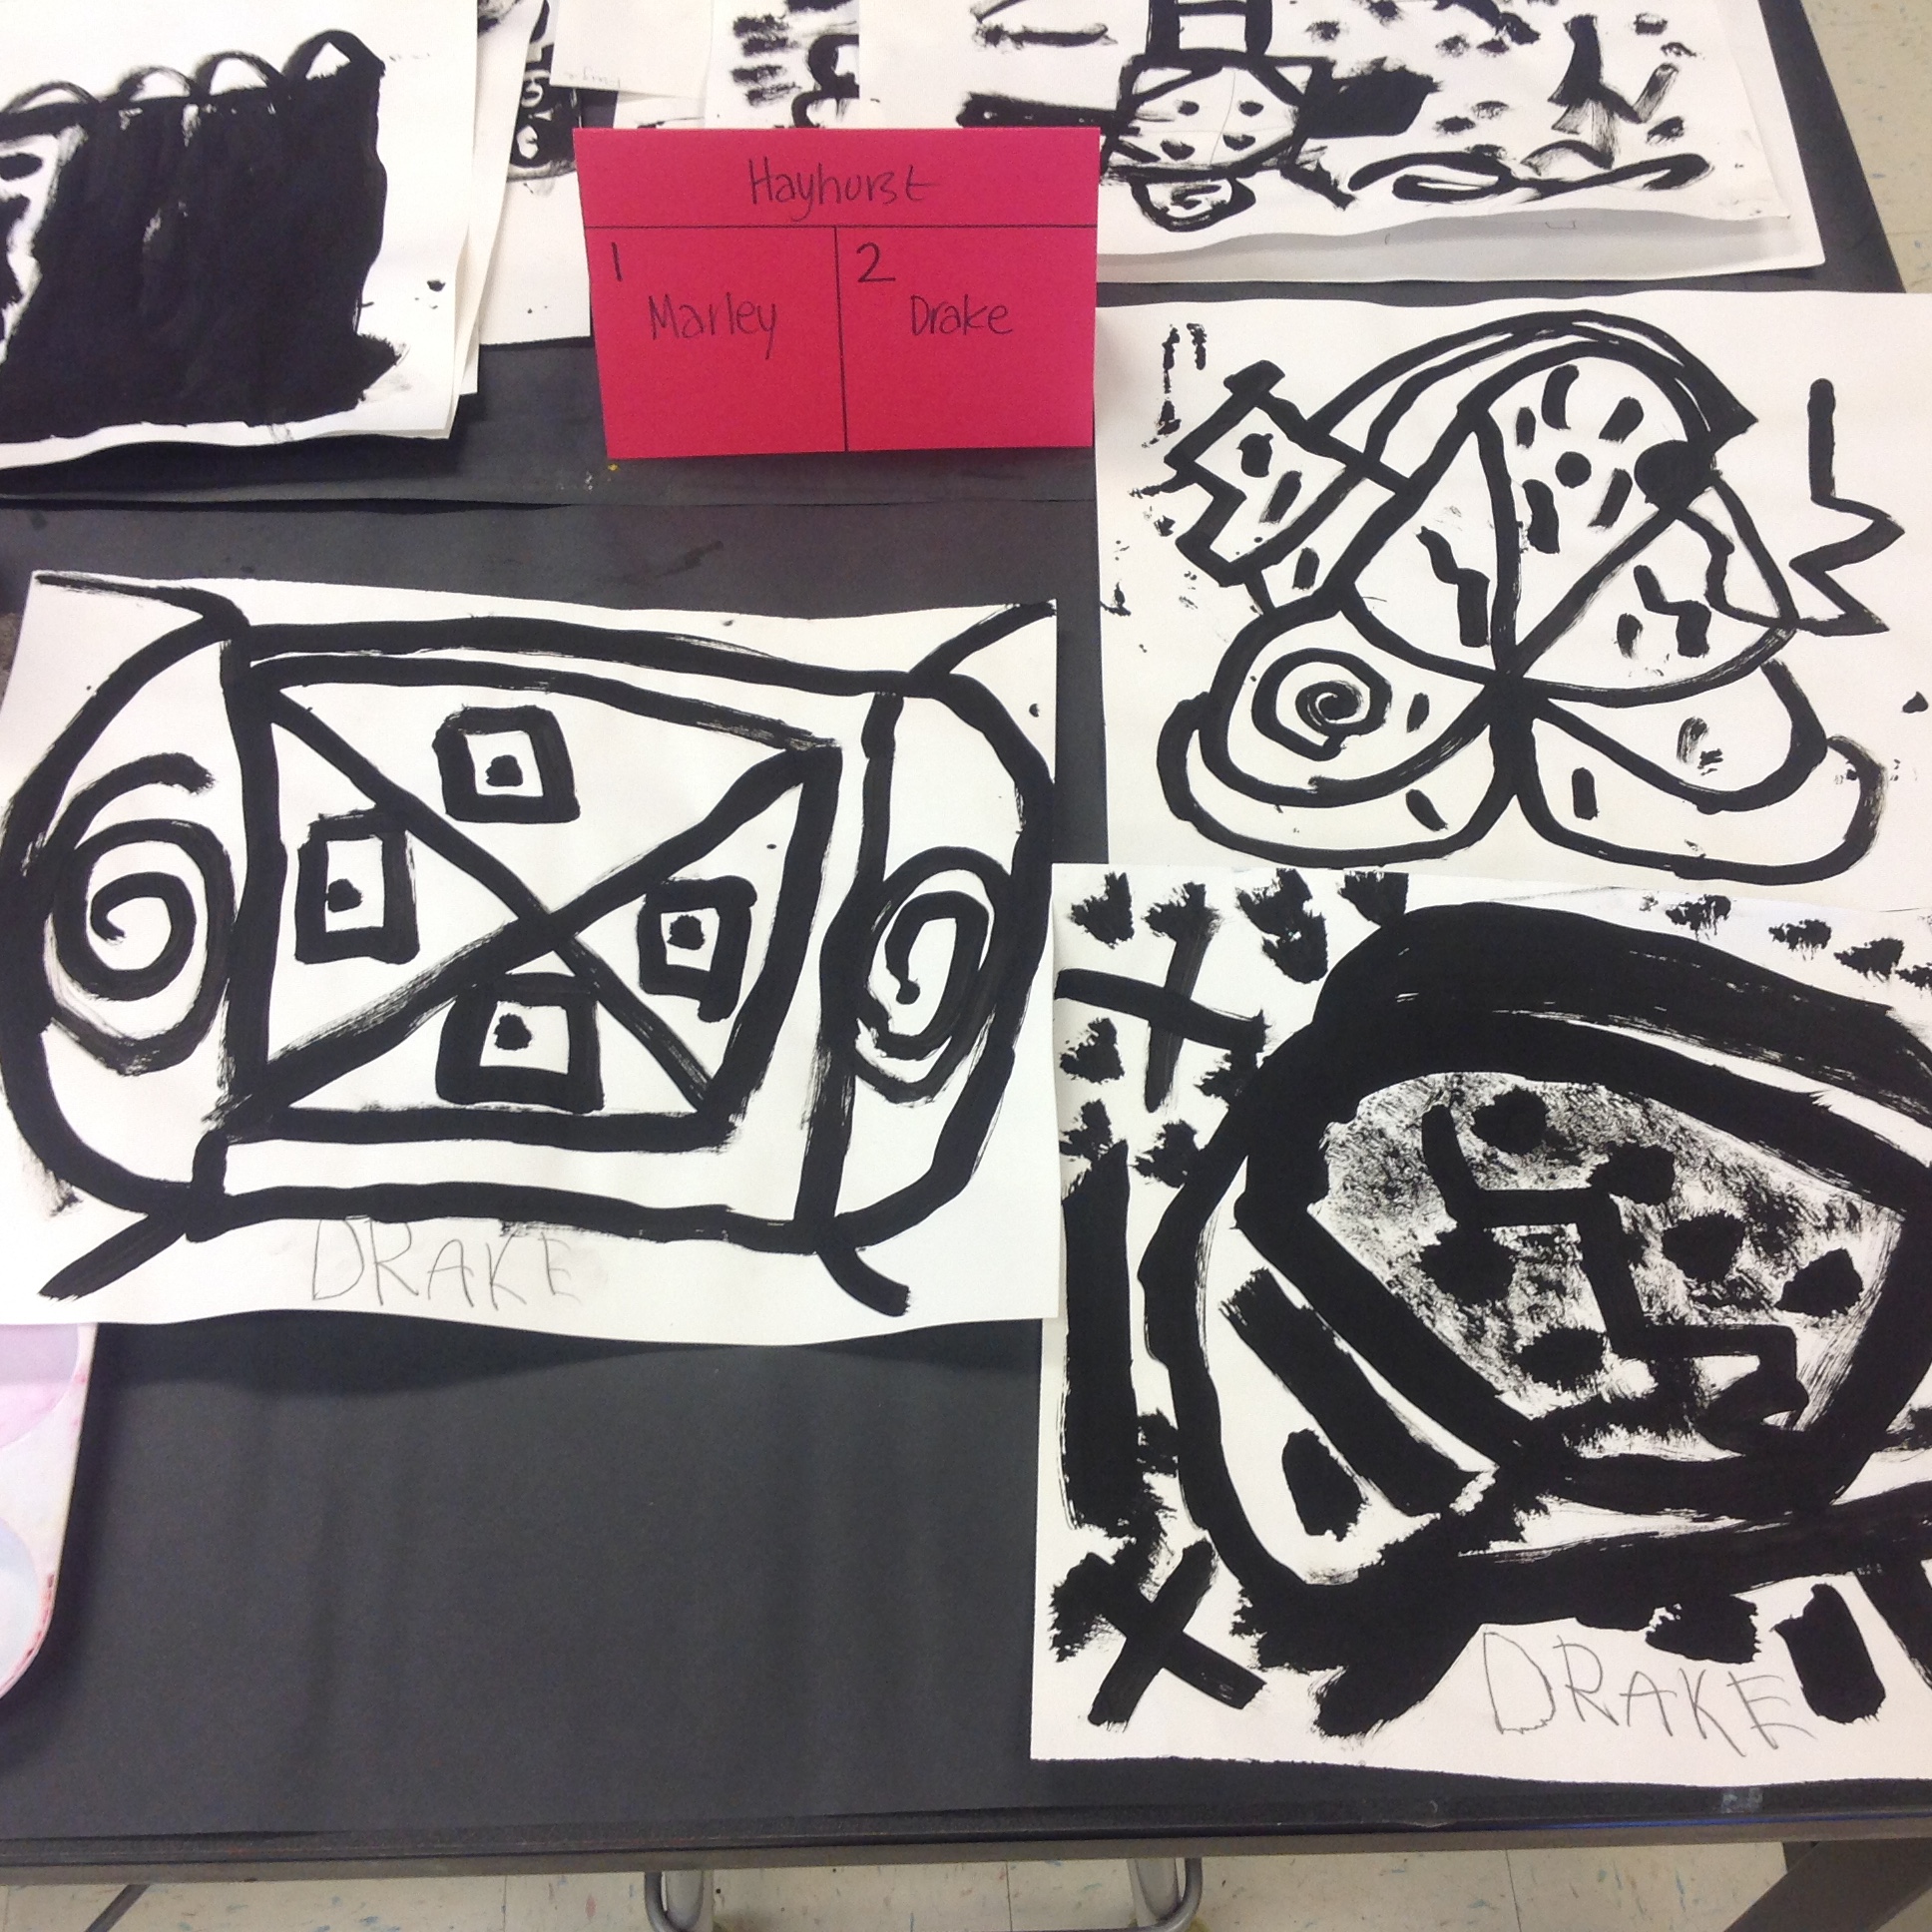
Color Mixing: The following art lesson Kinders learned about primary colors and learned how to mix secondary colors. They painted inside the lines of these black and white paintings. They enjoyed mixing and making new discoveries about color possibilities.

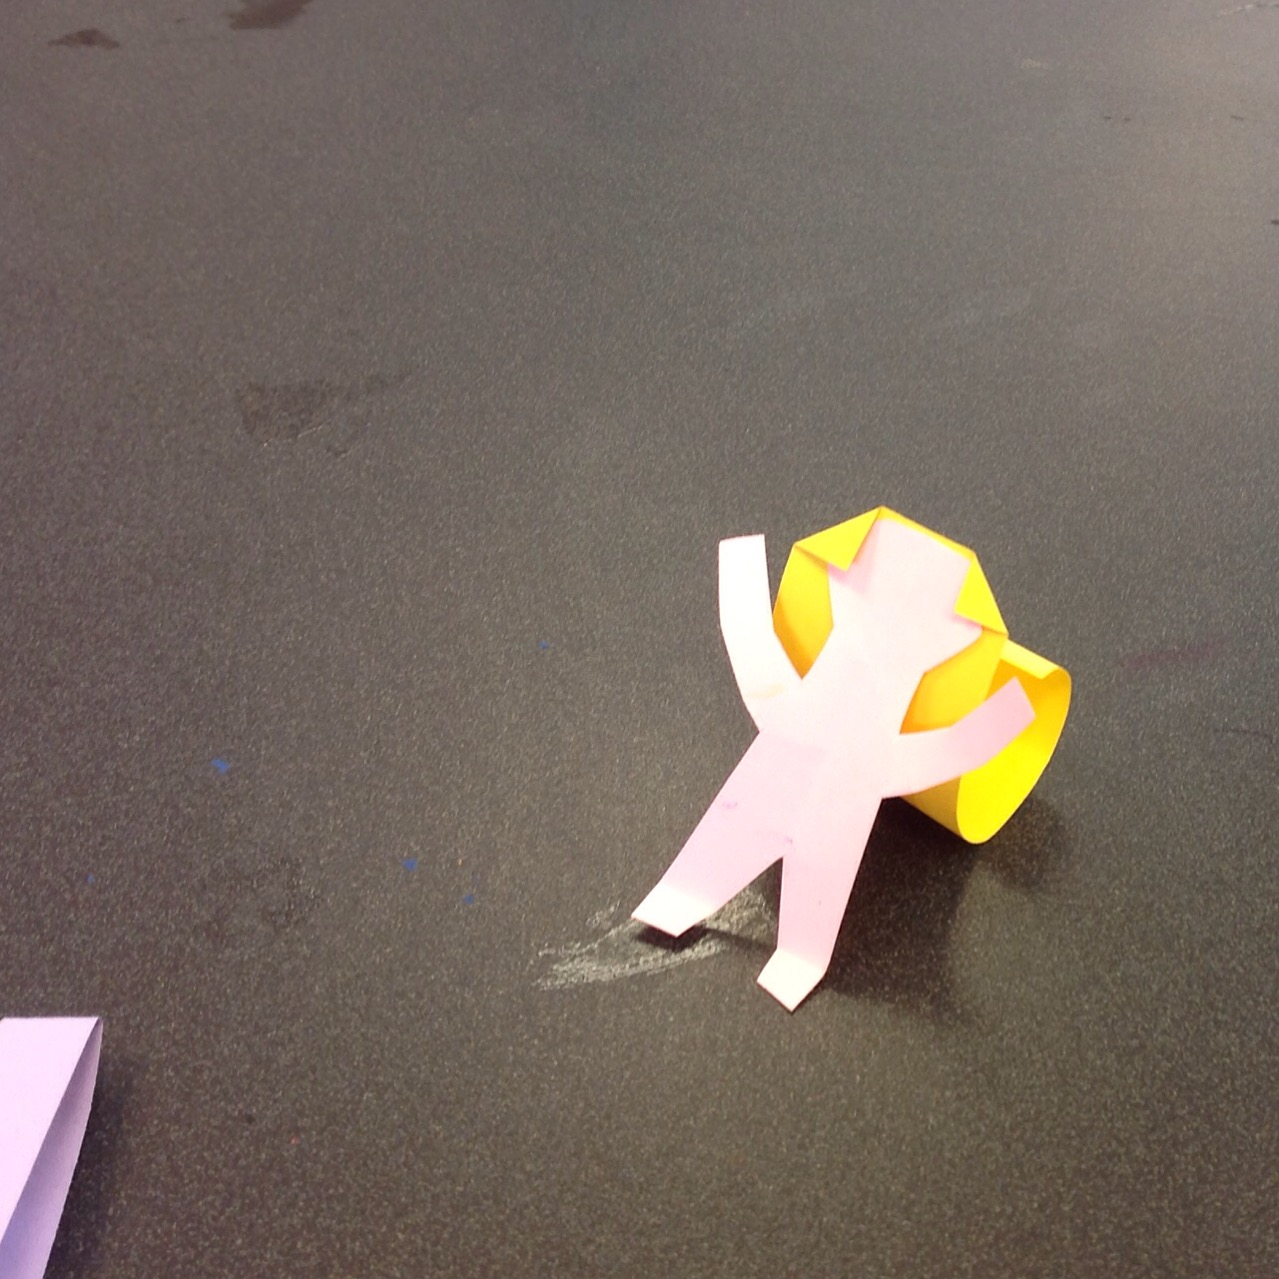
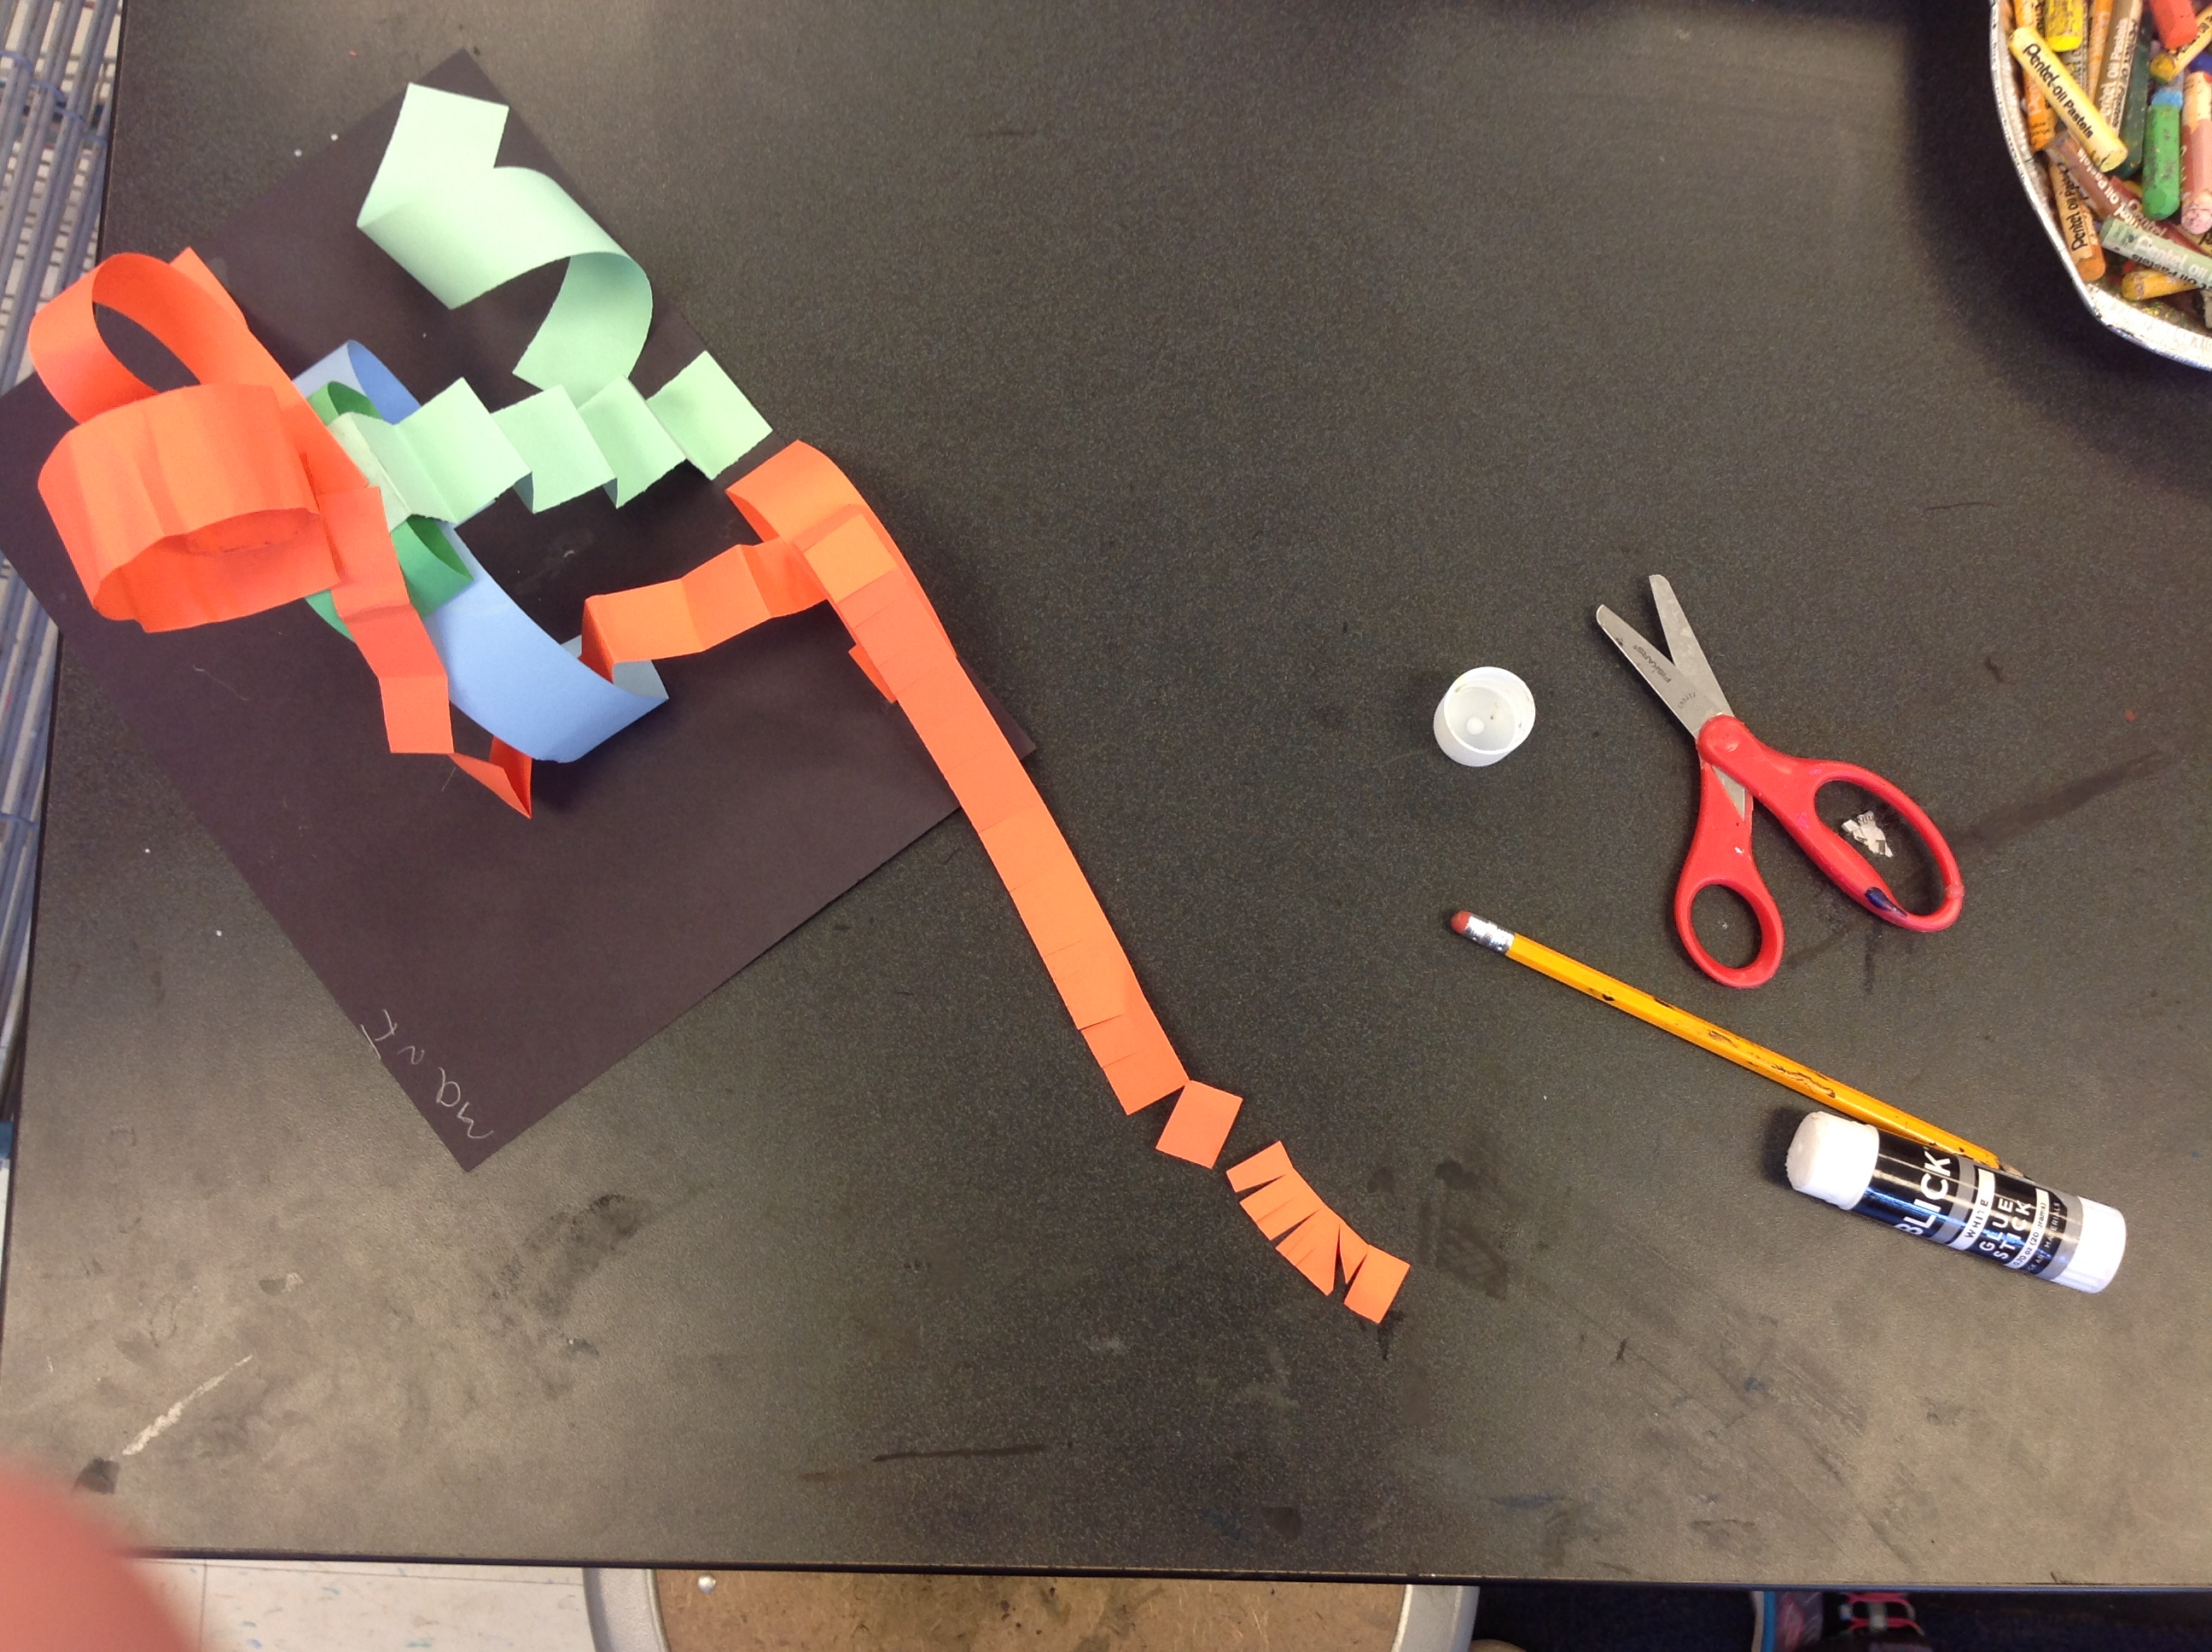
Paper Sculptures: Extending the line unit, Kinders created 3d paper sculptures using strips of paper colored construction paper. It was an opportunity for them to manipulate paper and use their fine motor skills with twisting, cutting, bending, folding and gluing the paper. The project was open ended and a few parks and playgrounds appeared. They learned how to make paper stand up and sure it was balanced and didn’t fall flat. They made curled paper, paper stairs, slides, and waves. These projects were taken home.
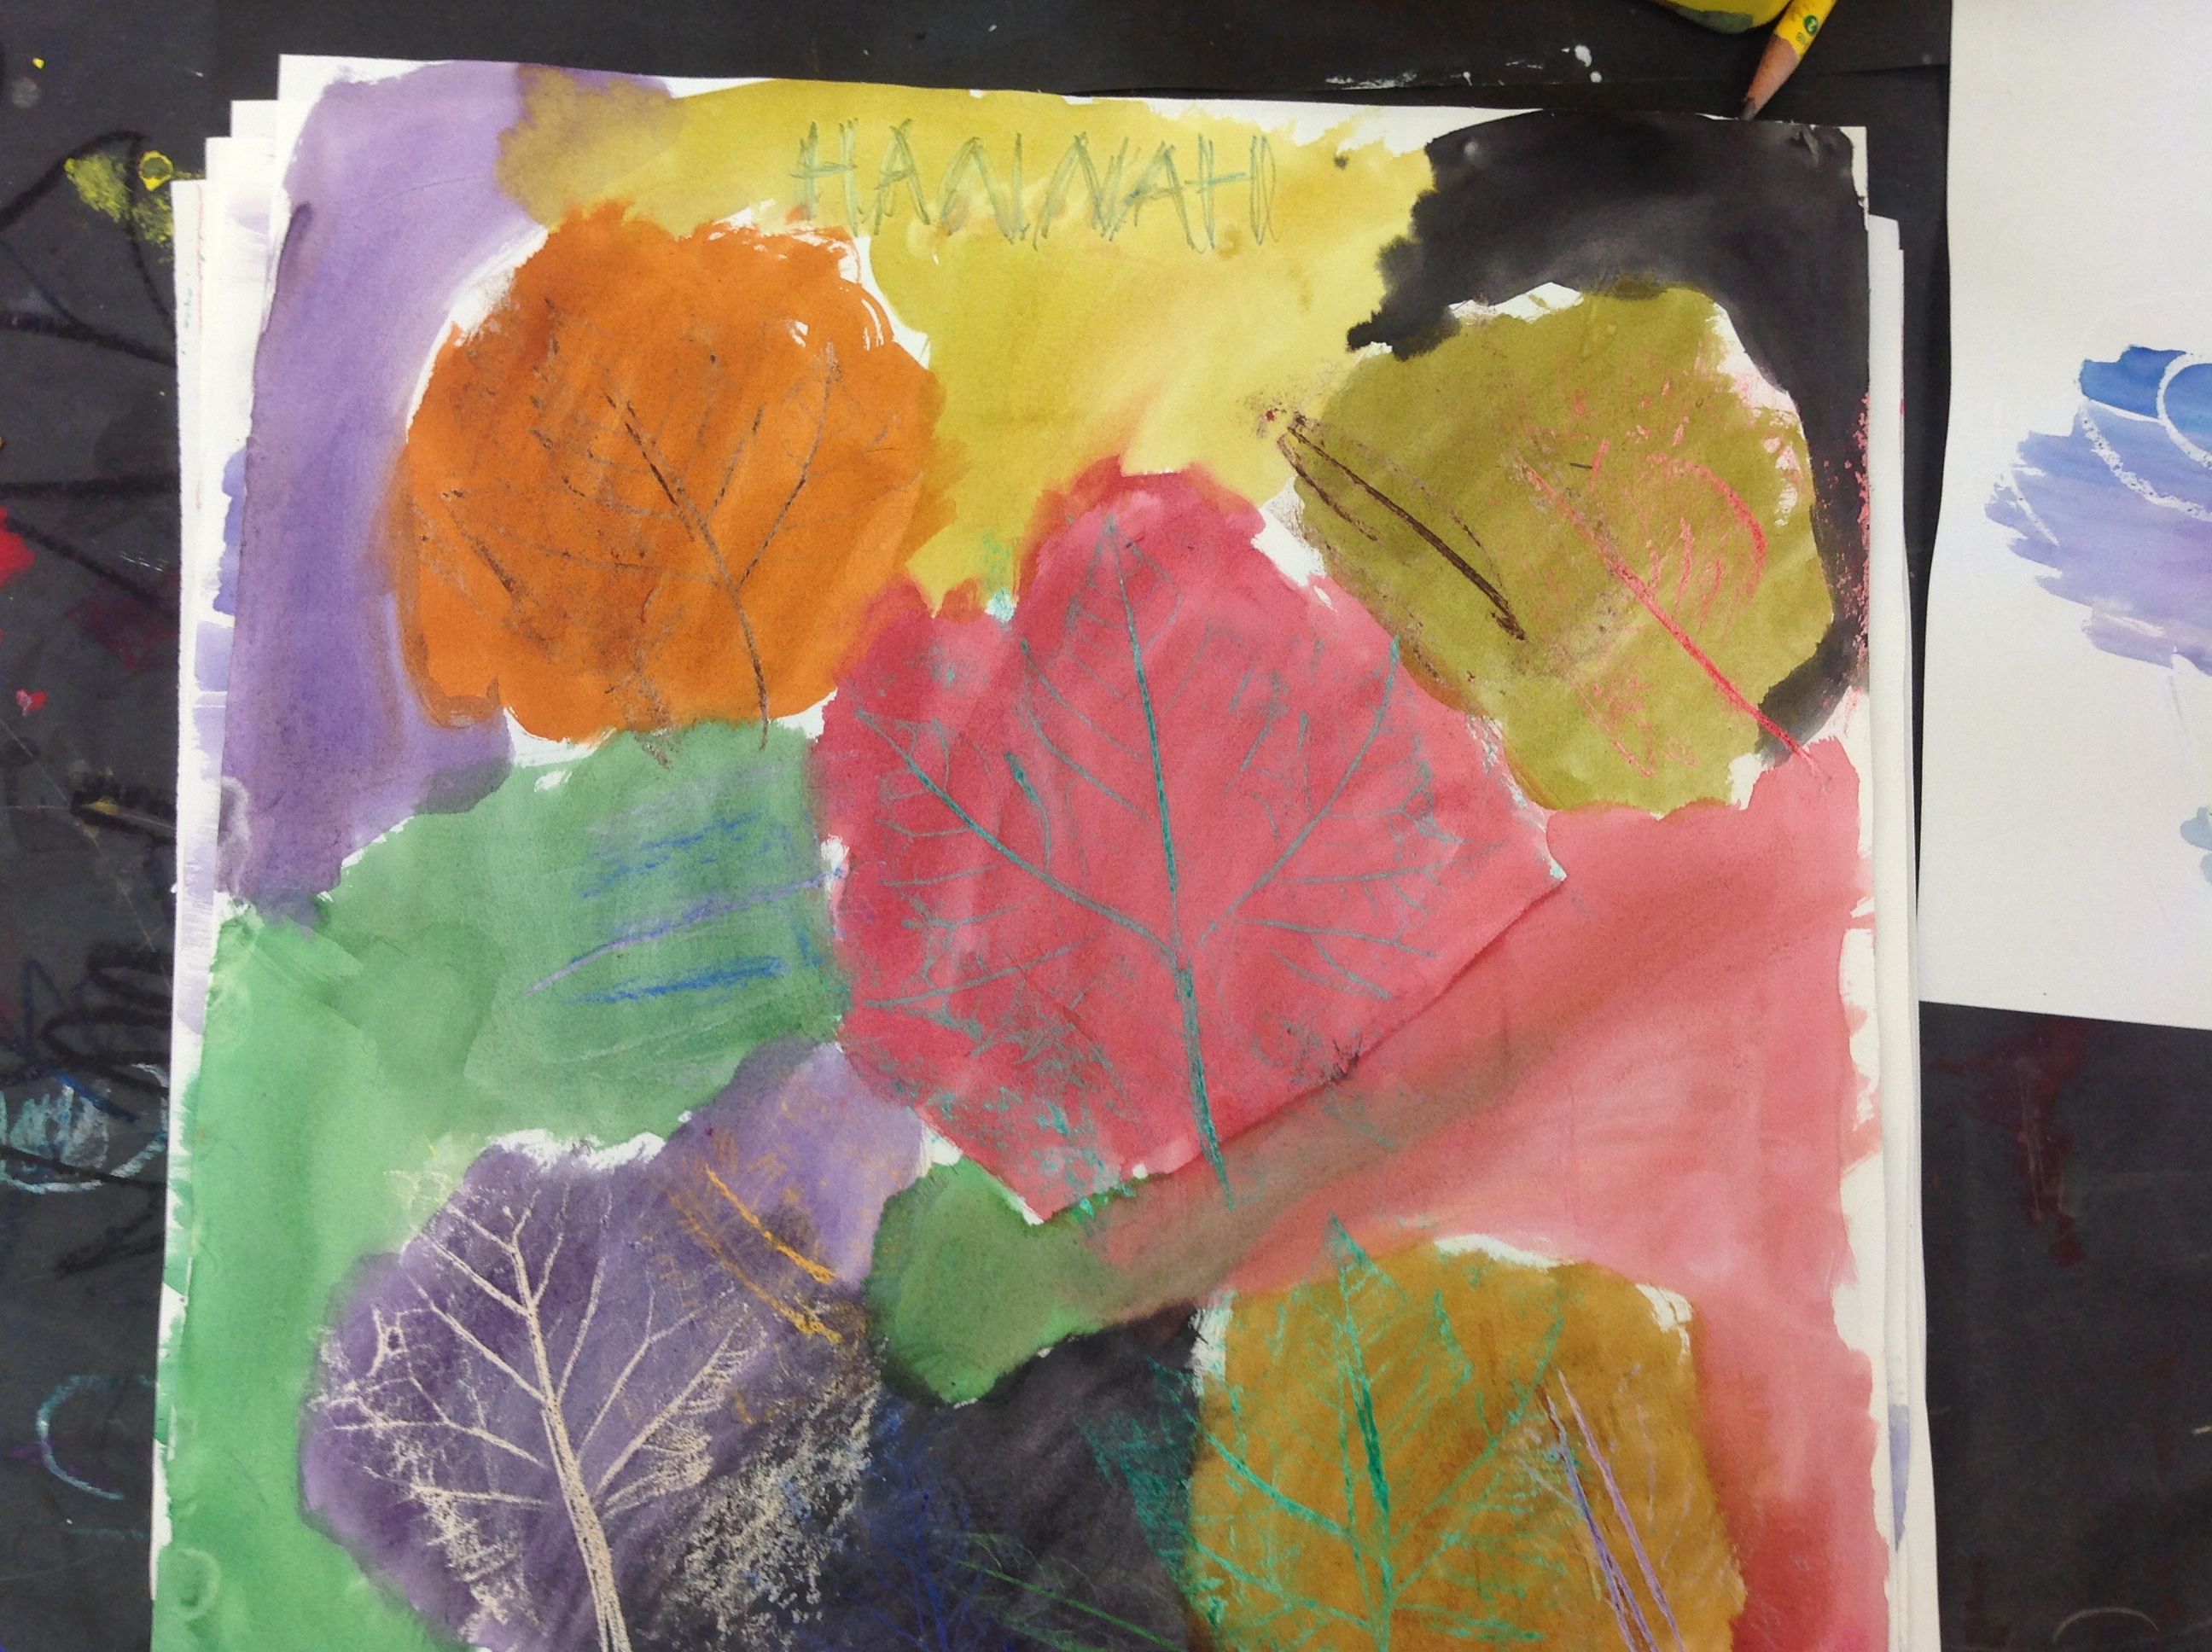
Leaf Rubbings and Watercolor Resist: As fall approached we looked leaves from around campus. Students practiced on a sketch paper using crayons and leaves to create leaf rubbings. They learned how to pinch the unwrapped crayons and rub the paper that was covering the leaves. They looked at and felt the bumpy, matte, veiny sides of the leaves. They then created a final piece and used water cool for a resist.
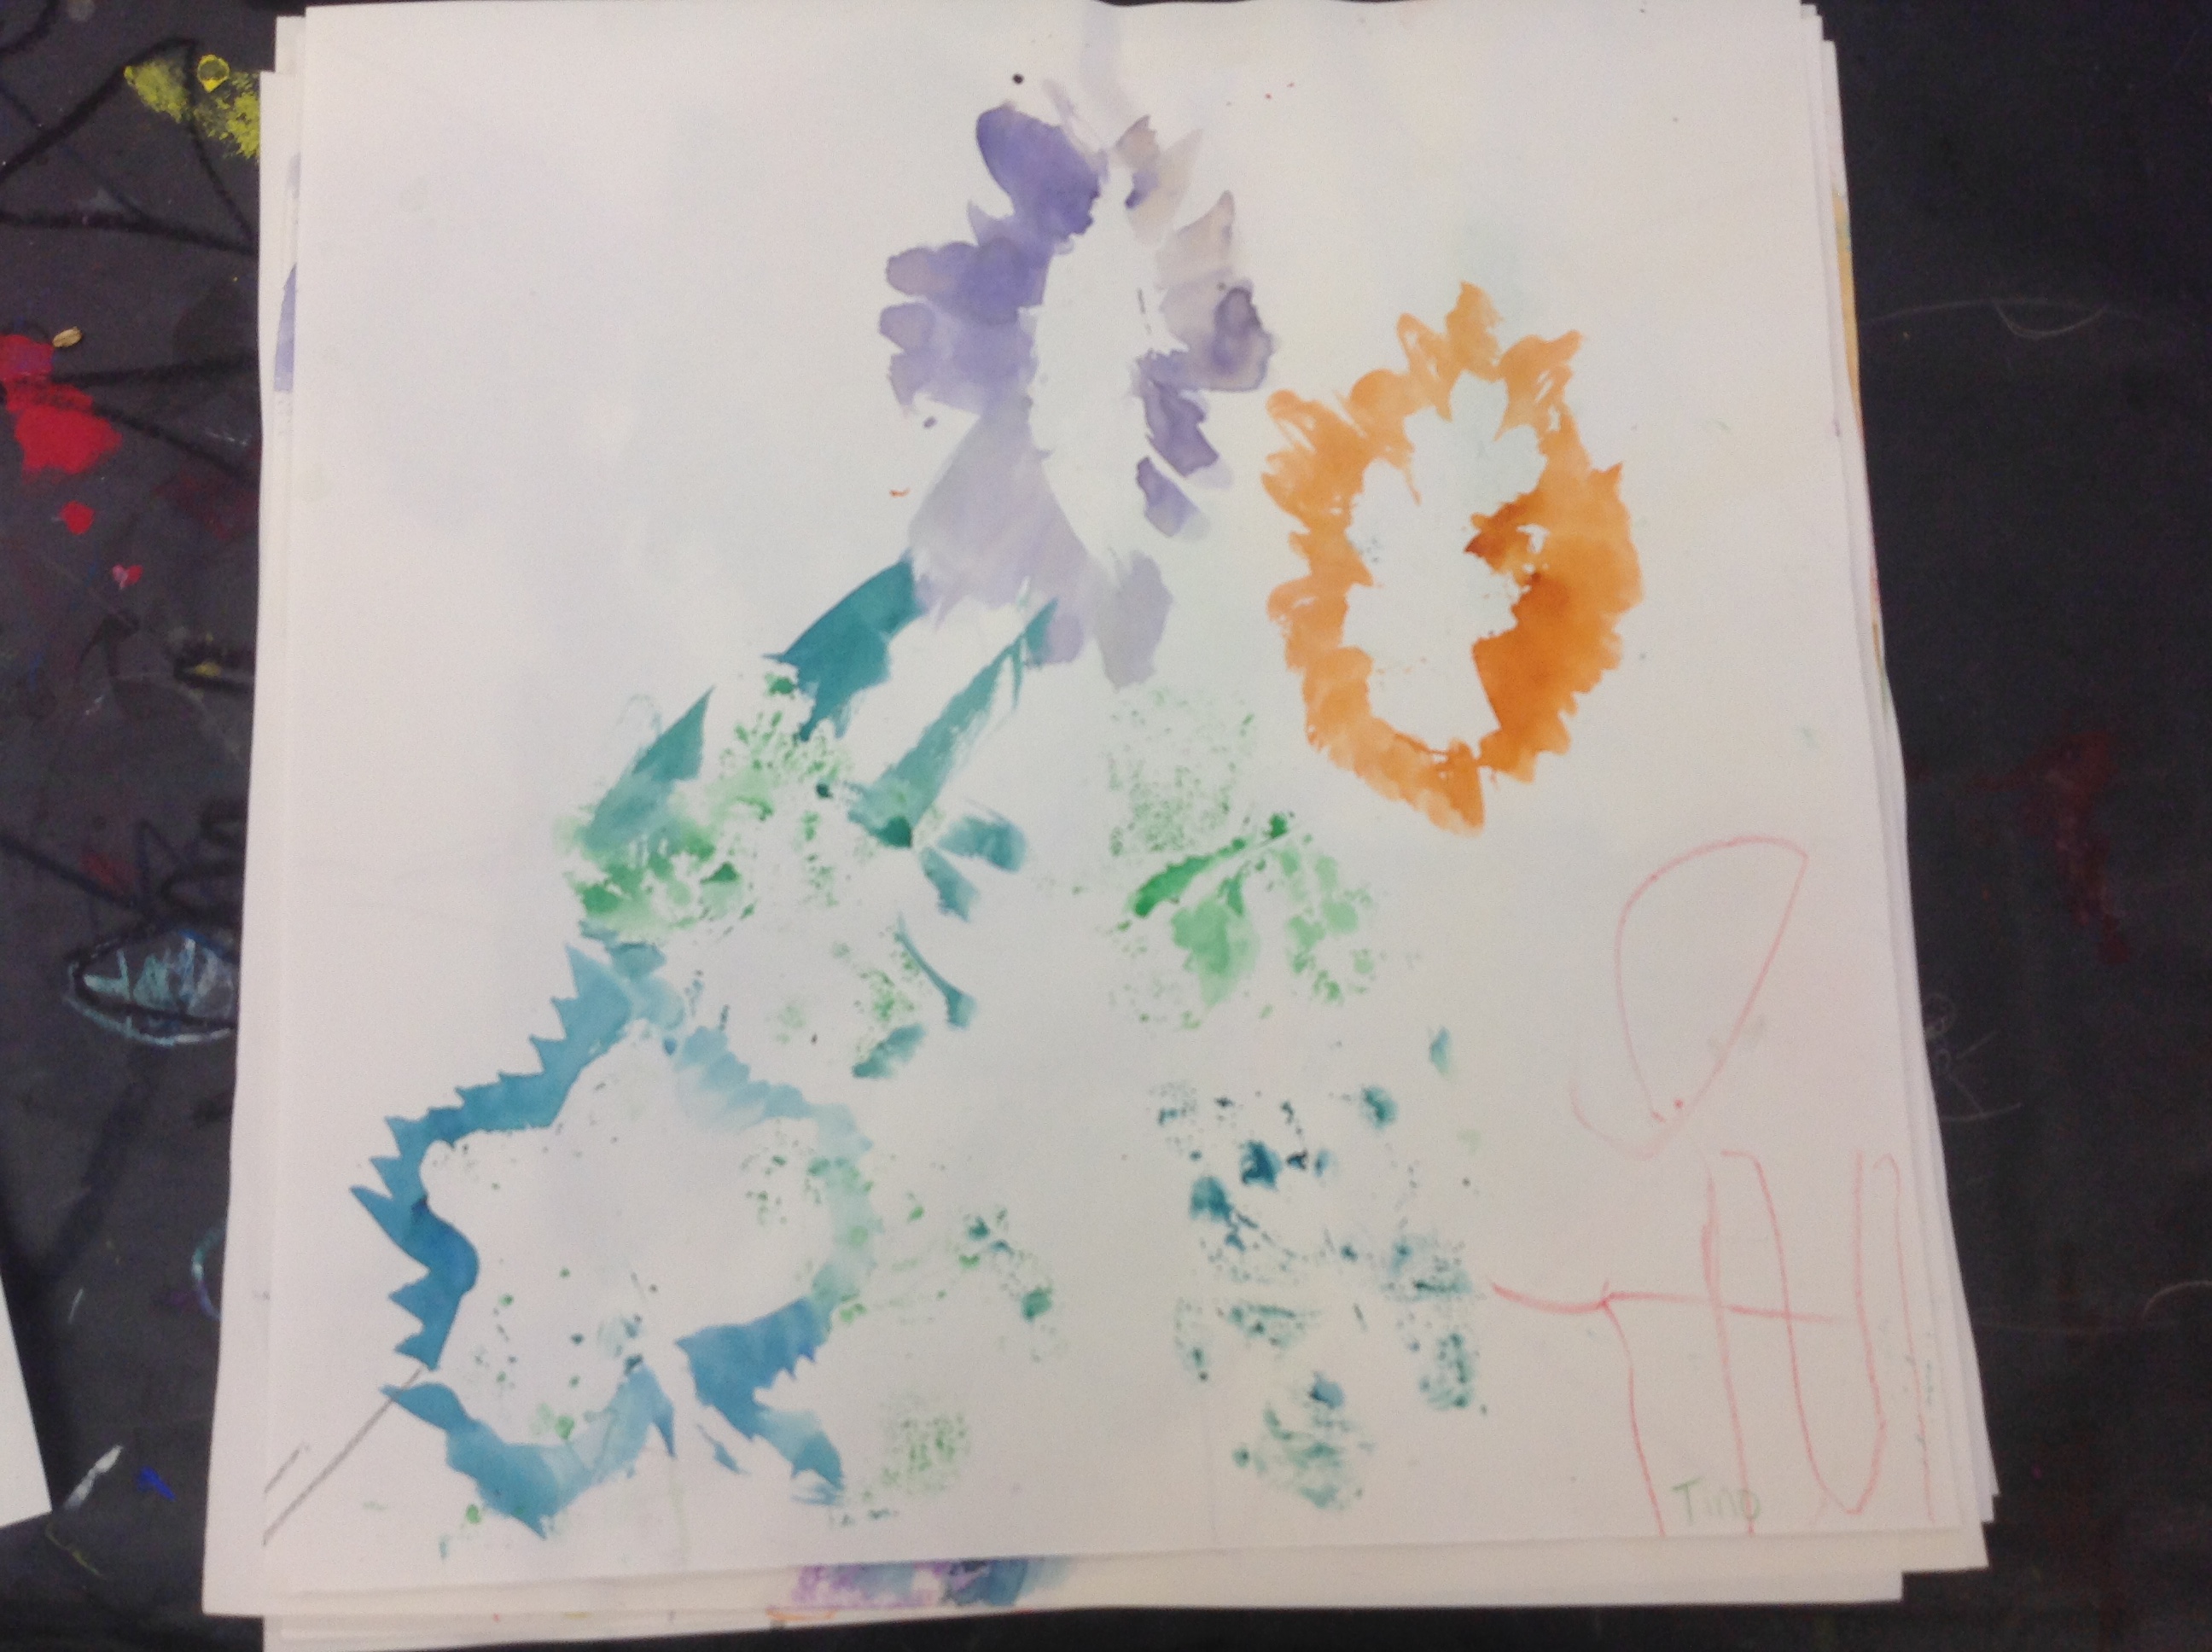


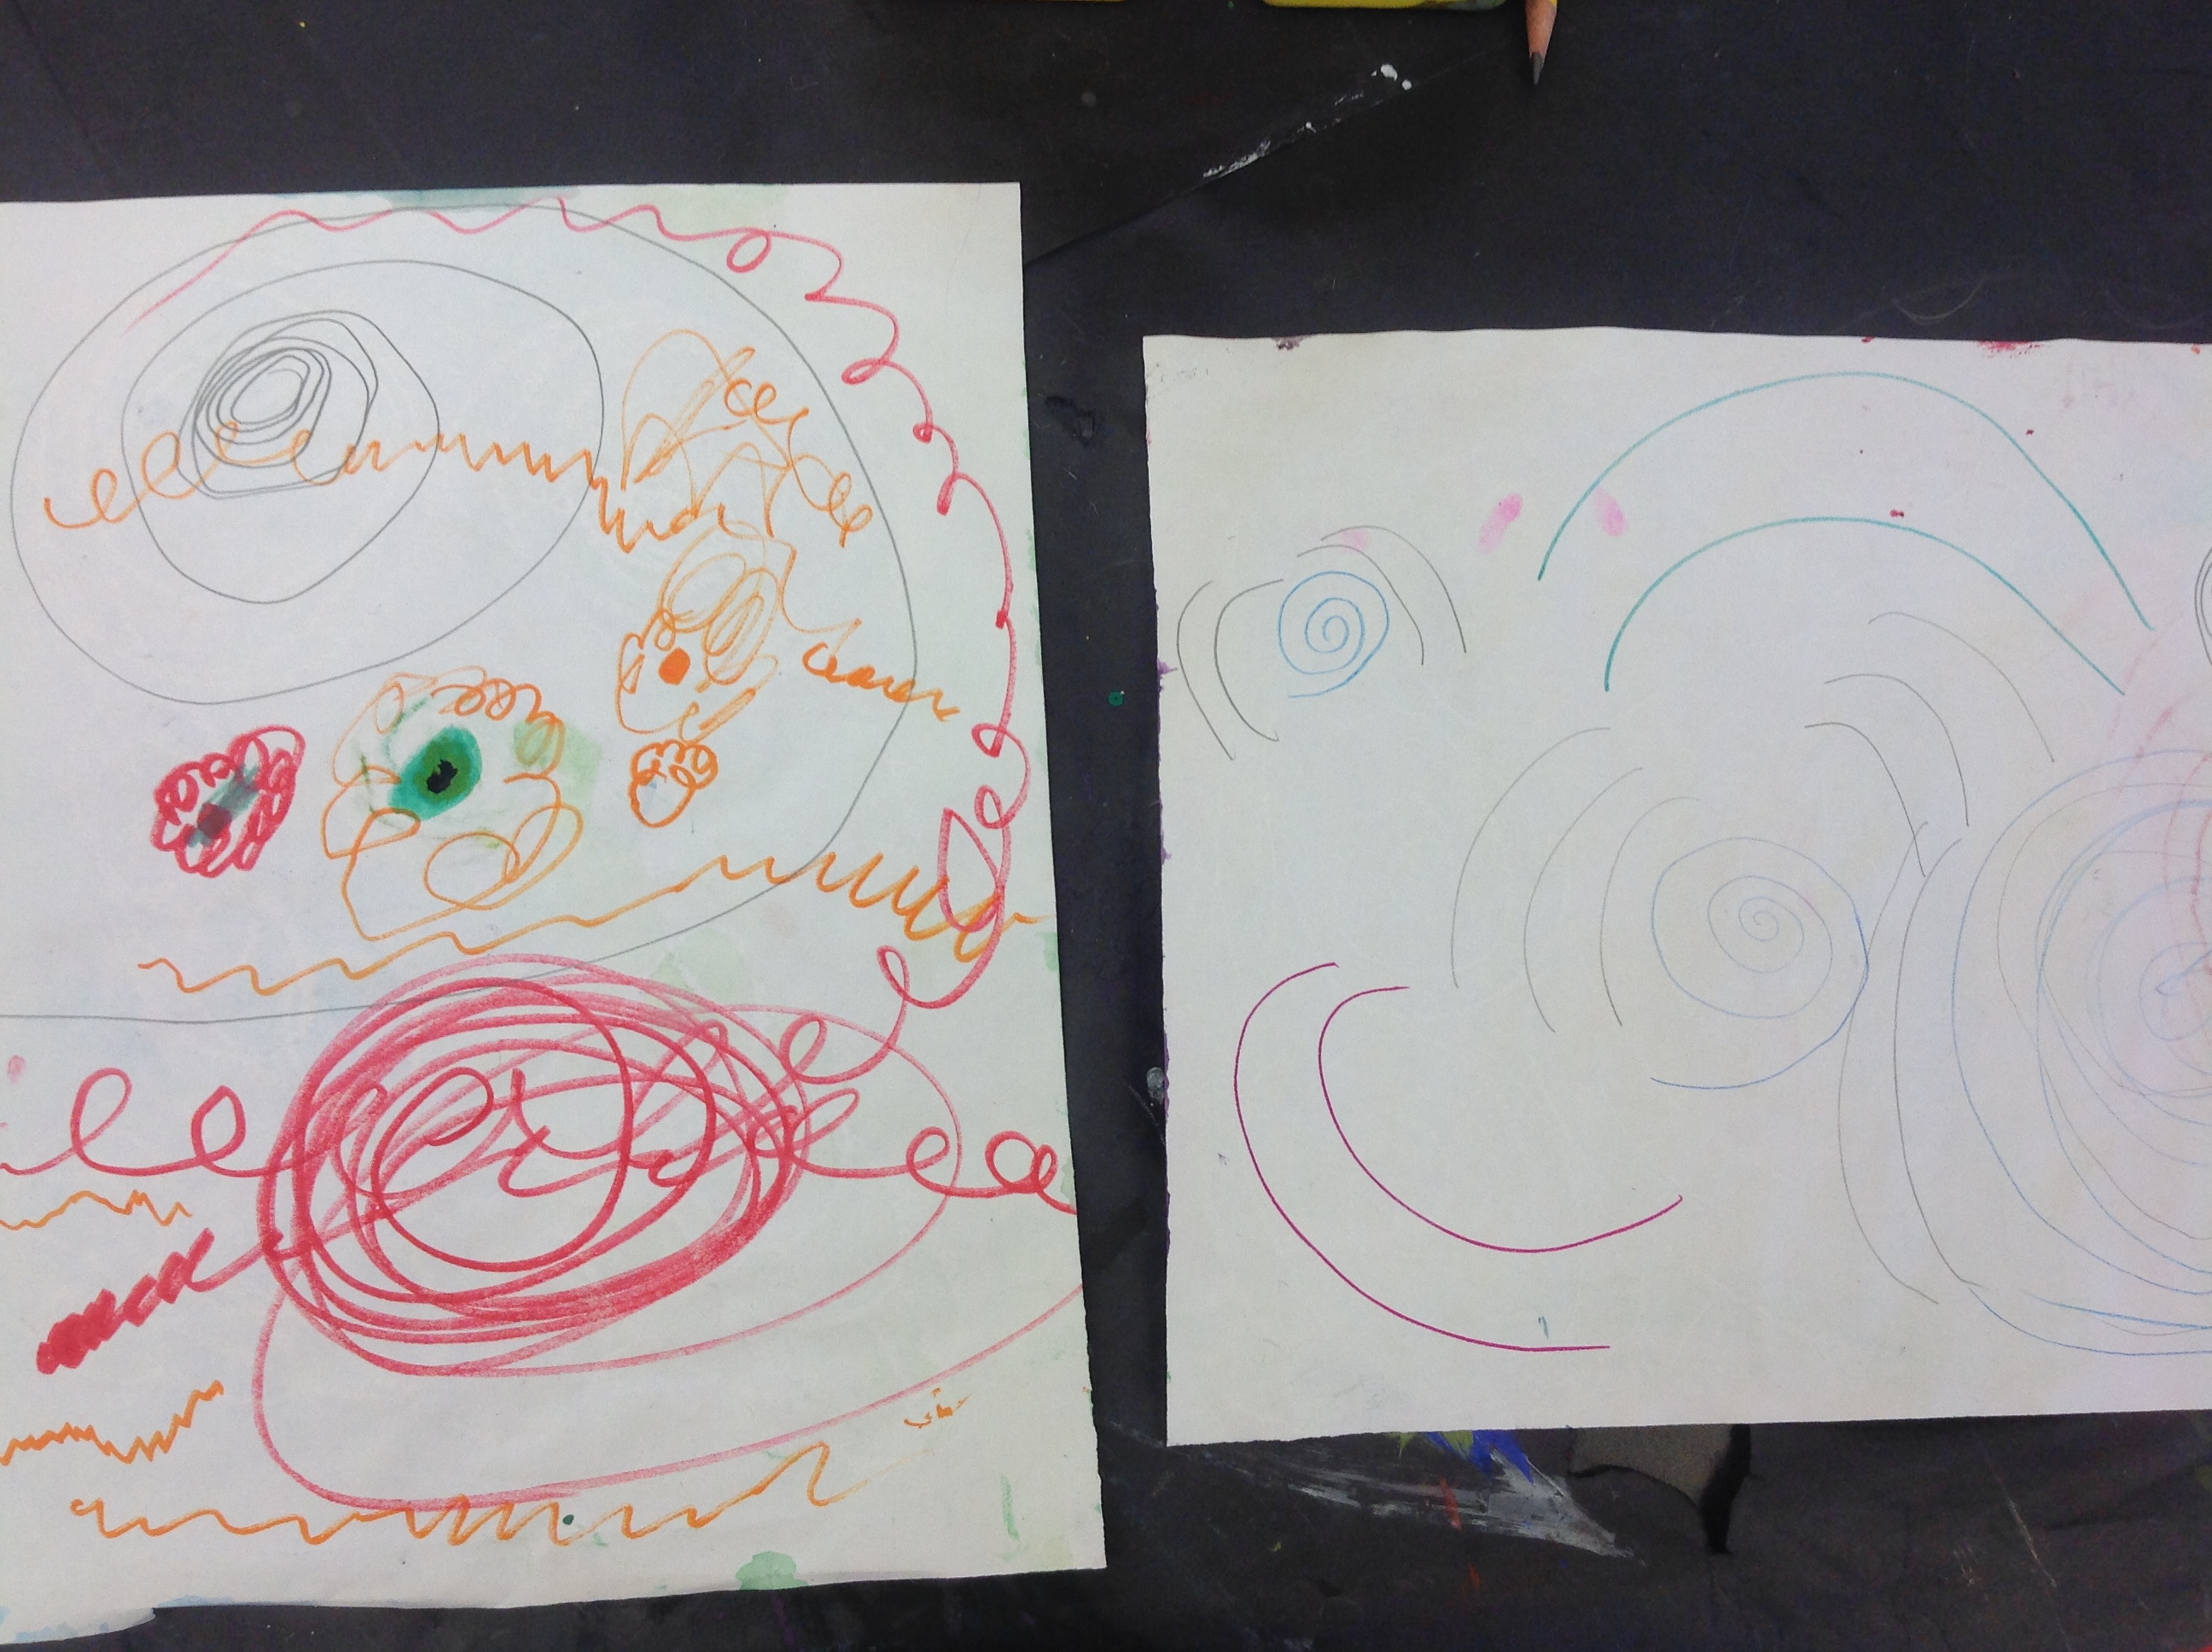
Spirals and Rain: We began moving into shapes. I thought it would be good practice for them to draw spirals. Seeing as California has been in a drought, I thought maybe the students could paint the rain that is so needed. We looked at images of rain and puddles that are created as the rain falls. They knew that spirals occurred in nature in whirlpools and snailshells 🙂 Students practiced drawing spirals in pencil and then flipped over their papers to create a final oil pastel and water-color resist of a puddle scene. They practiced using their water-color brushes on the side to cover large areas of paper. They could use cool colors (green, blue, purple) to paint the back ground. They were amazed by the white pastels coming through the watercolor. I love how there is movement and pattern in all of these.


Halloween: As Halloween was approaching we did a few wee spooky projects.
They learned how to make a collage cat using triangles. They drew mini Frankensteins after a brief demo. And then they learned how to paint spooky trees using india ink.
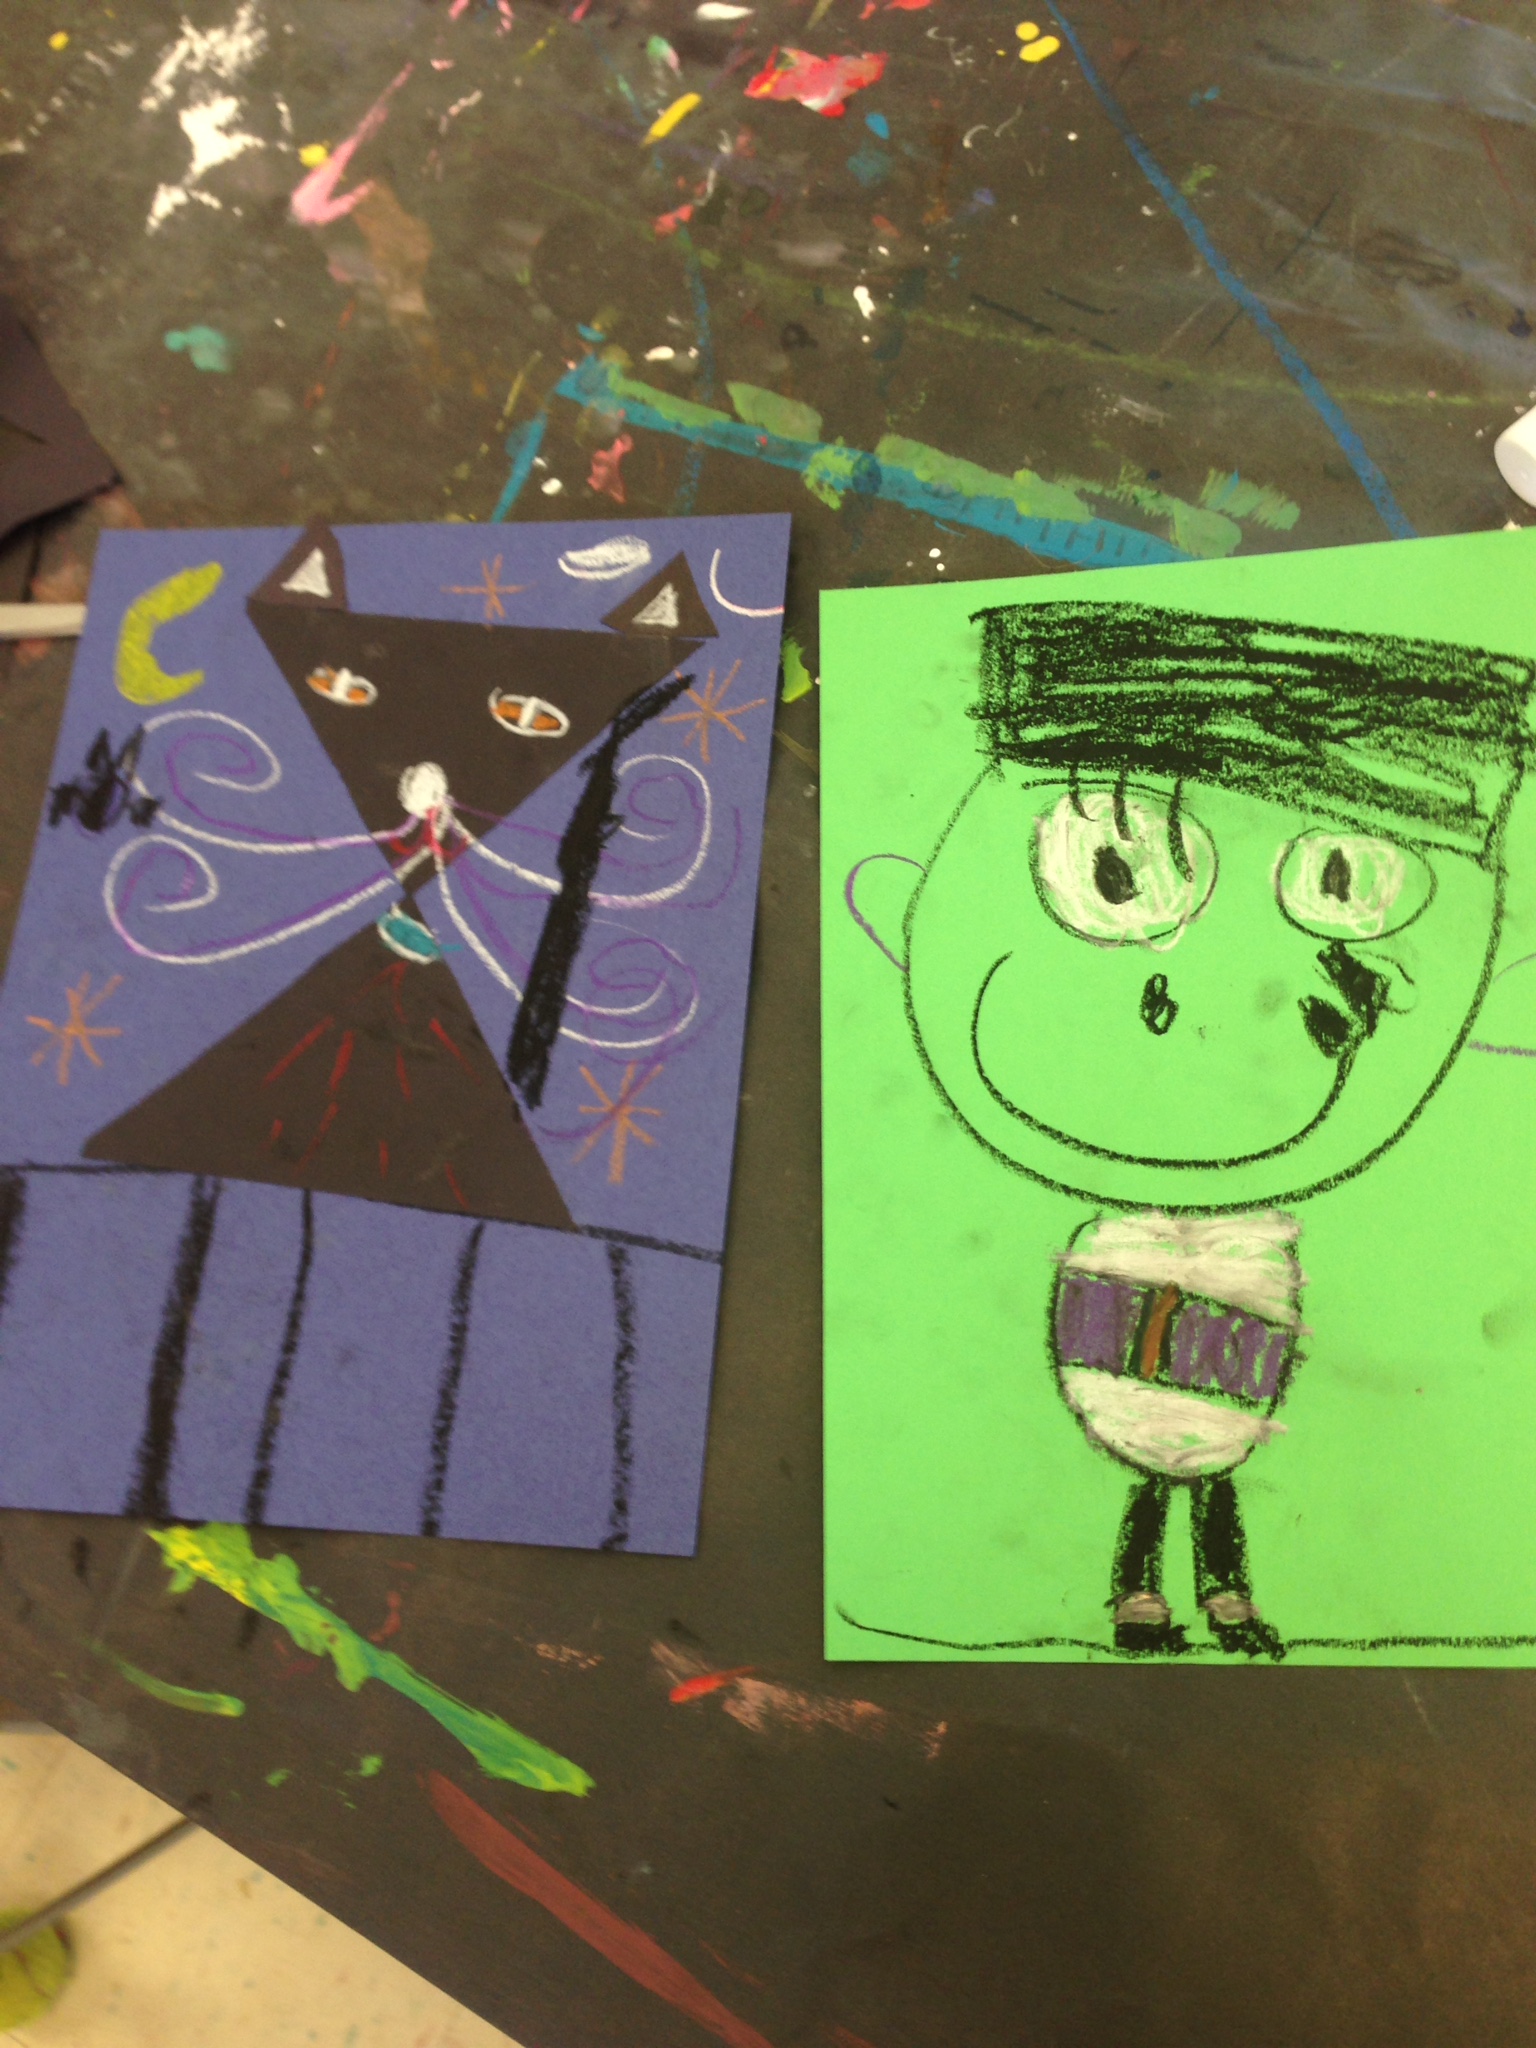


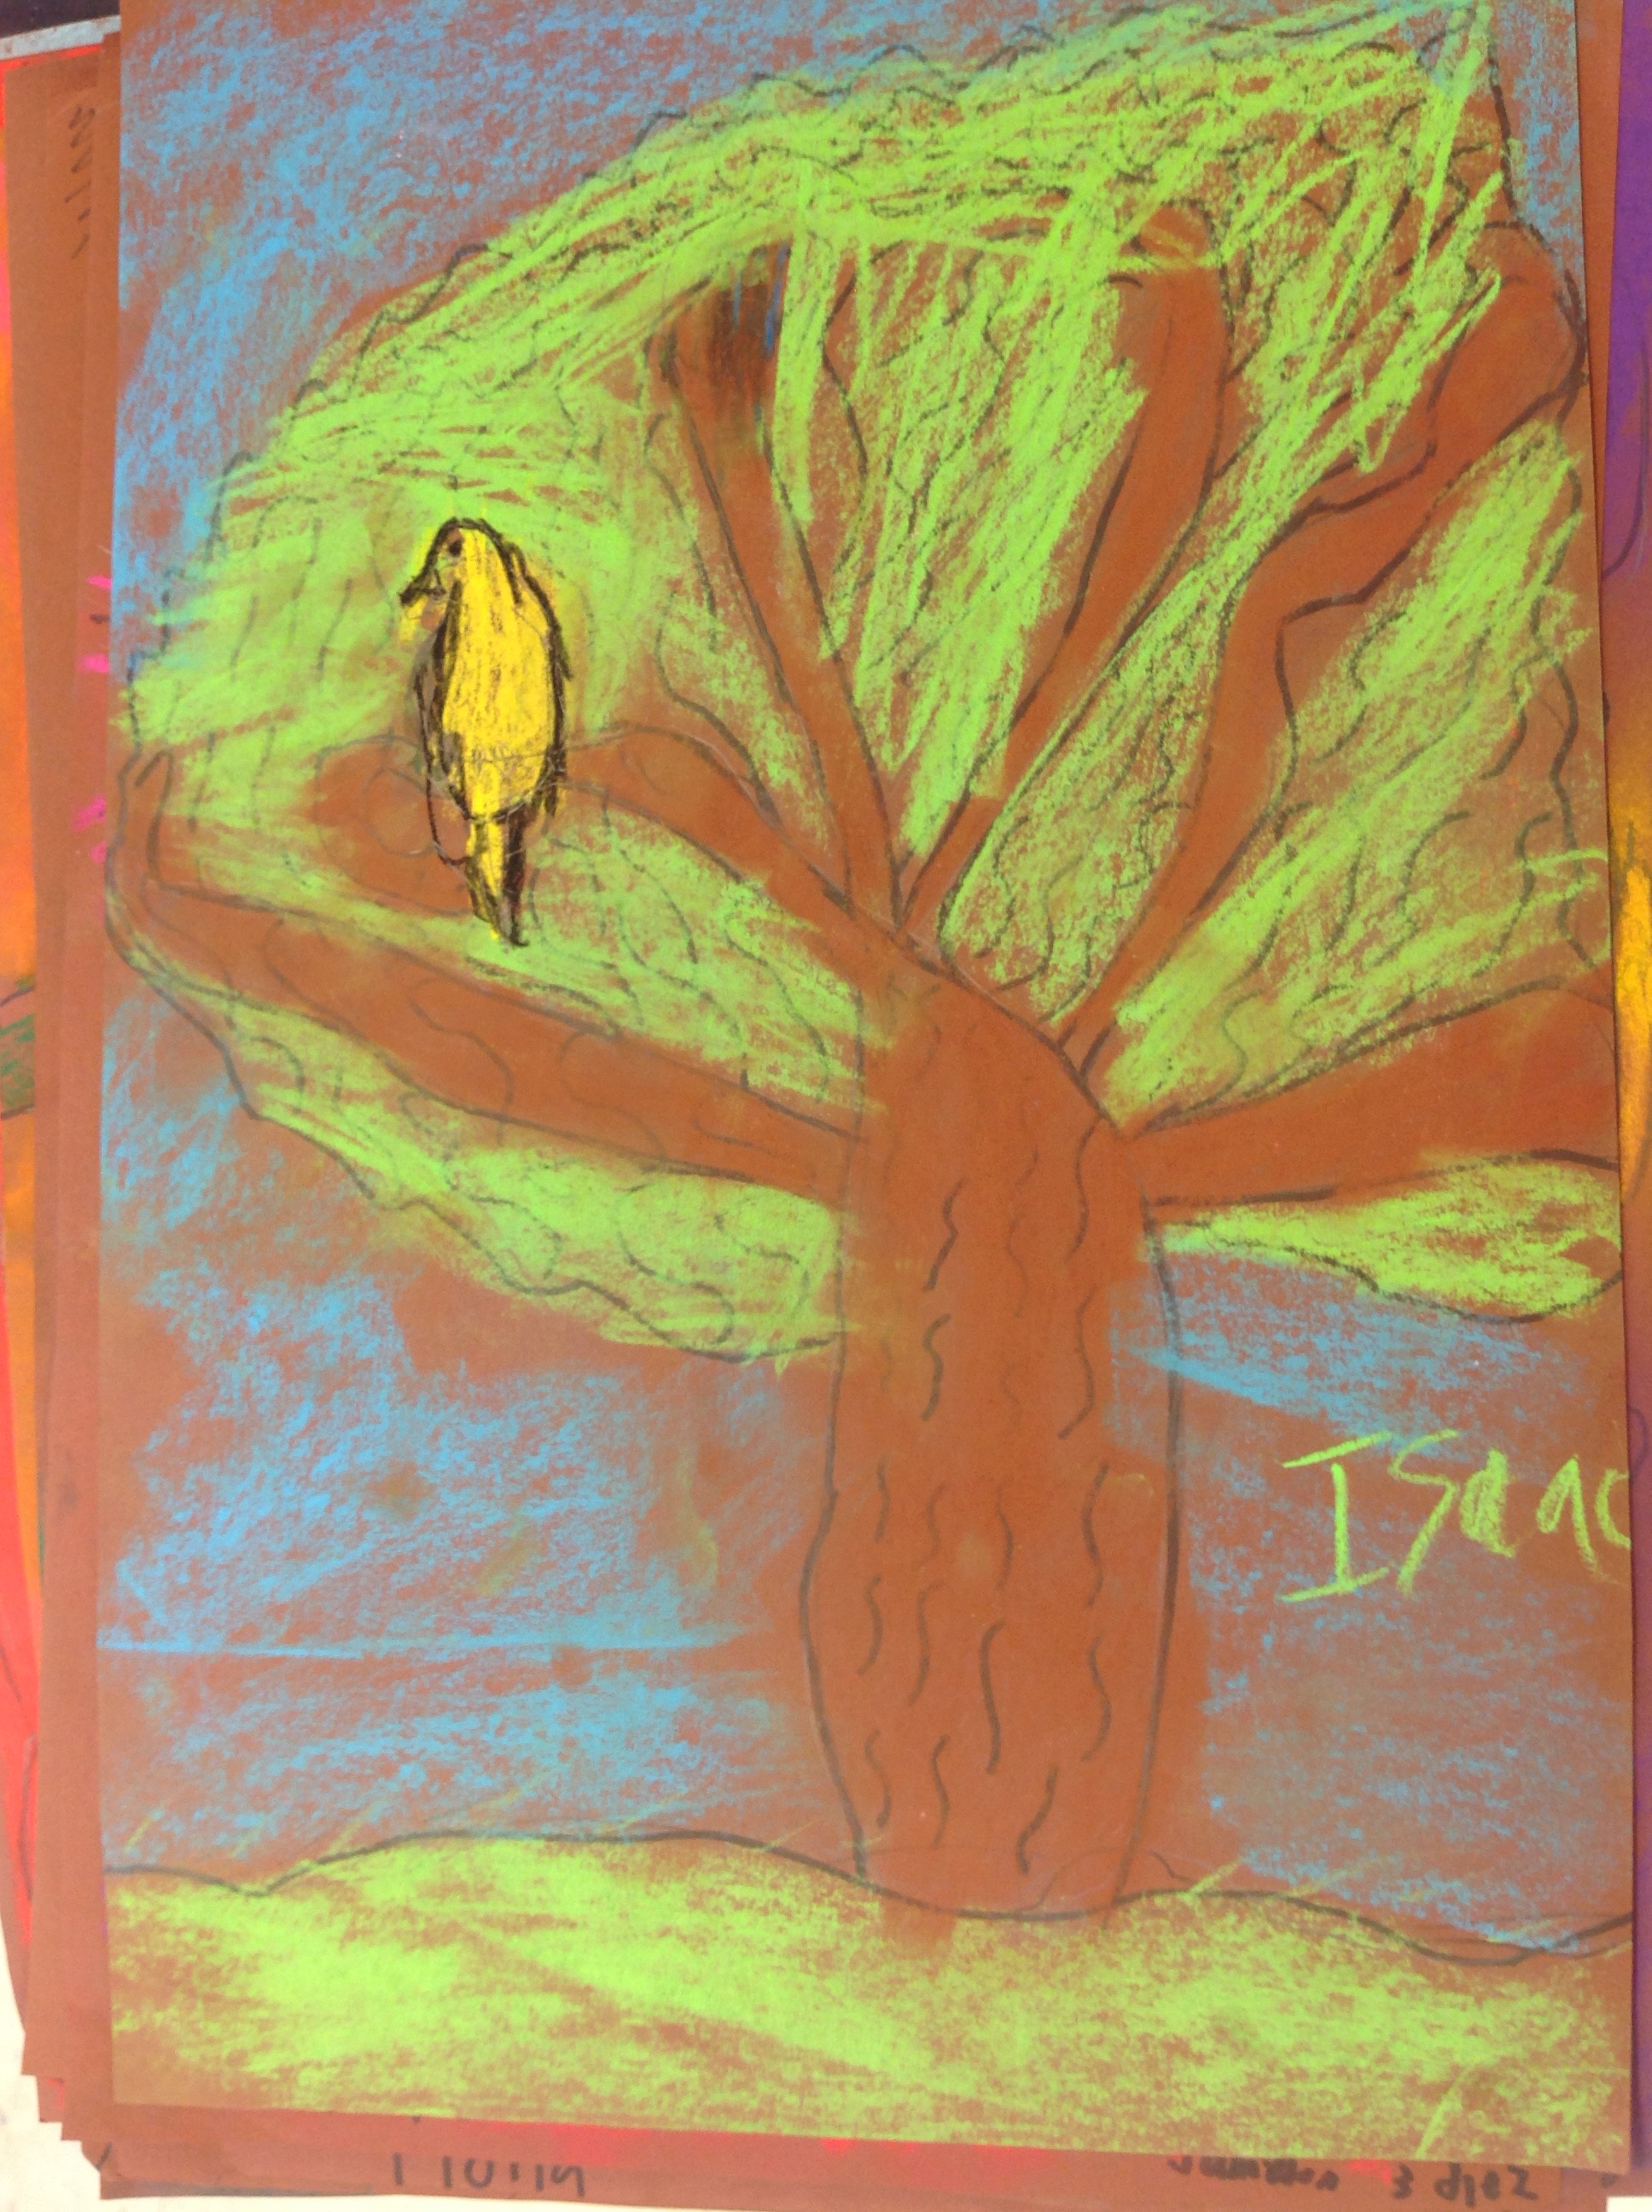
Spooky Trees in India Ink: The following week we practiced with oil pastels drawing spooky trees. Starting off with the letter Y for the trunk and then using the tip of our oil pastels up and down to make our trees fatter. We then used our curvy lines and spirals to add branches and twigs. They then used India Ink which works beautifully on construction paper (gets soaked up and dries quickly) to paint a spooky tree scene. They enjoyed the instant mark making of the ink and not having to dip their brushes in water like watercolor. They used oil pastel to add more details.


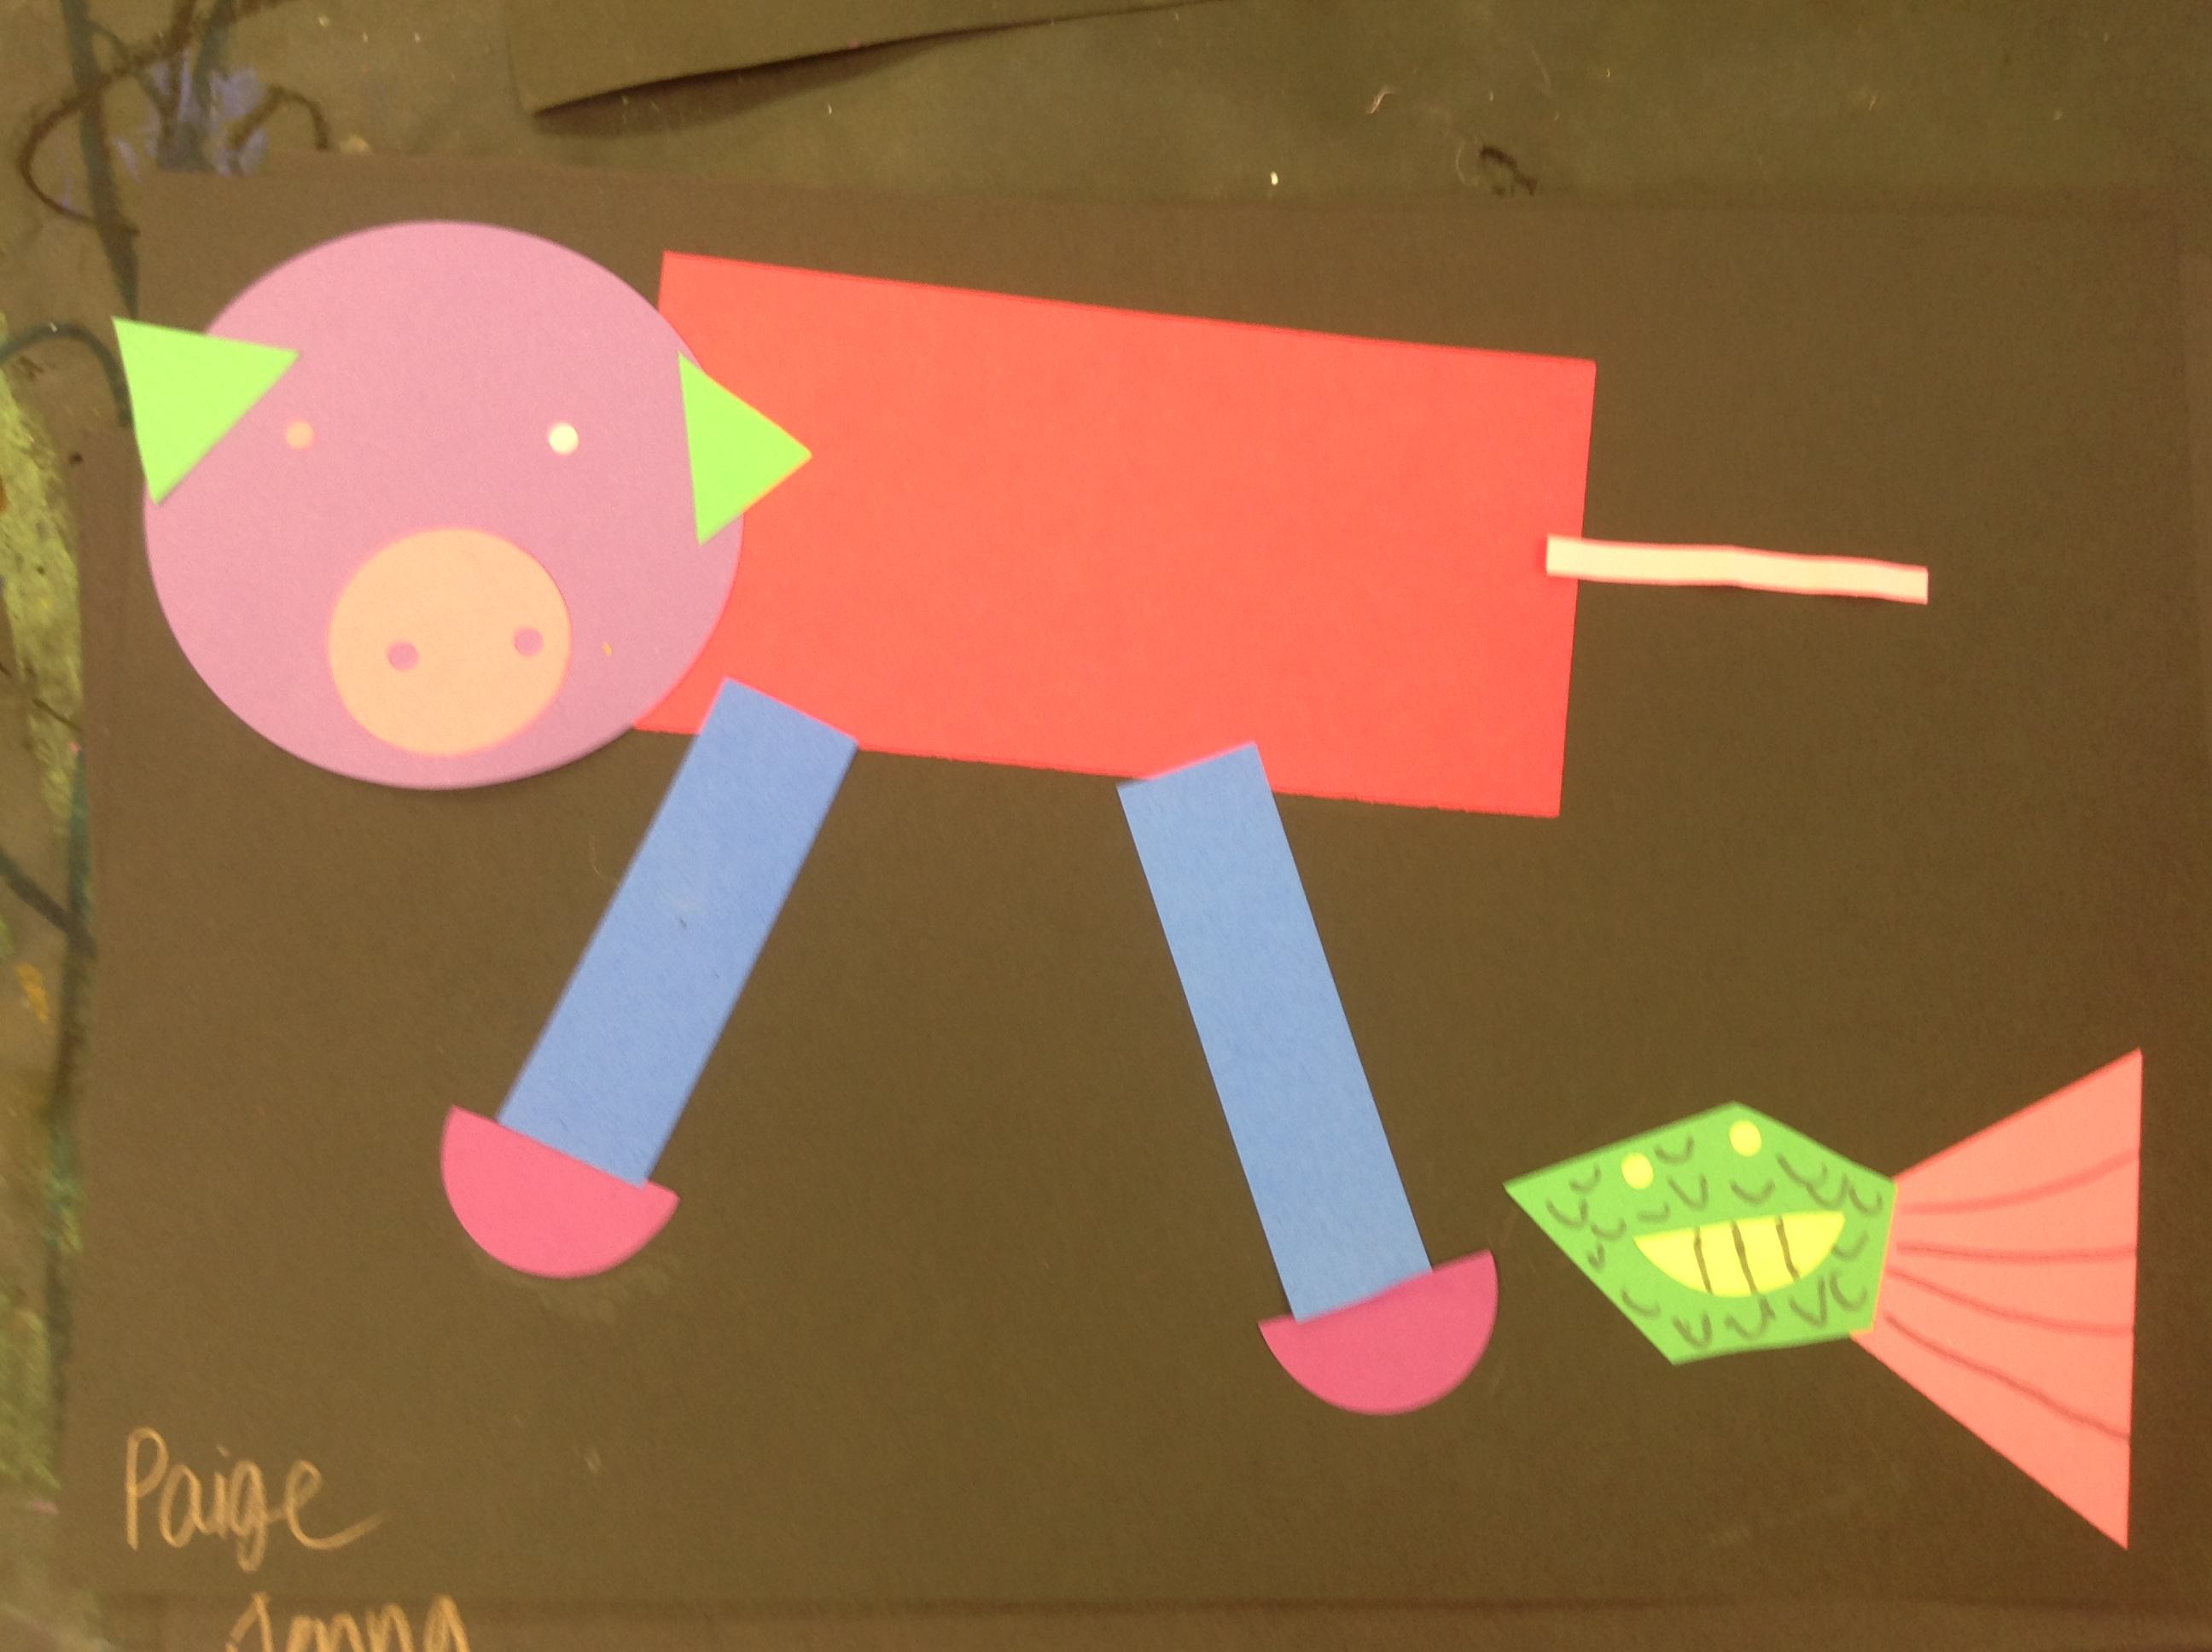
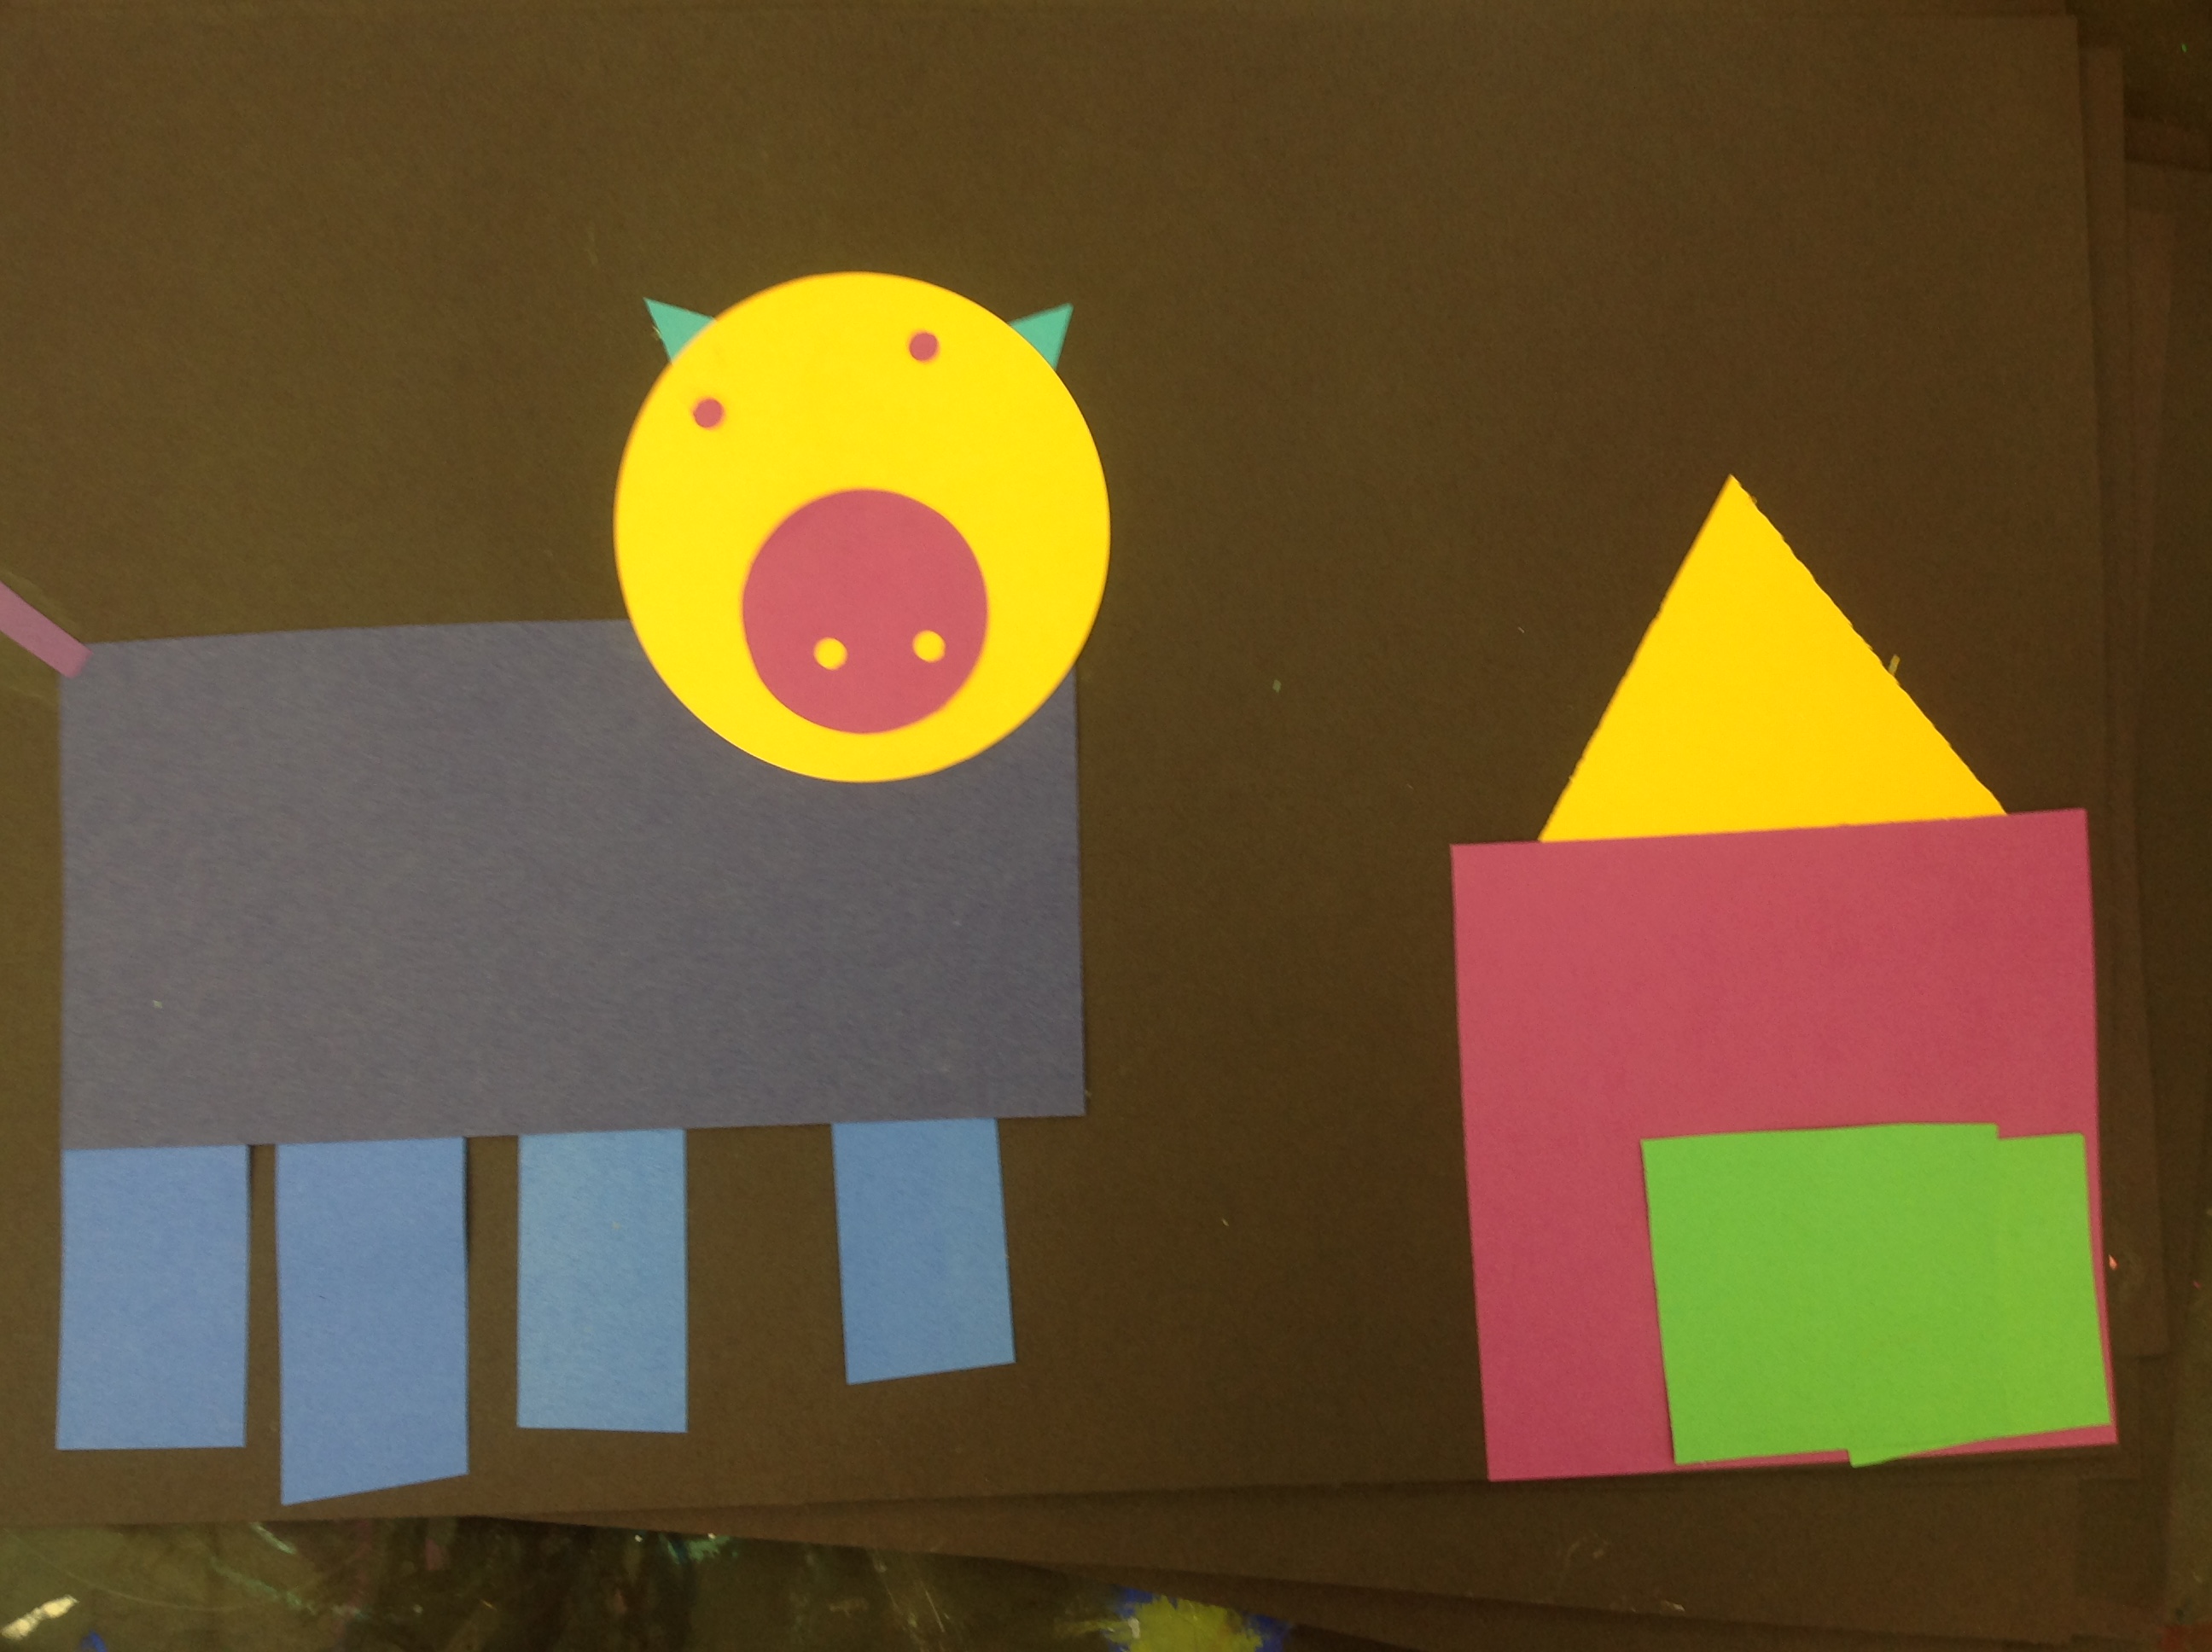
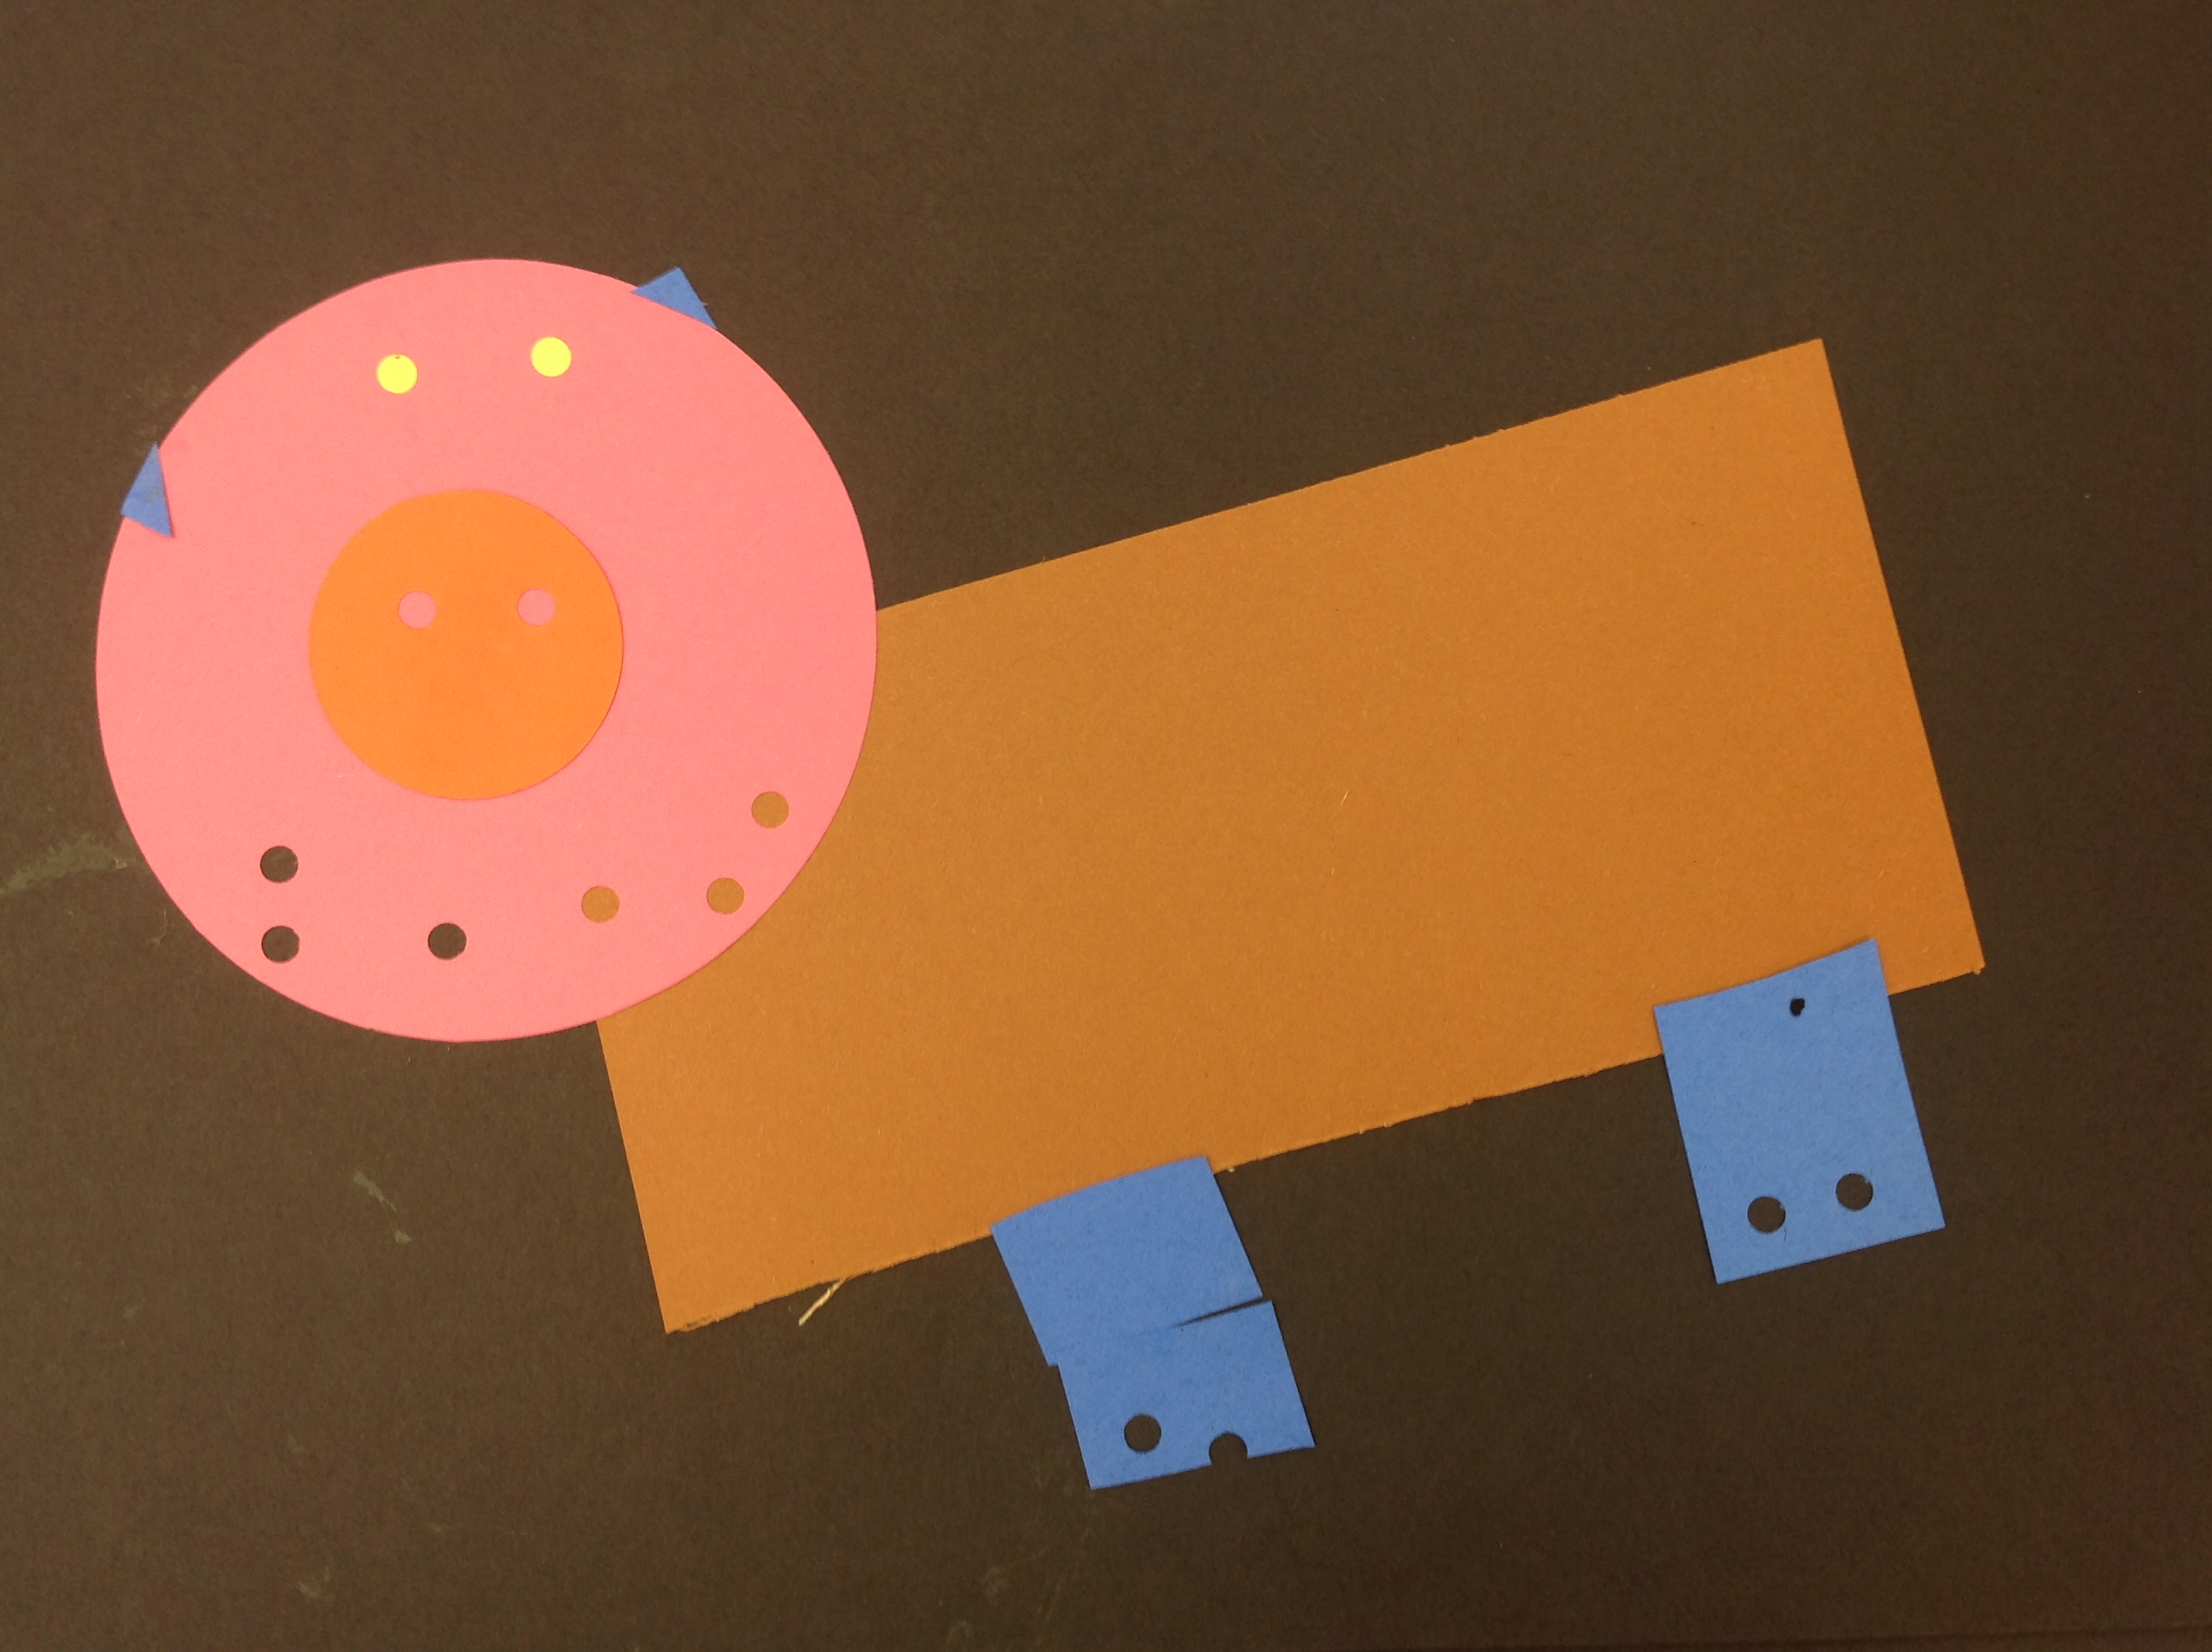
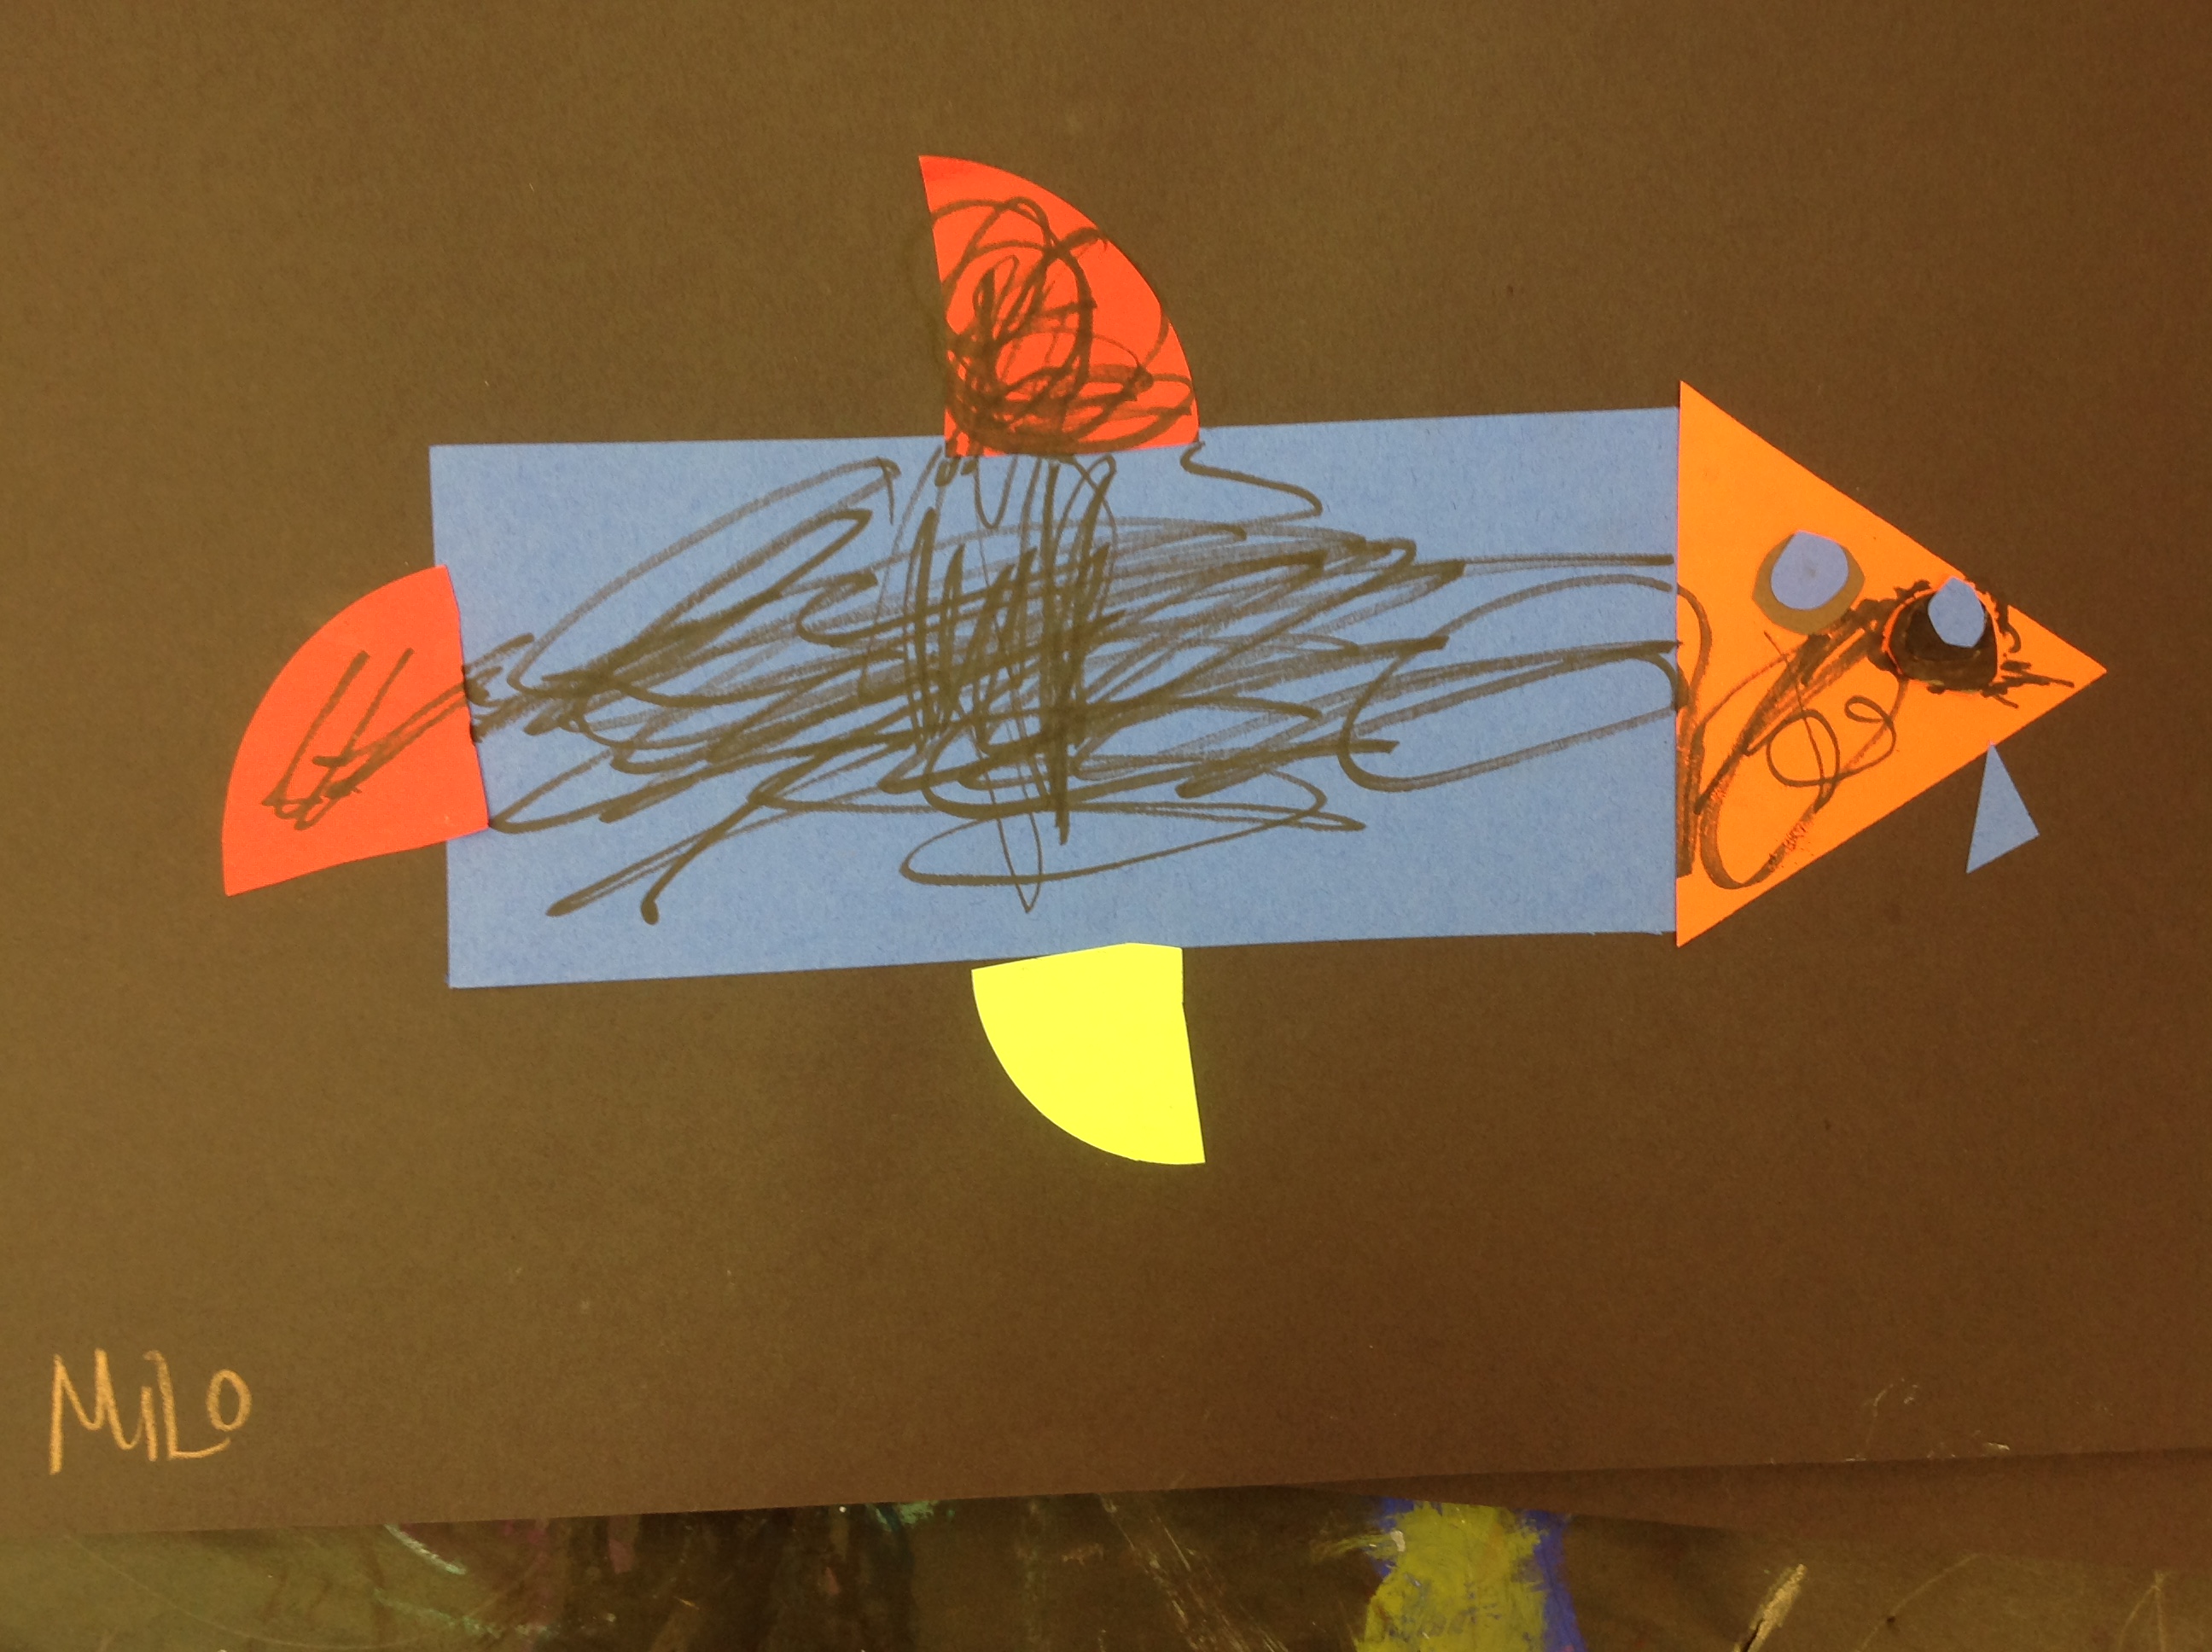
Collage Animals: After Halloween, we continued our focus on shapes and read “Color Farm” by Lois Elhert. We identified animals, shapes and I demo’d overlapping shapes in different sizes to create several animals. I asked them who wha had a pet at home and many students raised their hands.


1st Grade: We are building upon Kinder skills and will be exploring patter, texture, sculpture, observational drawing, self portraiture, and using and identifying a variety of media.
Sketchbooks: We read the “Line and the Dot” by Norton Juster and practiced our line families. They then drew intersecting lines in a various colors and directions and applied watercolor for a resist.


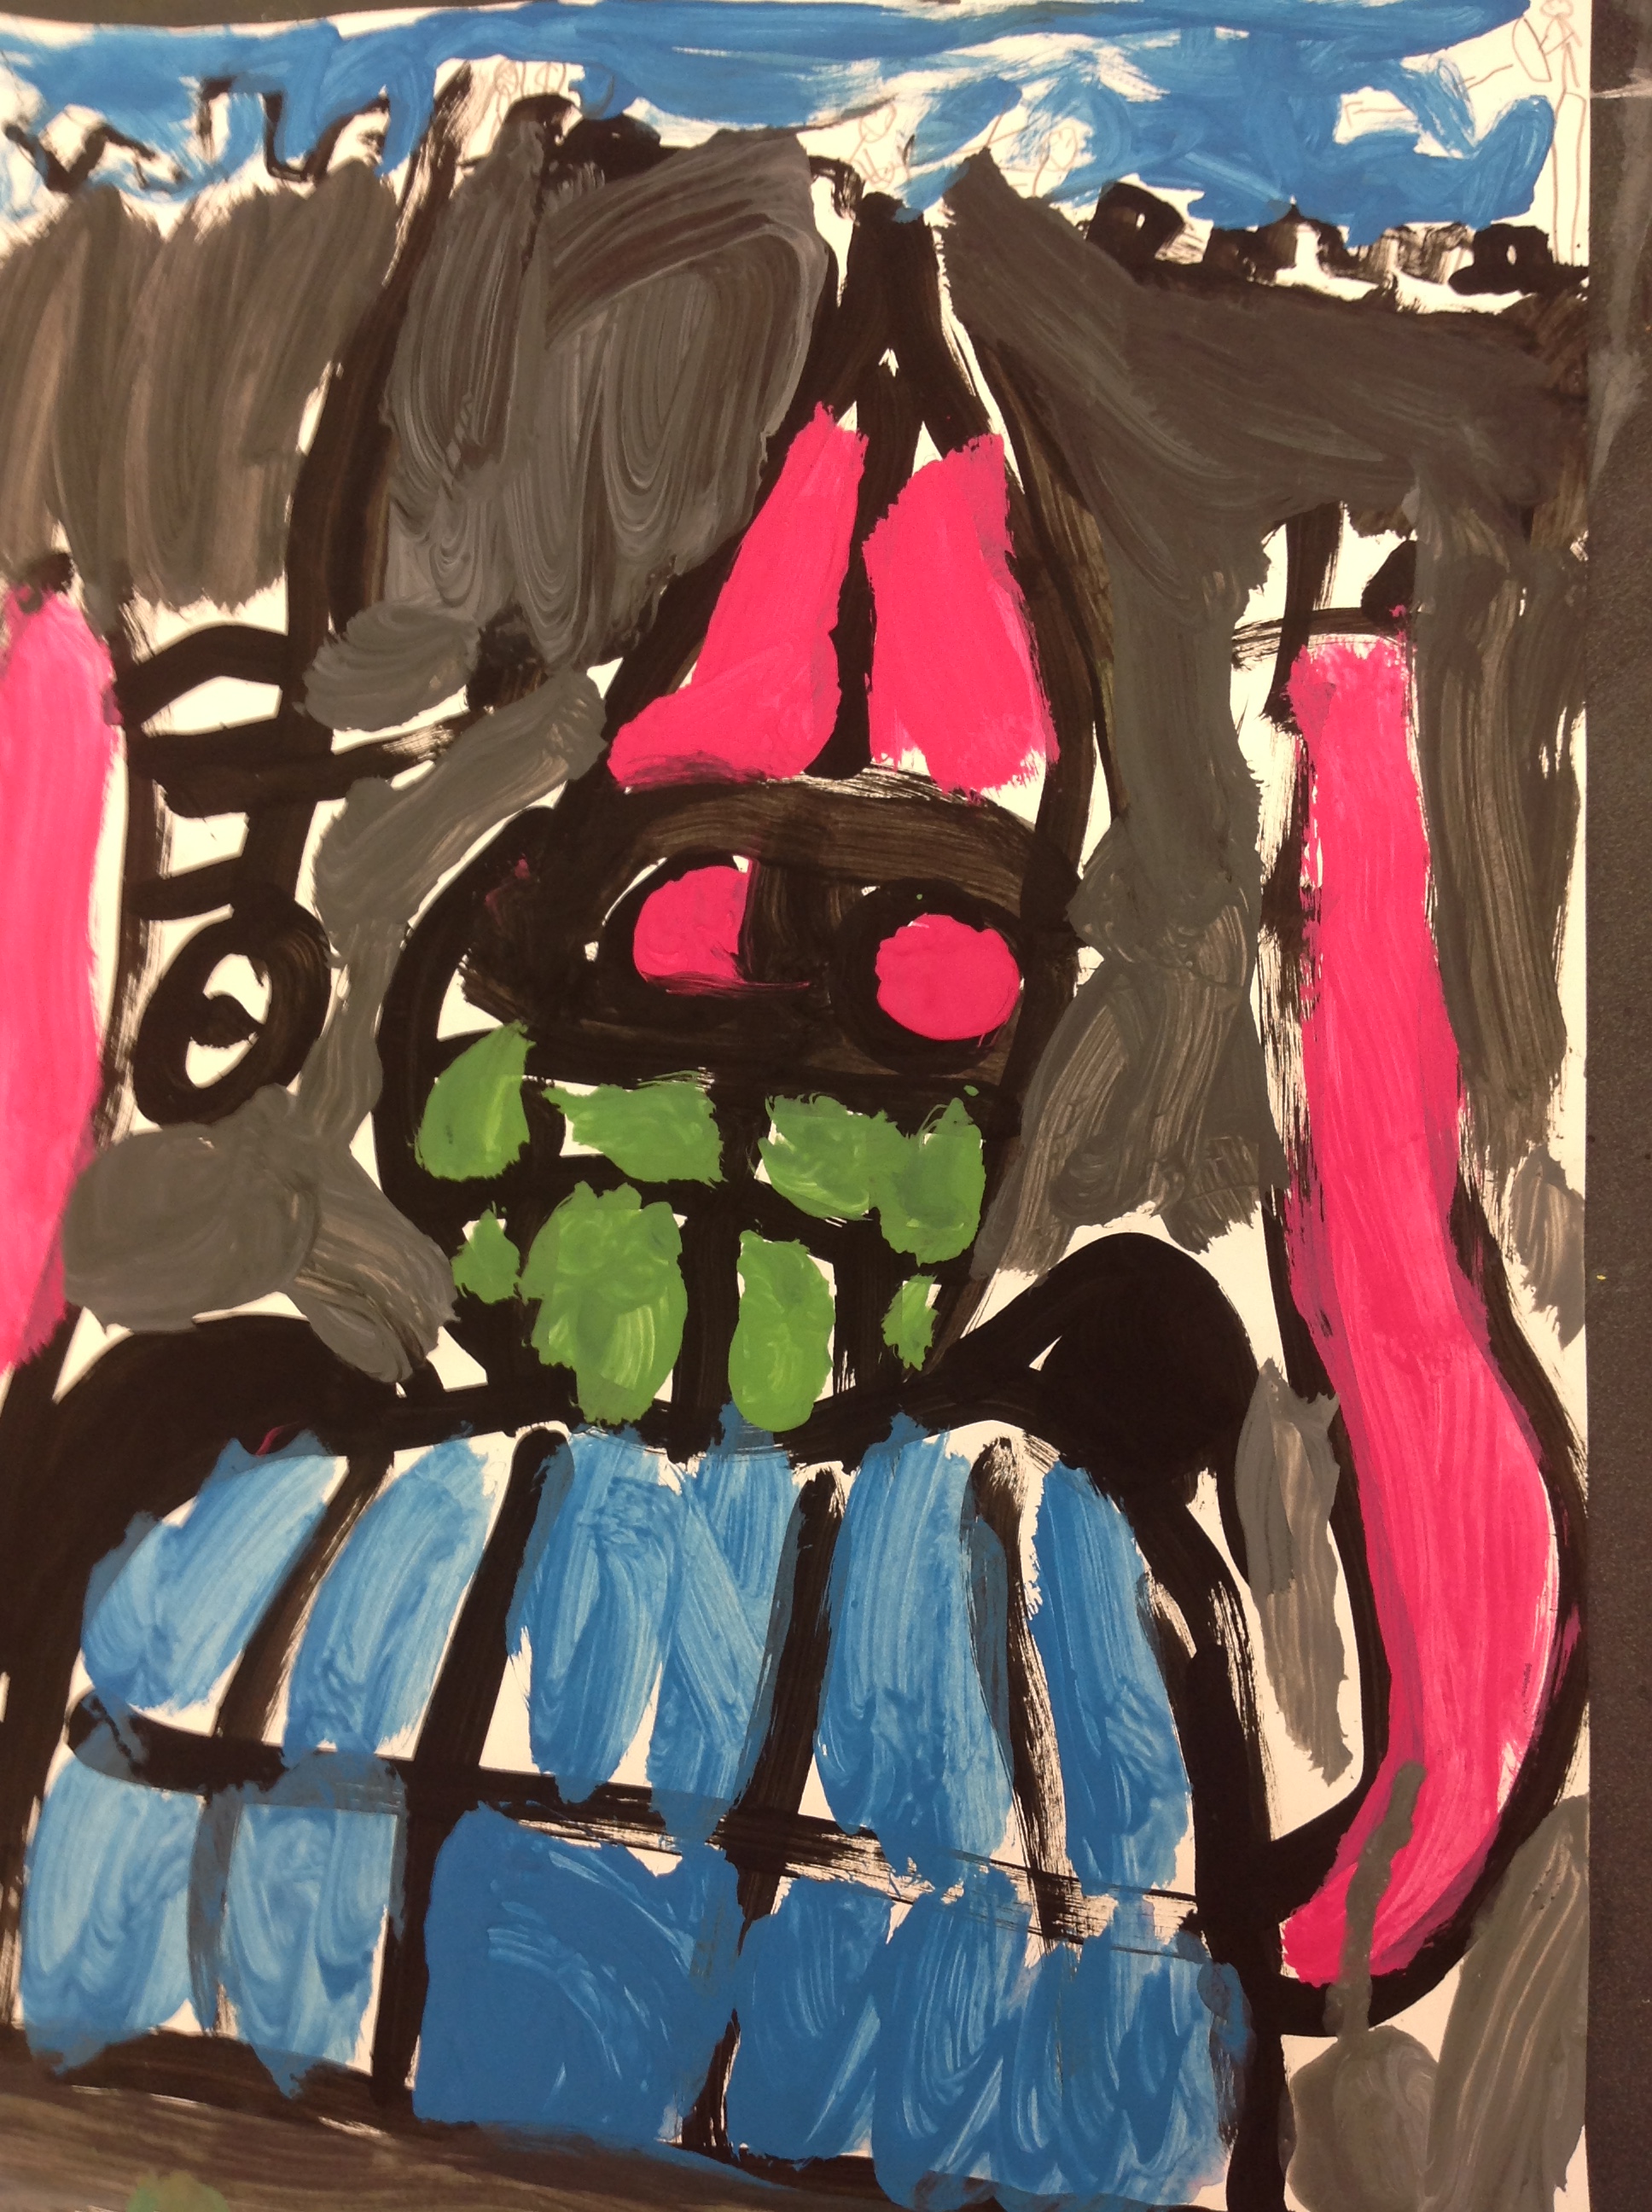
Royal Self Portraits: I read “Princess Me’ by Karma Wilson to them about a little girl who pretends she is a princess in her room. She pretends her stuffies and toys are part of her kingdom and her parents are the king and queen. Students had to guess if the she really was a princess or if she was pretending. We looked at the different characters in the story and noticed their clothing and accessories. Learners then chose a type of royal figure they would want to be and painted a self portrait. They used tempera paint, mixed color (gray was a big hit as was creating skin tone!) and practiced painting their whole body and head in costume!


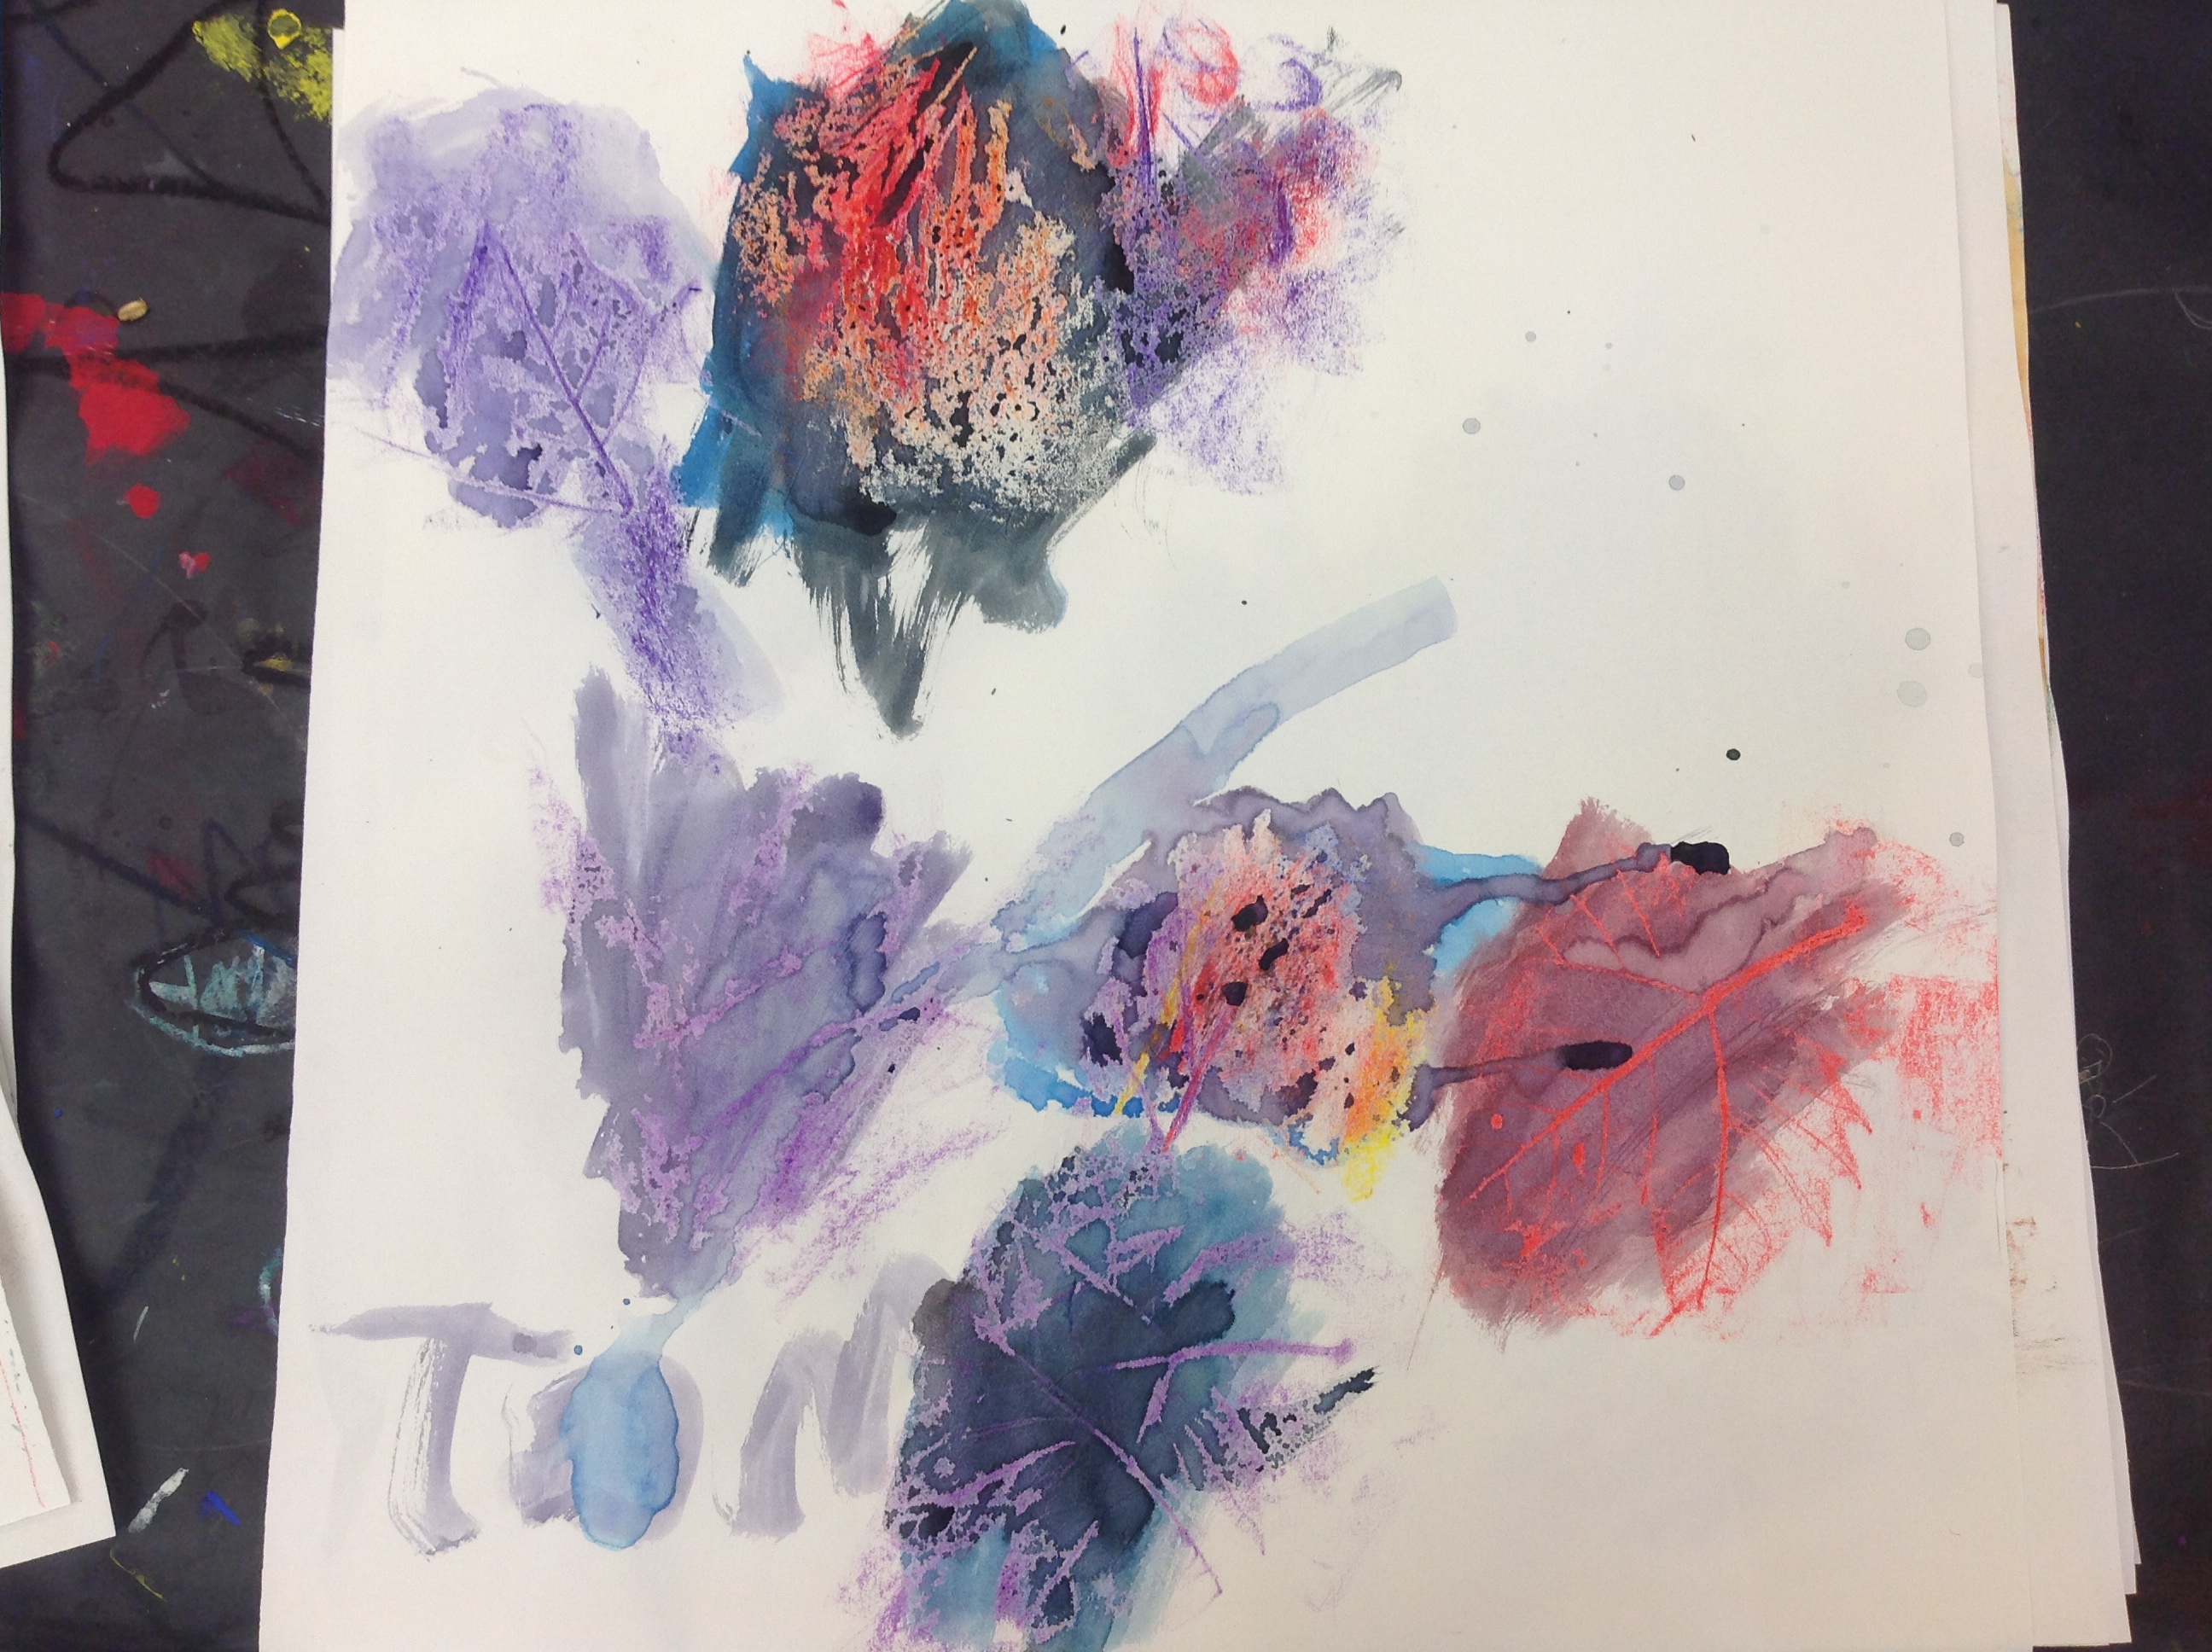
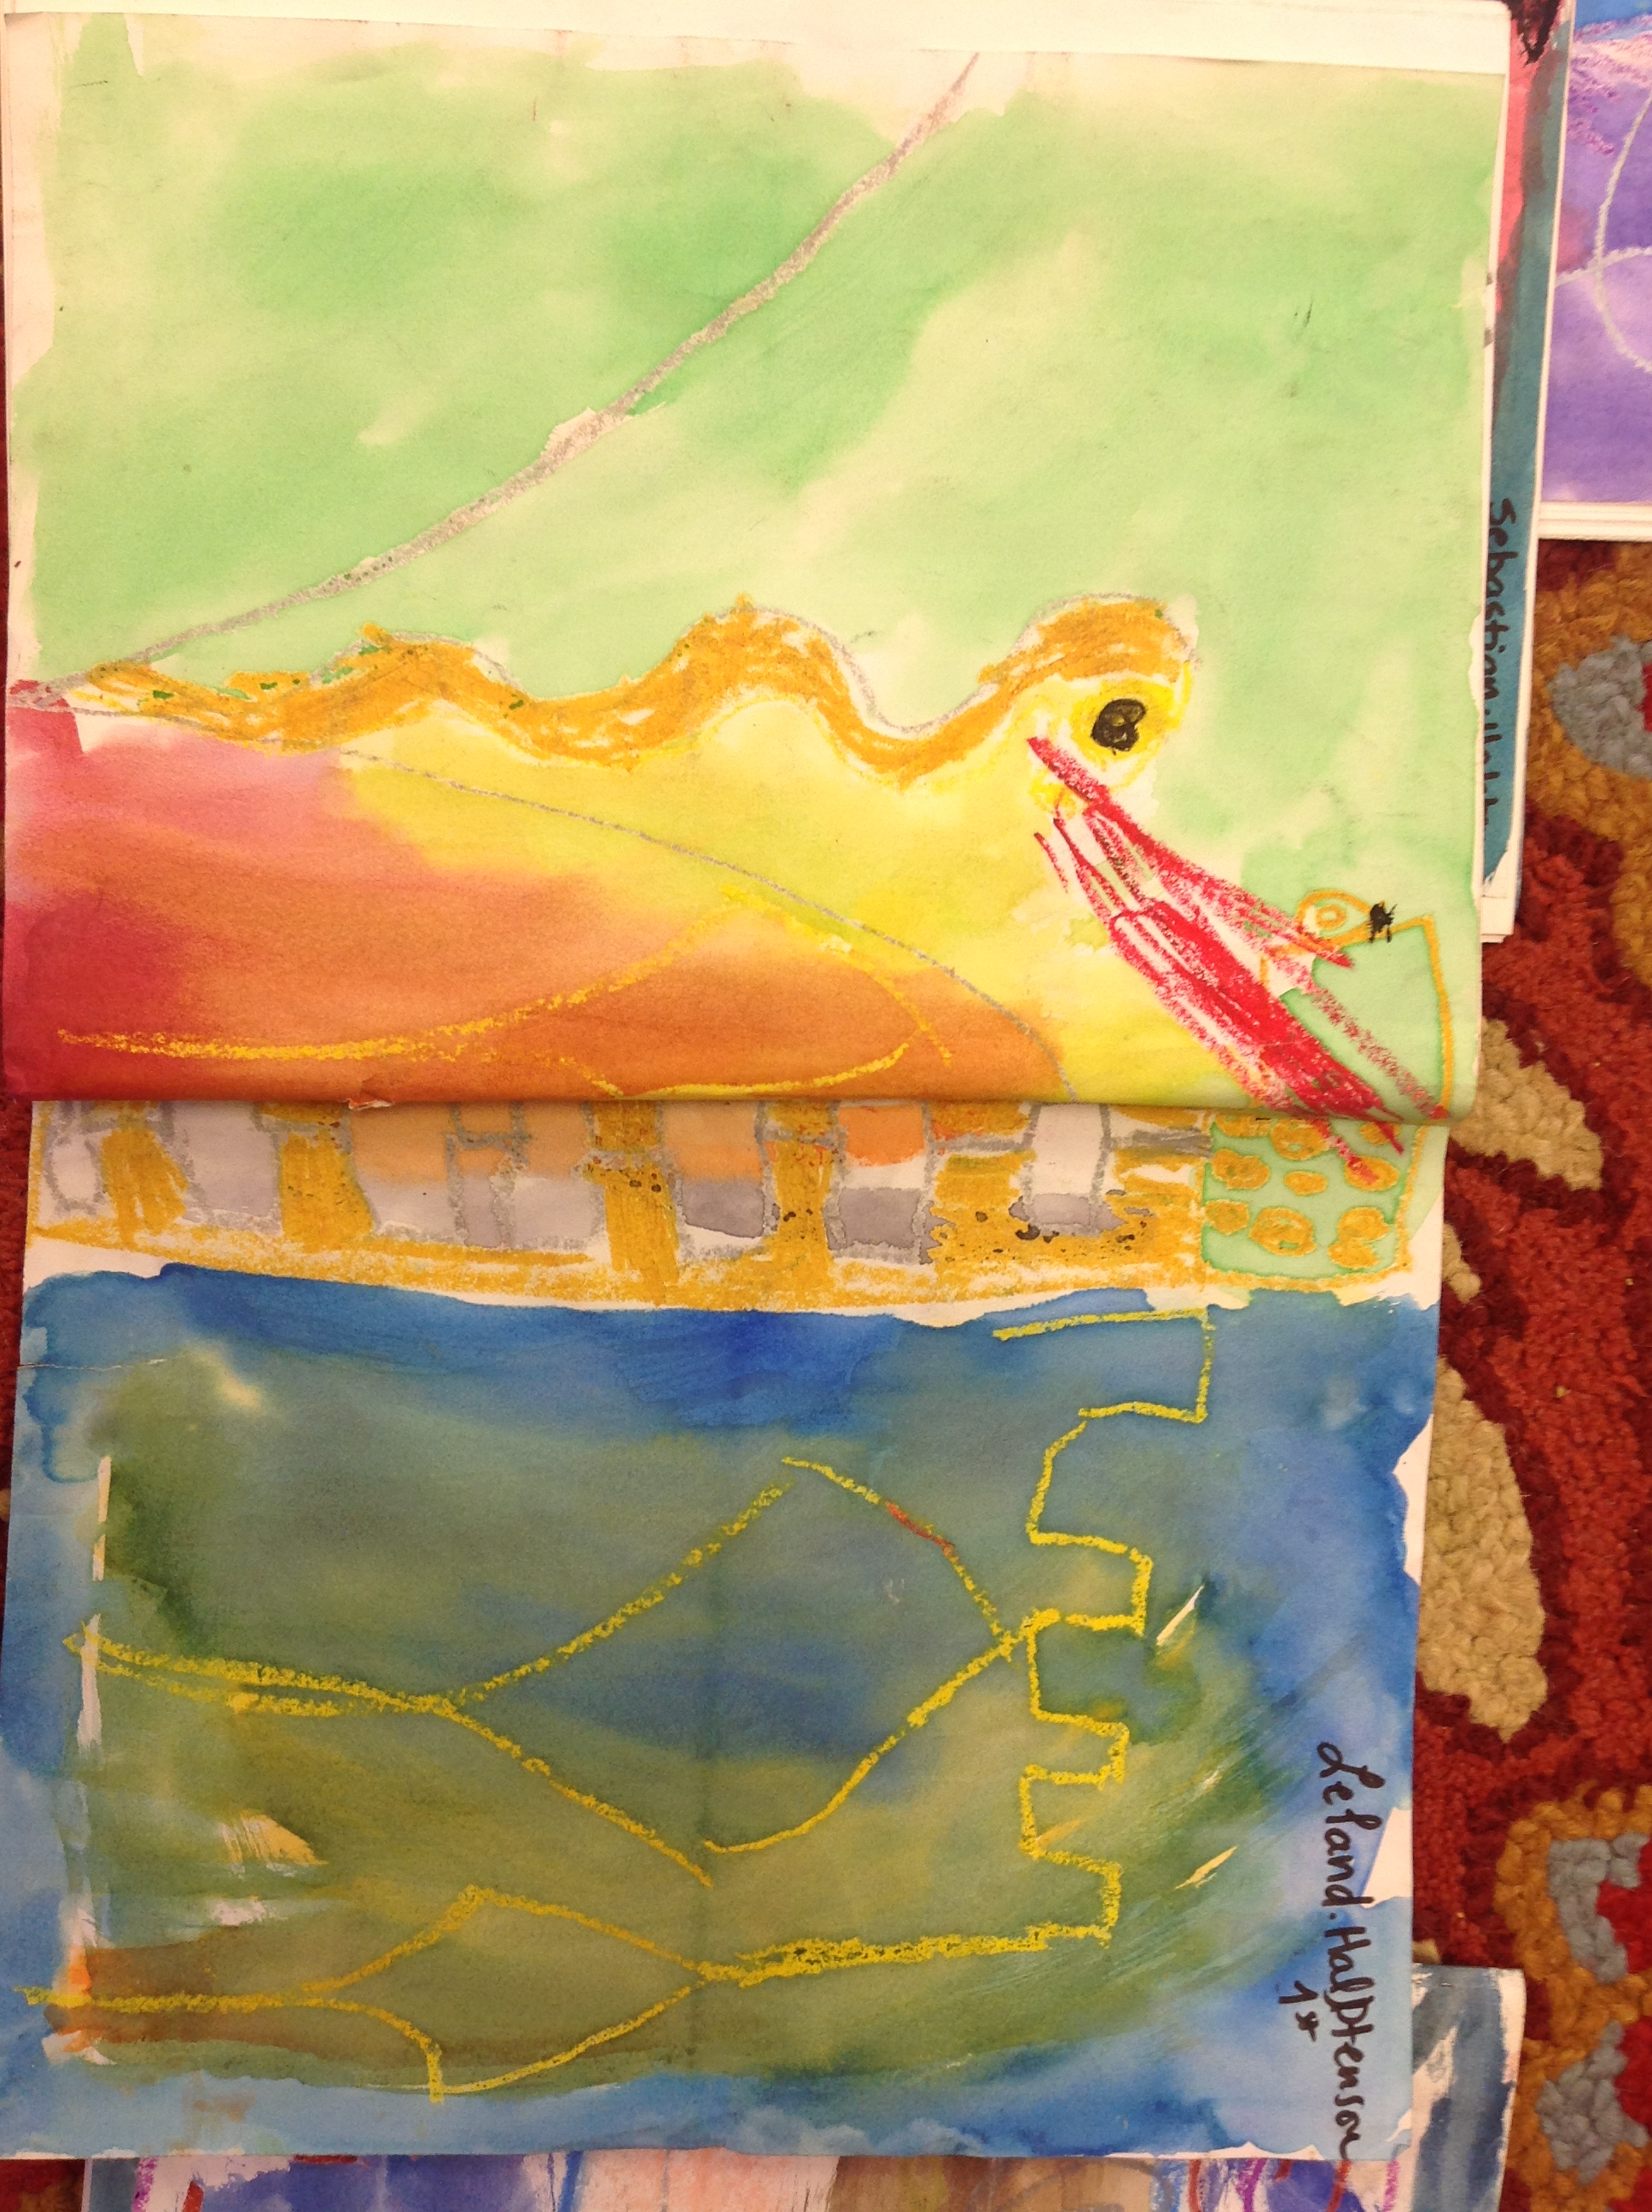
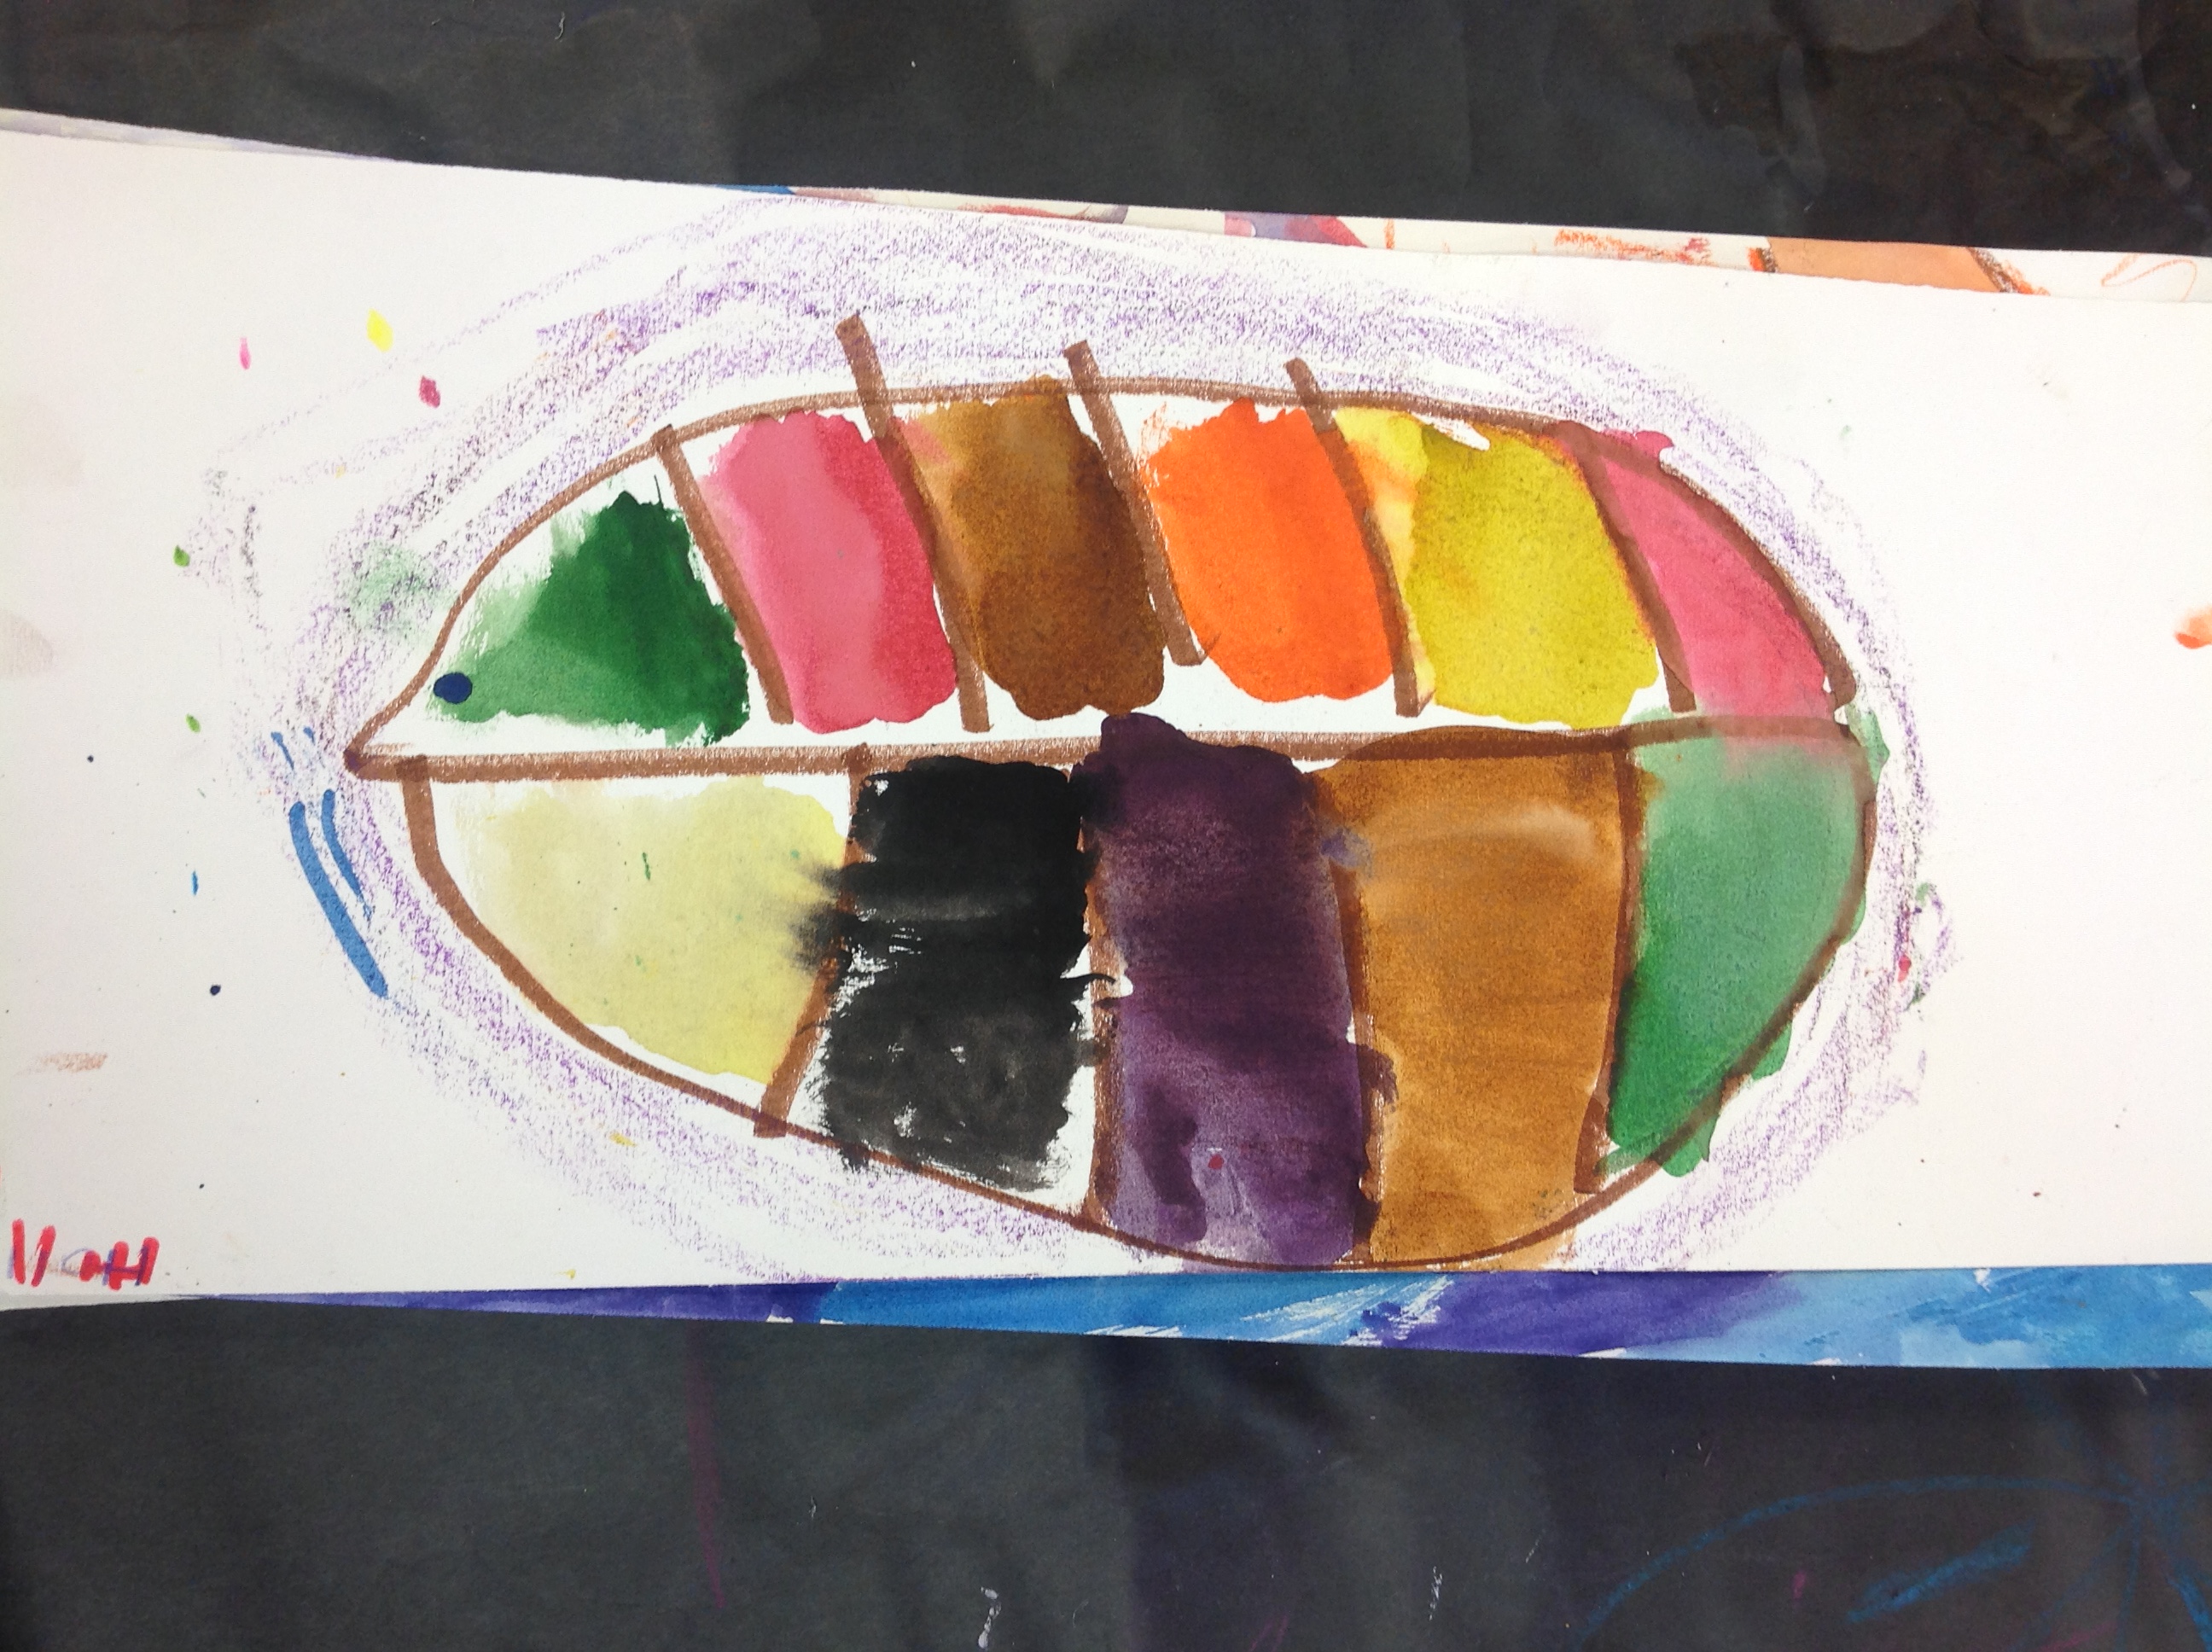
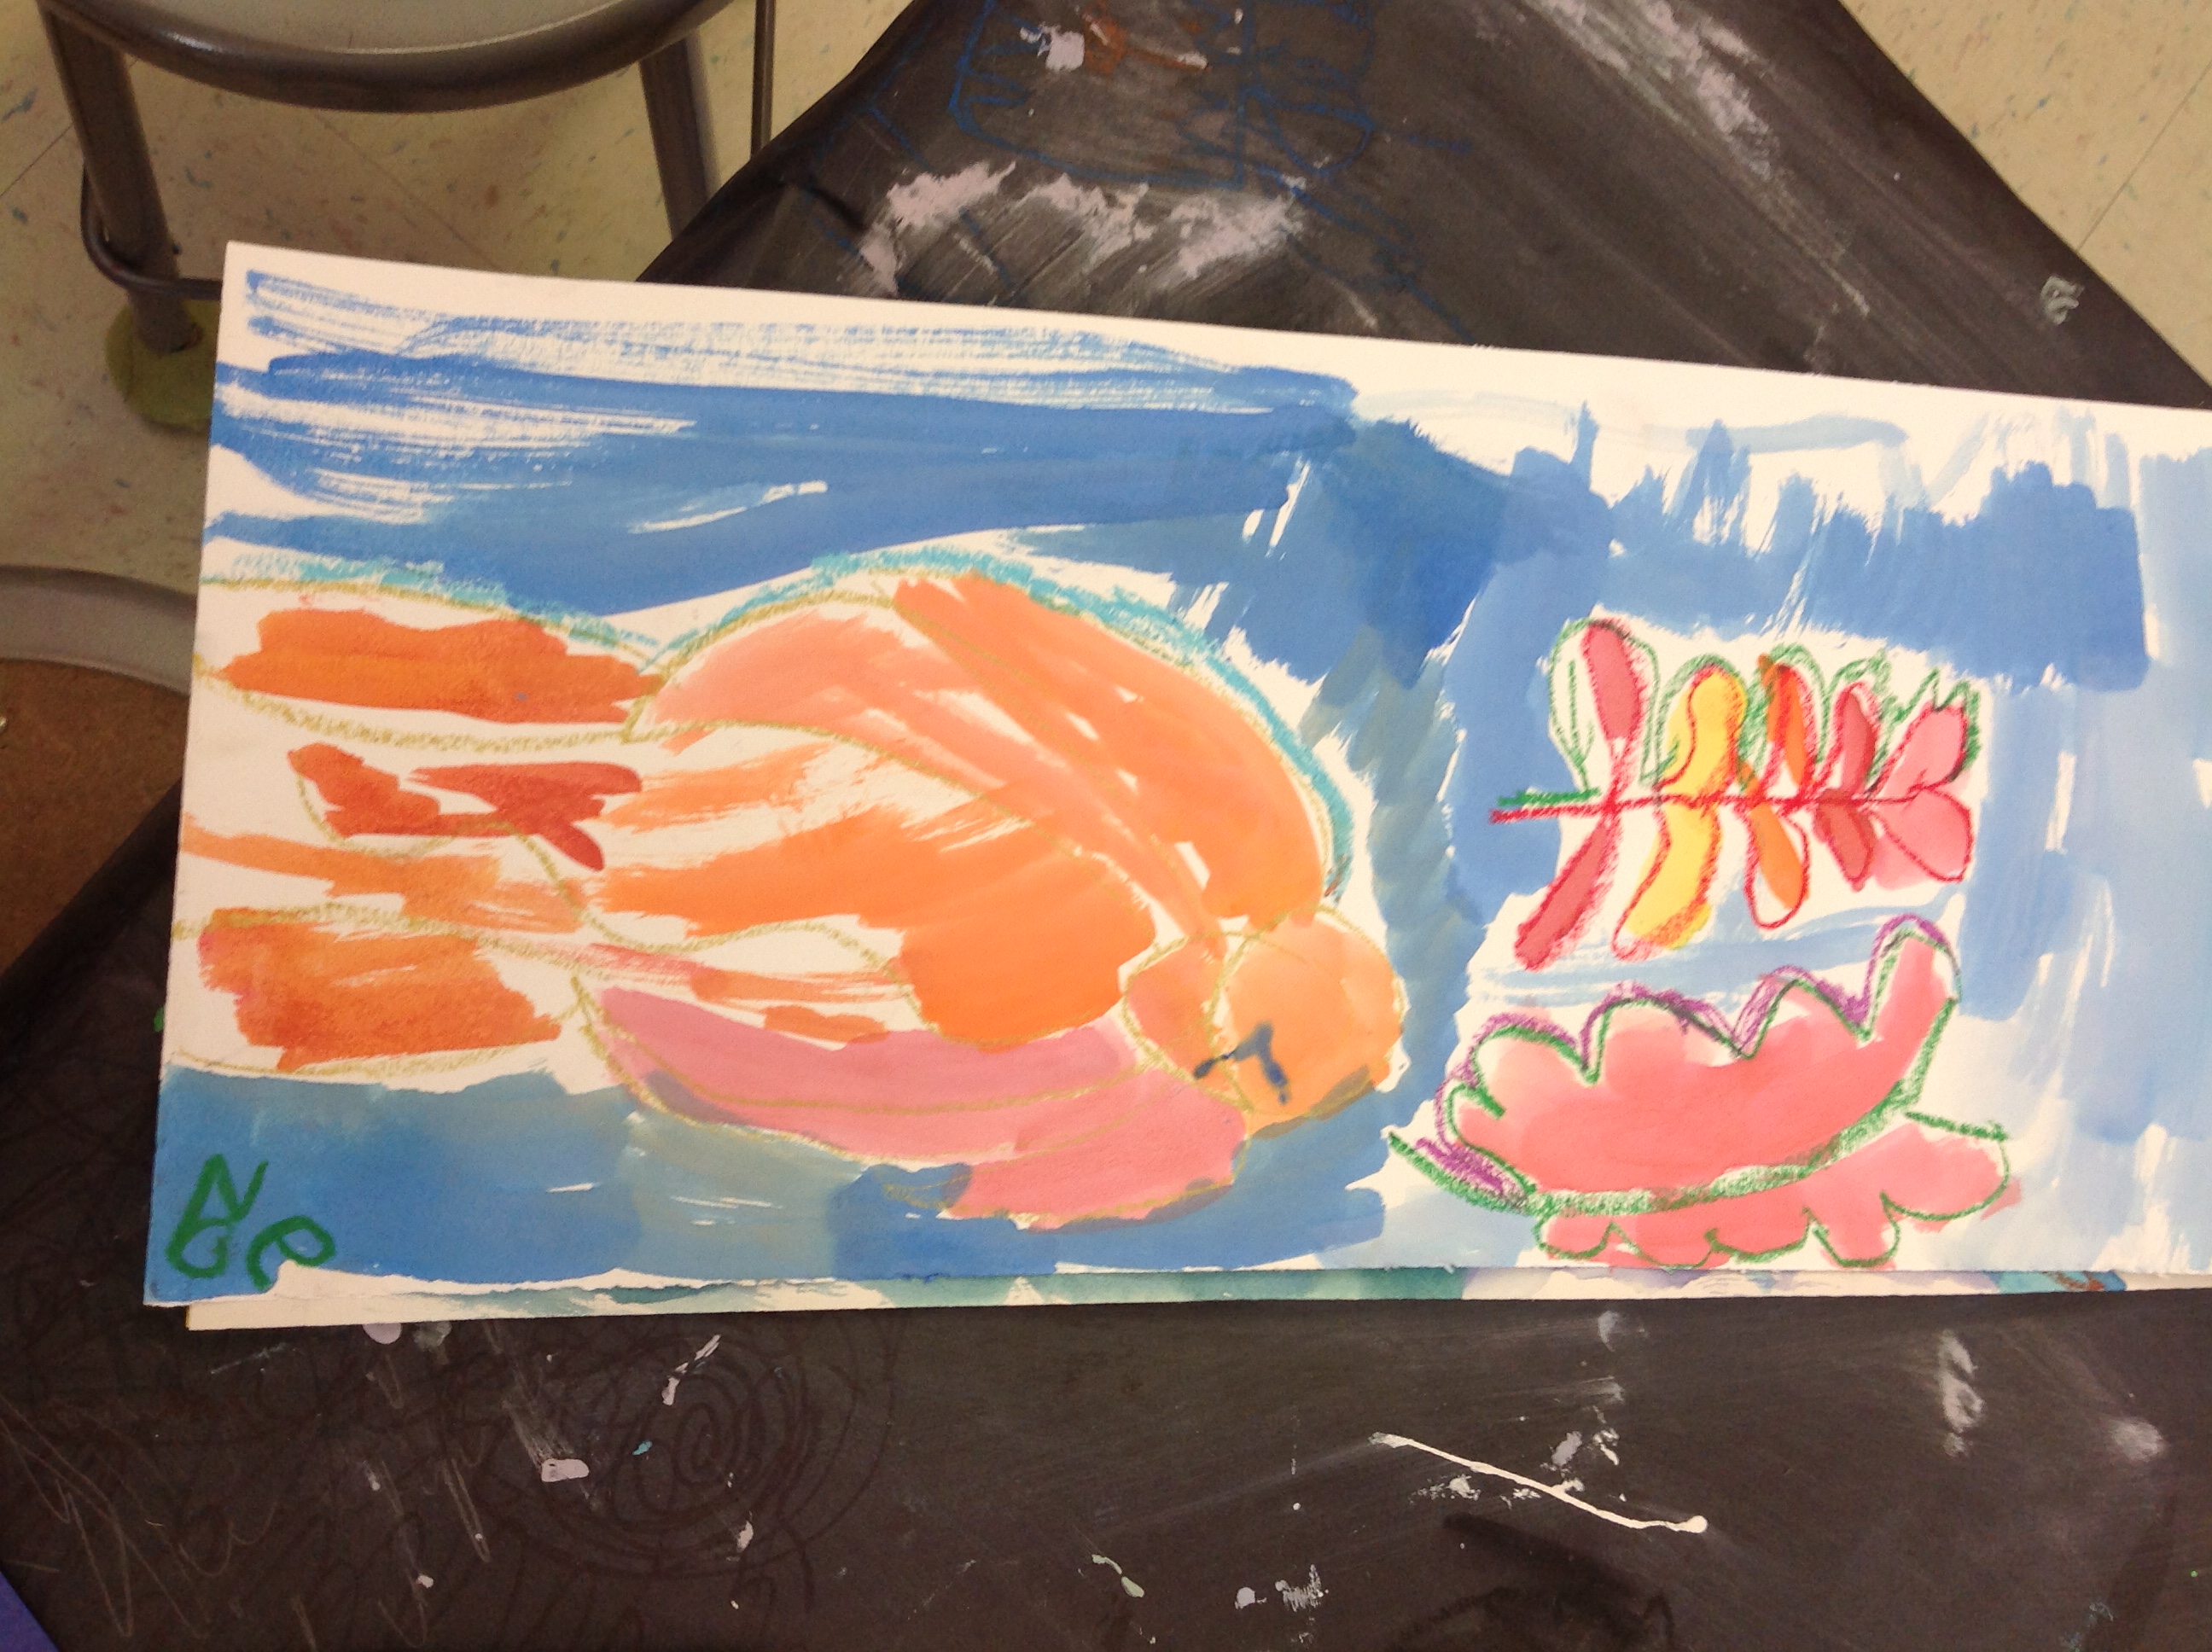
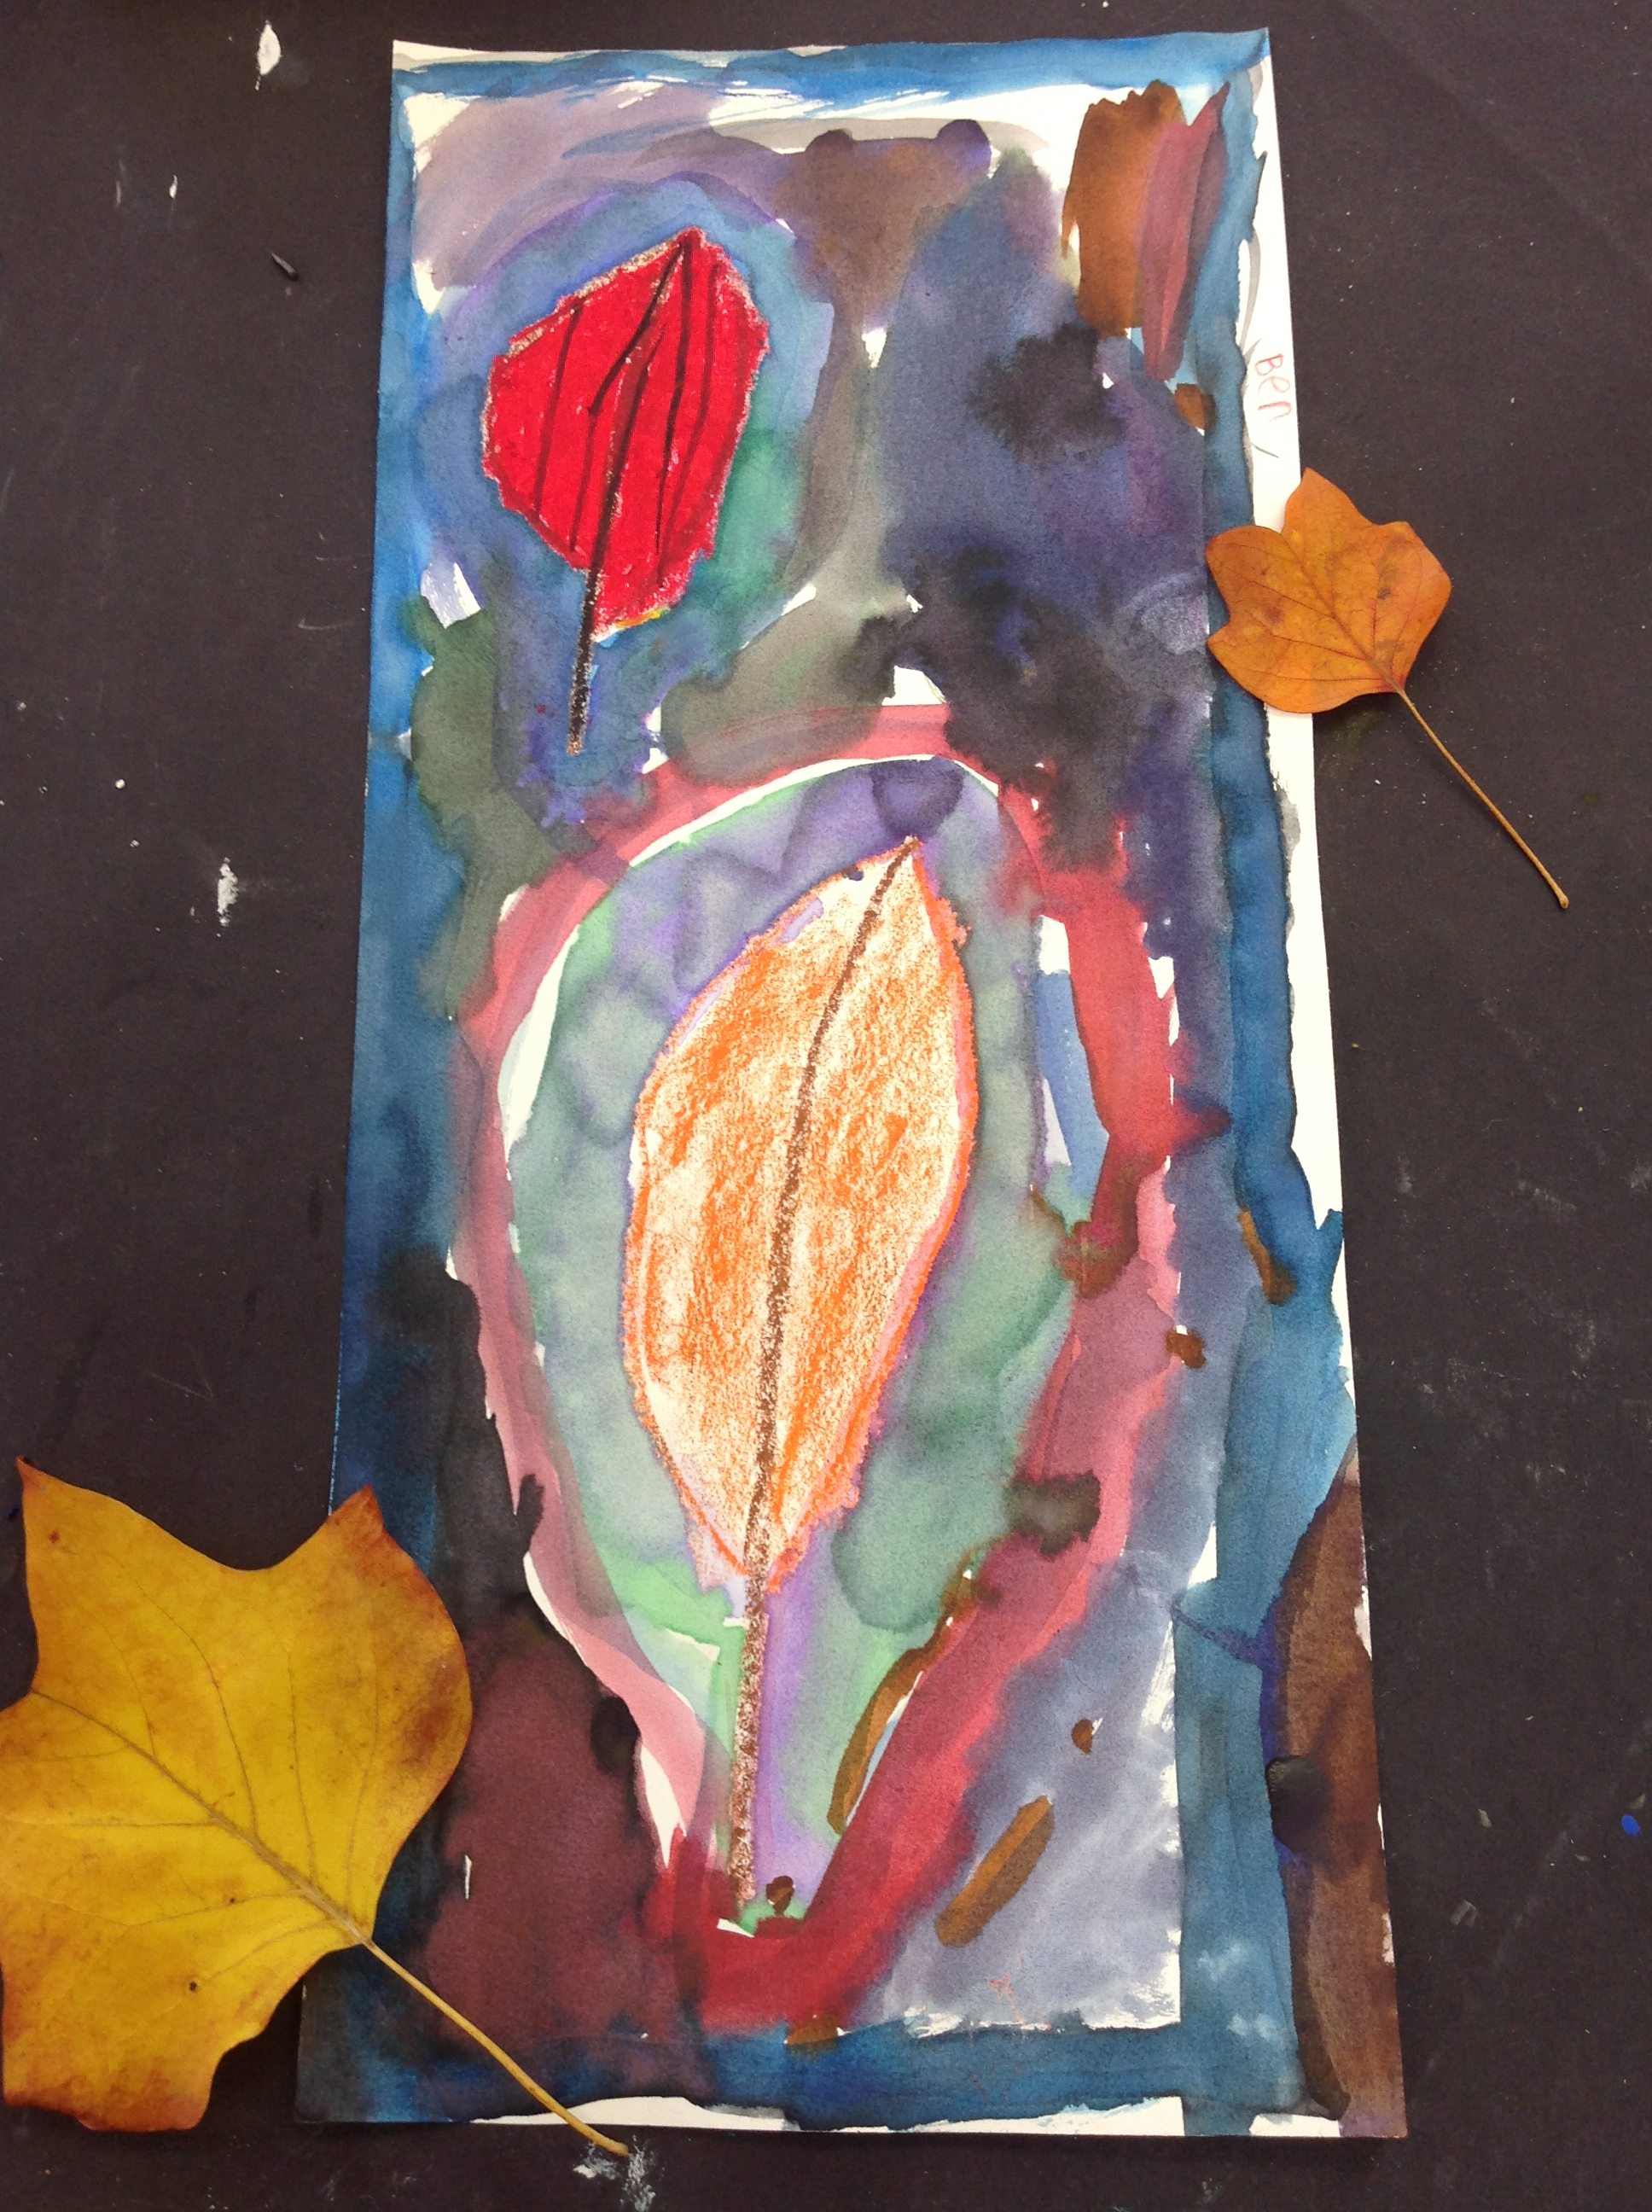
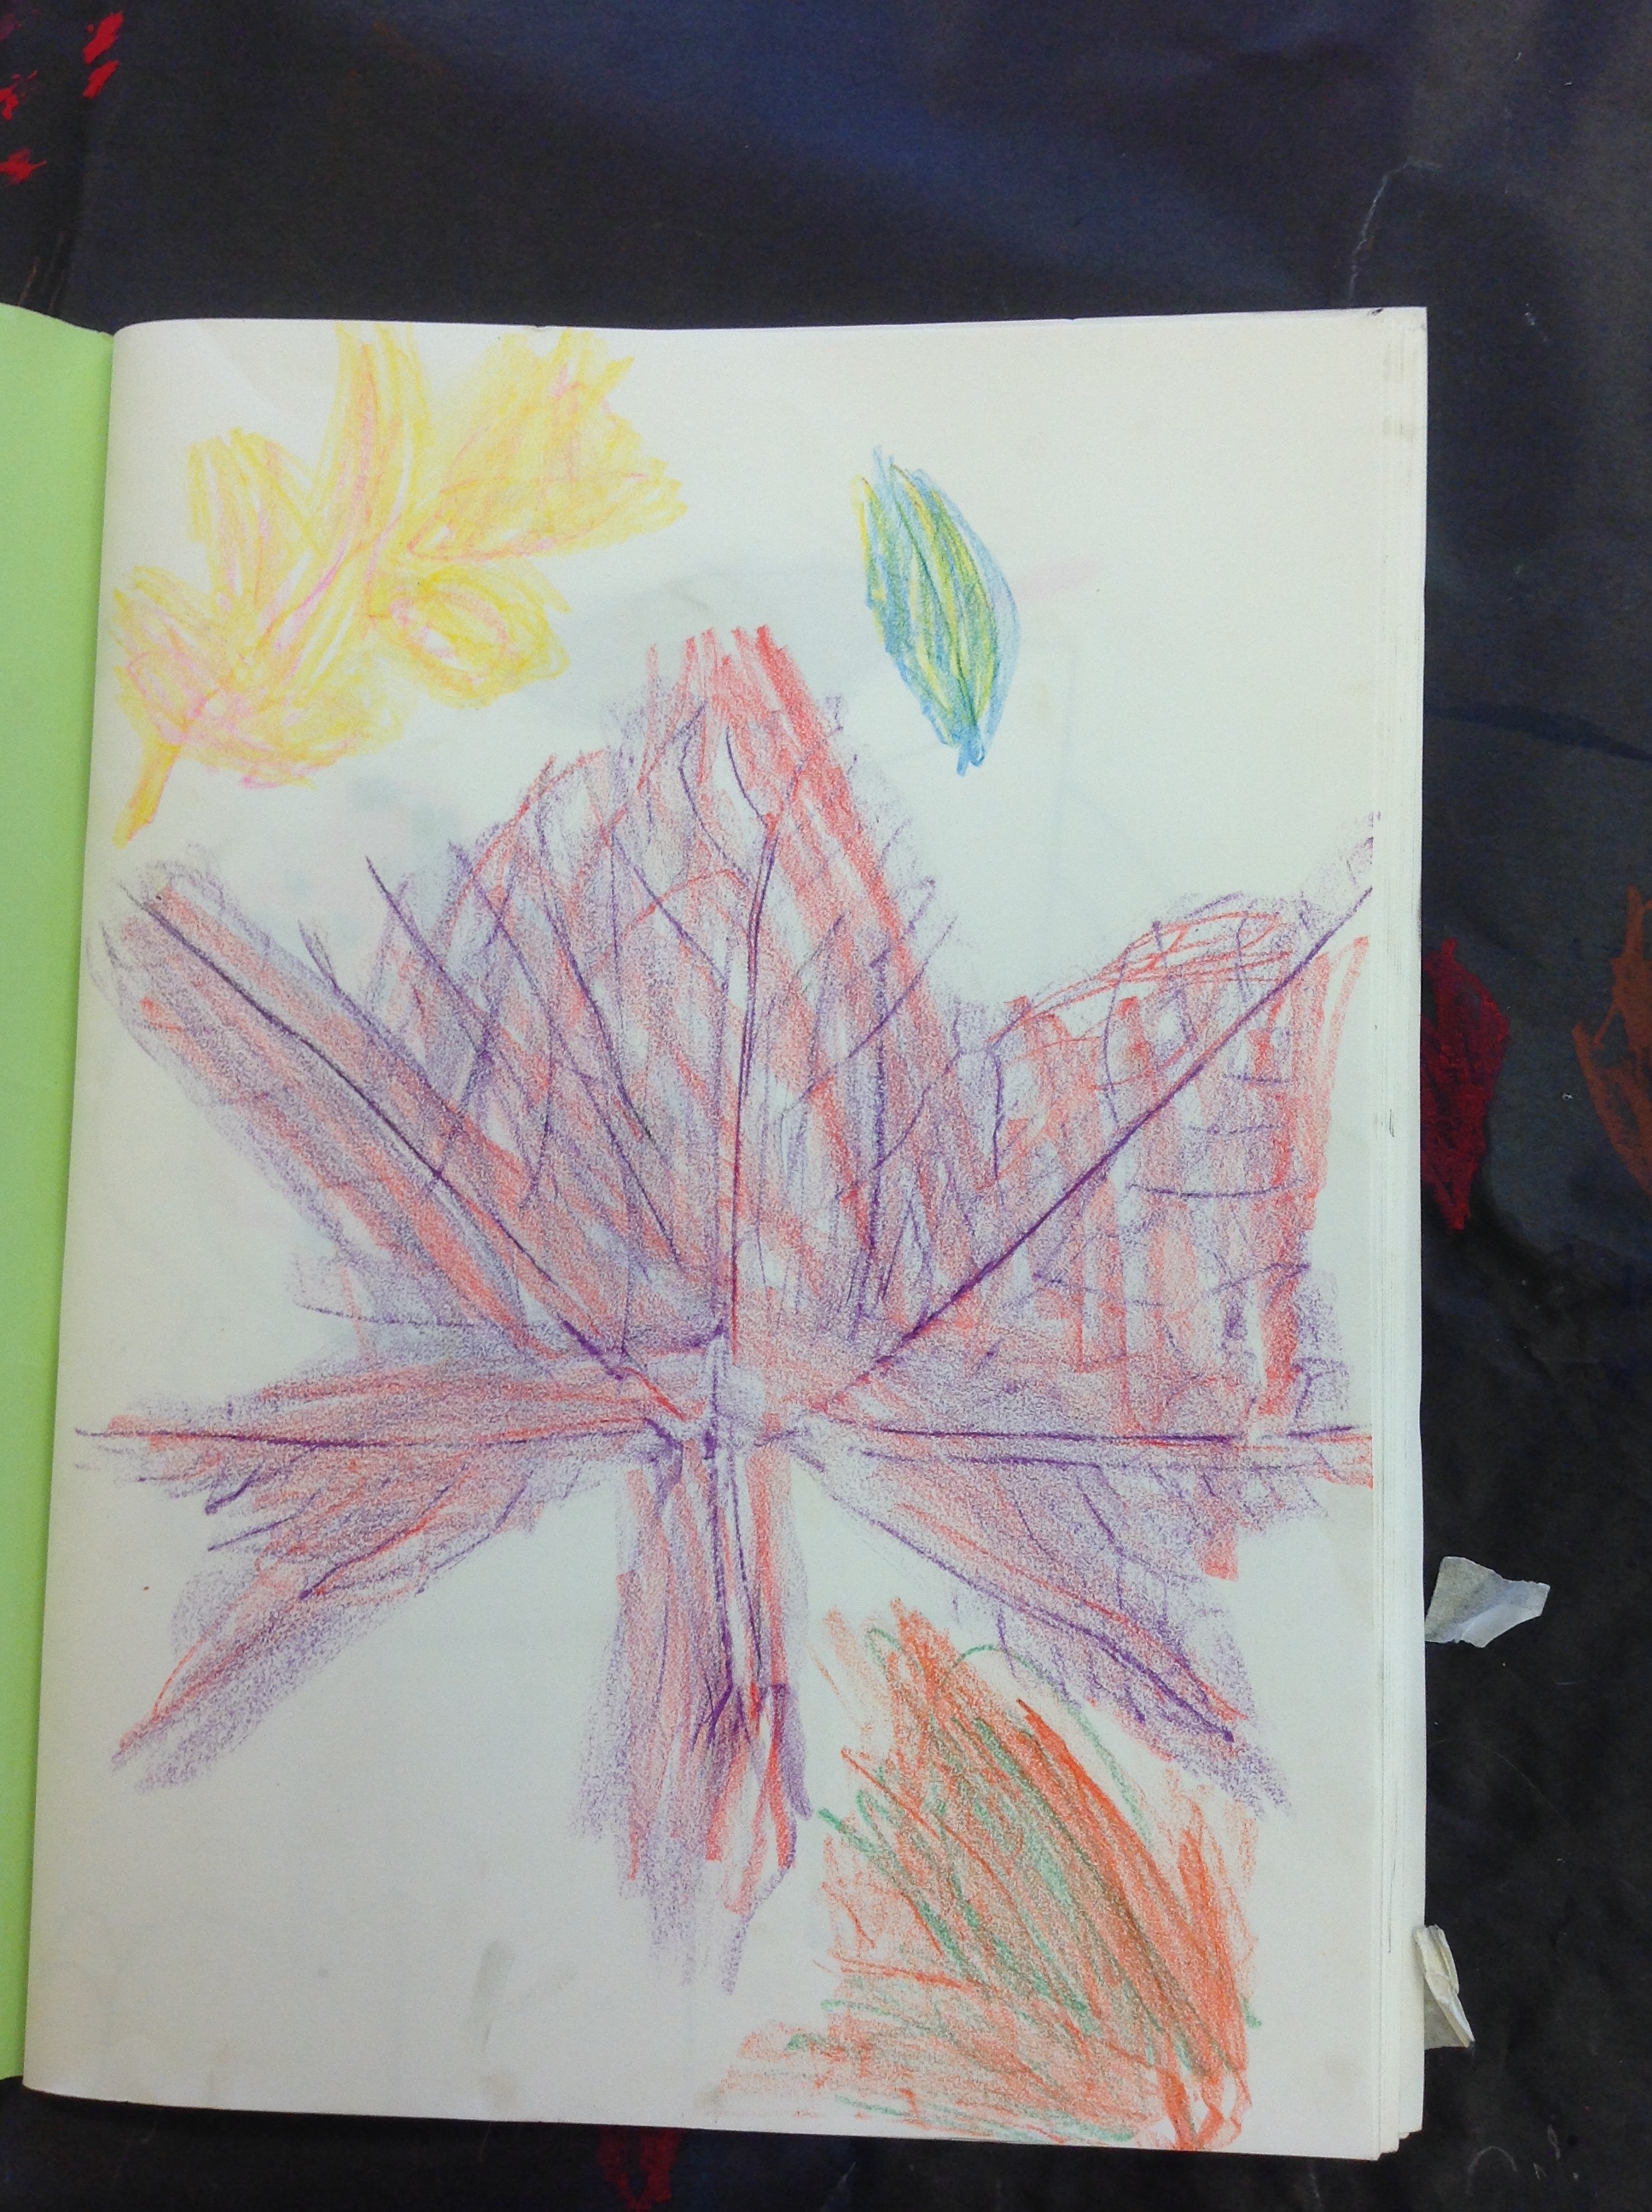
Fall Leaves: 1st graders practiced drawing leaves that were gathered from around campus. They looked at and observed the shapes of elm, maple, and oak leaves. They noticed the vein patterns. They also looked at the shape of fir needles. They practiced drawing these leaves in their sketchbooks and then moved to a final piece of paper where they drew several leaves in oil pastel. They could use warm fall colors to color them in with watercolor and cool colors for the background. They came out quite colorful and full of movement.


Halloween: For Halloween 1st graders practiced drawing some spooky animals and ghouls…


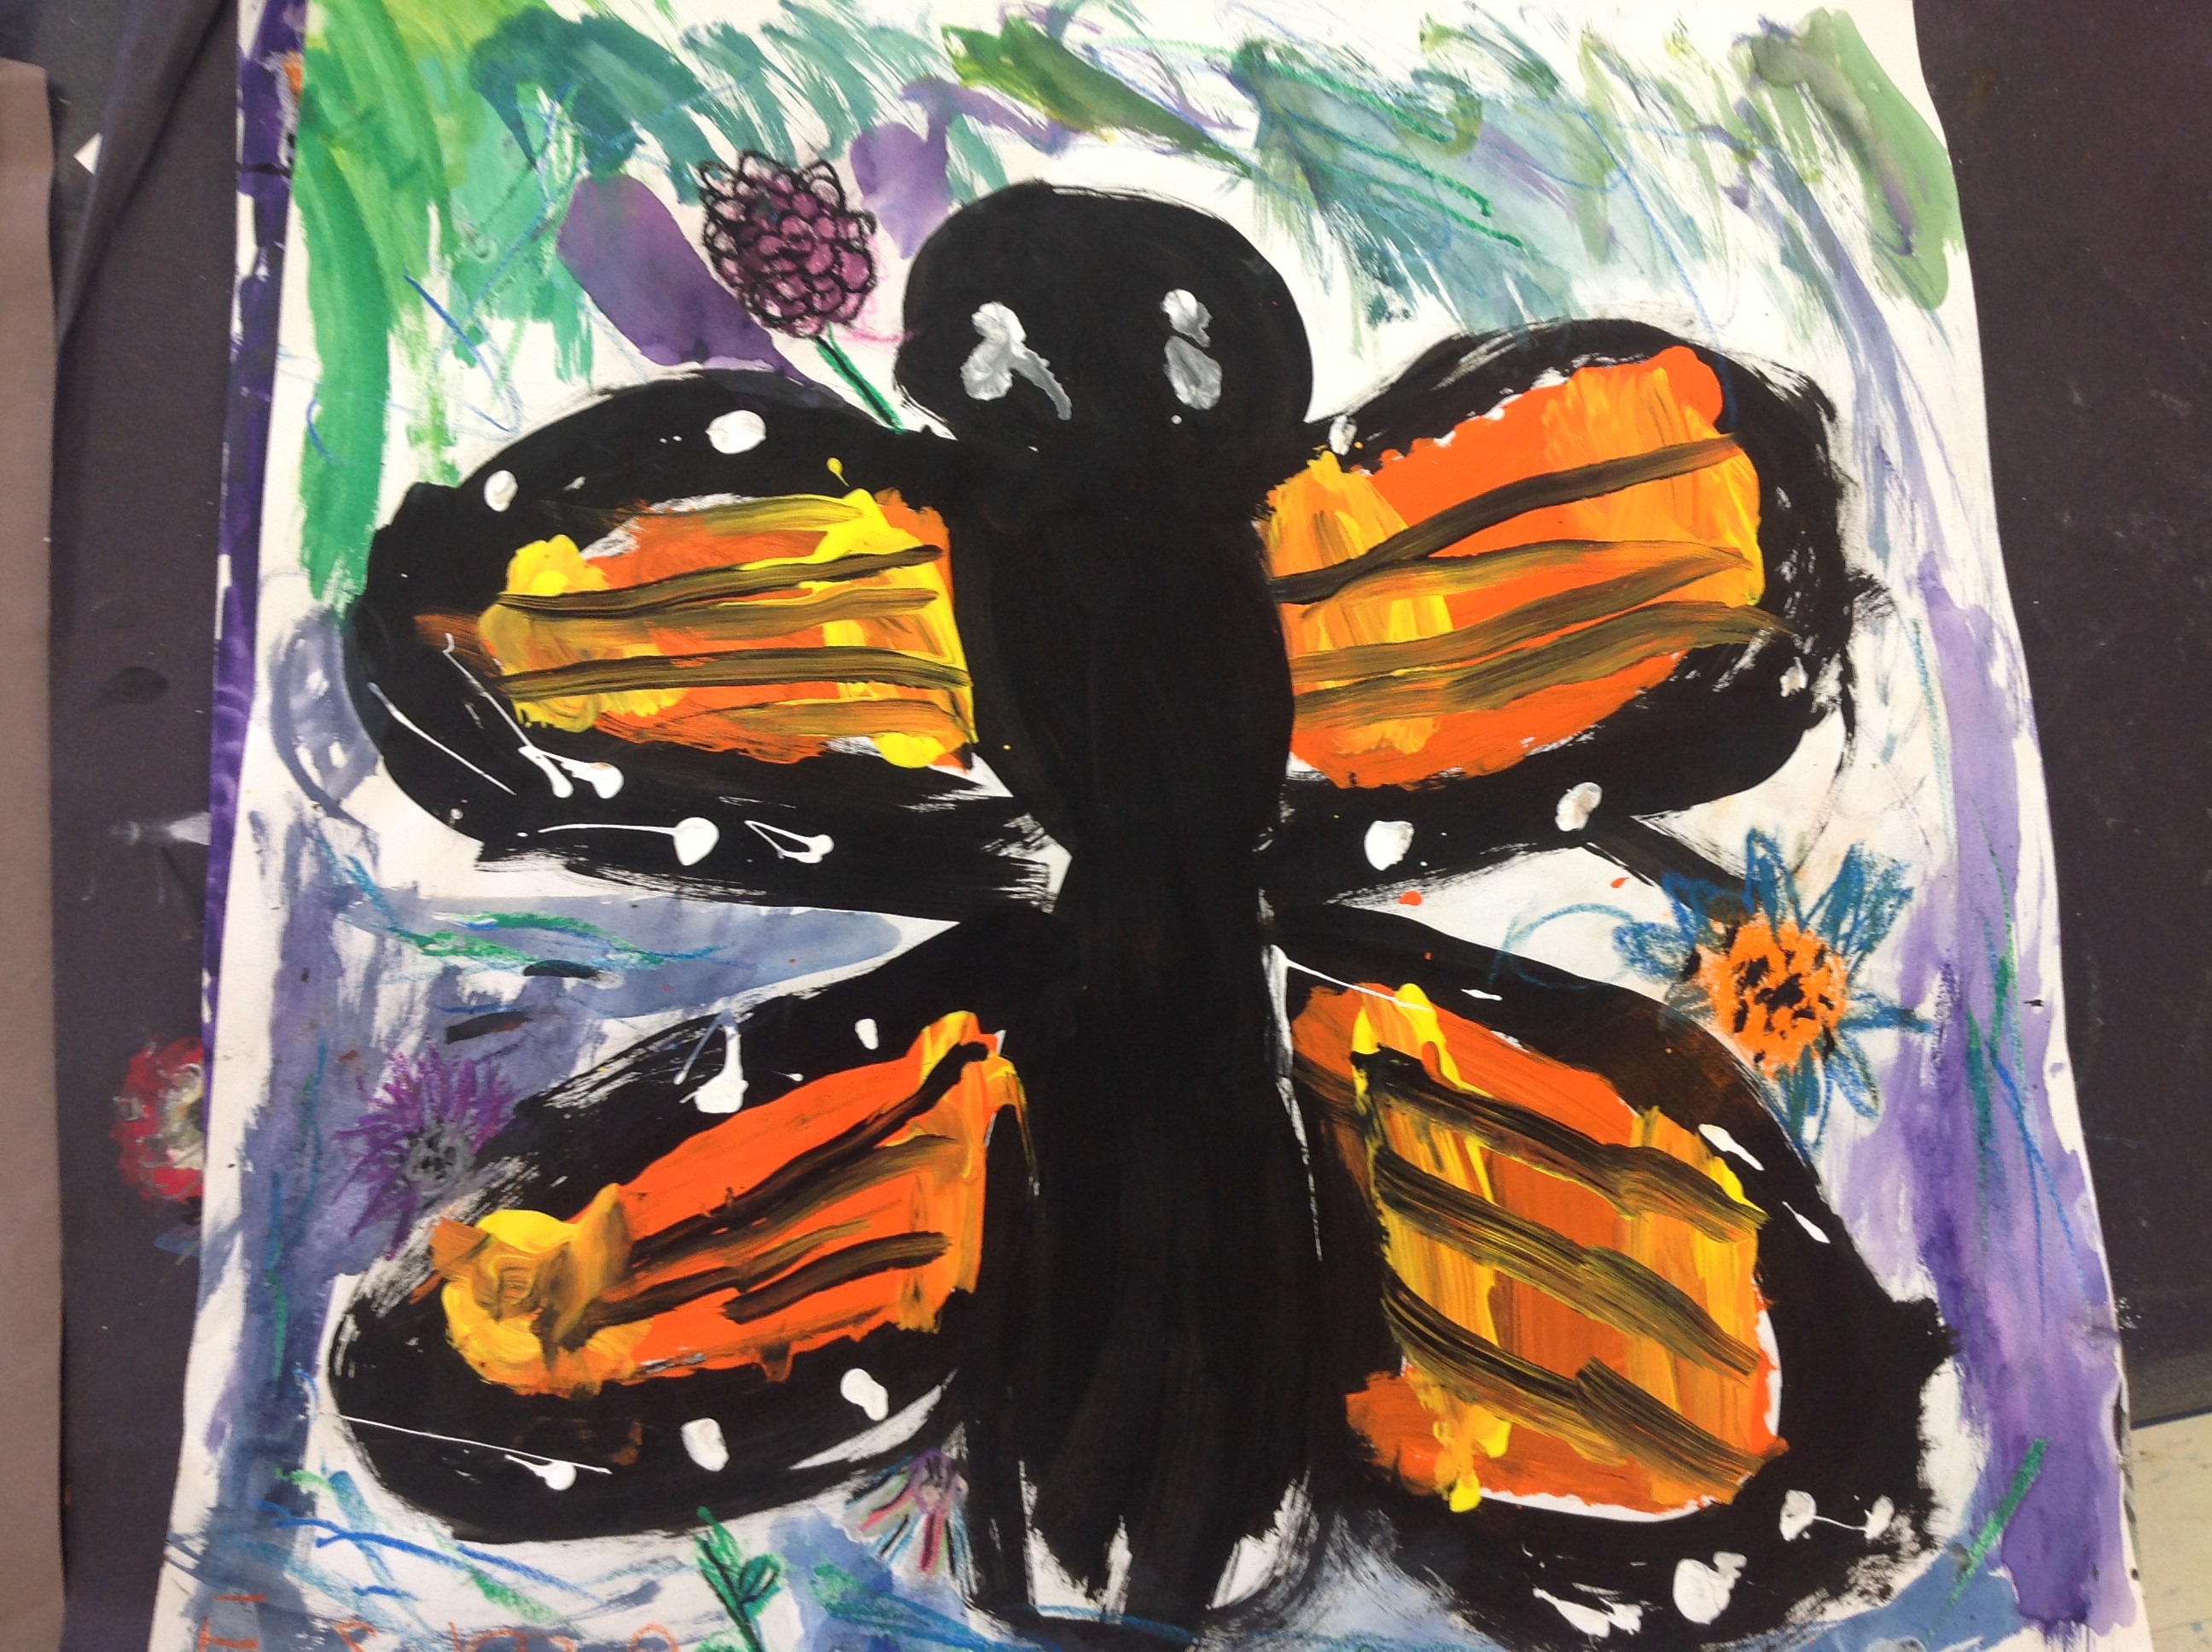
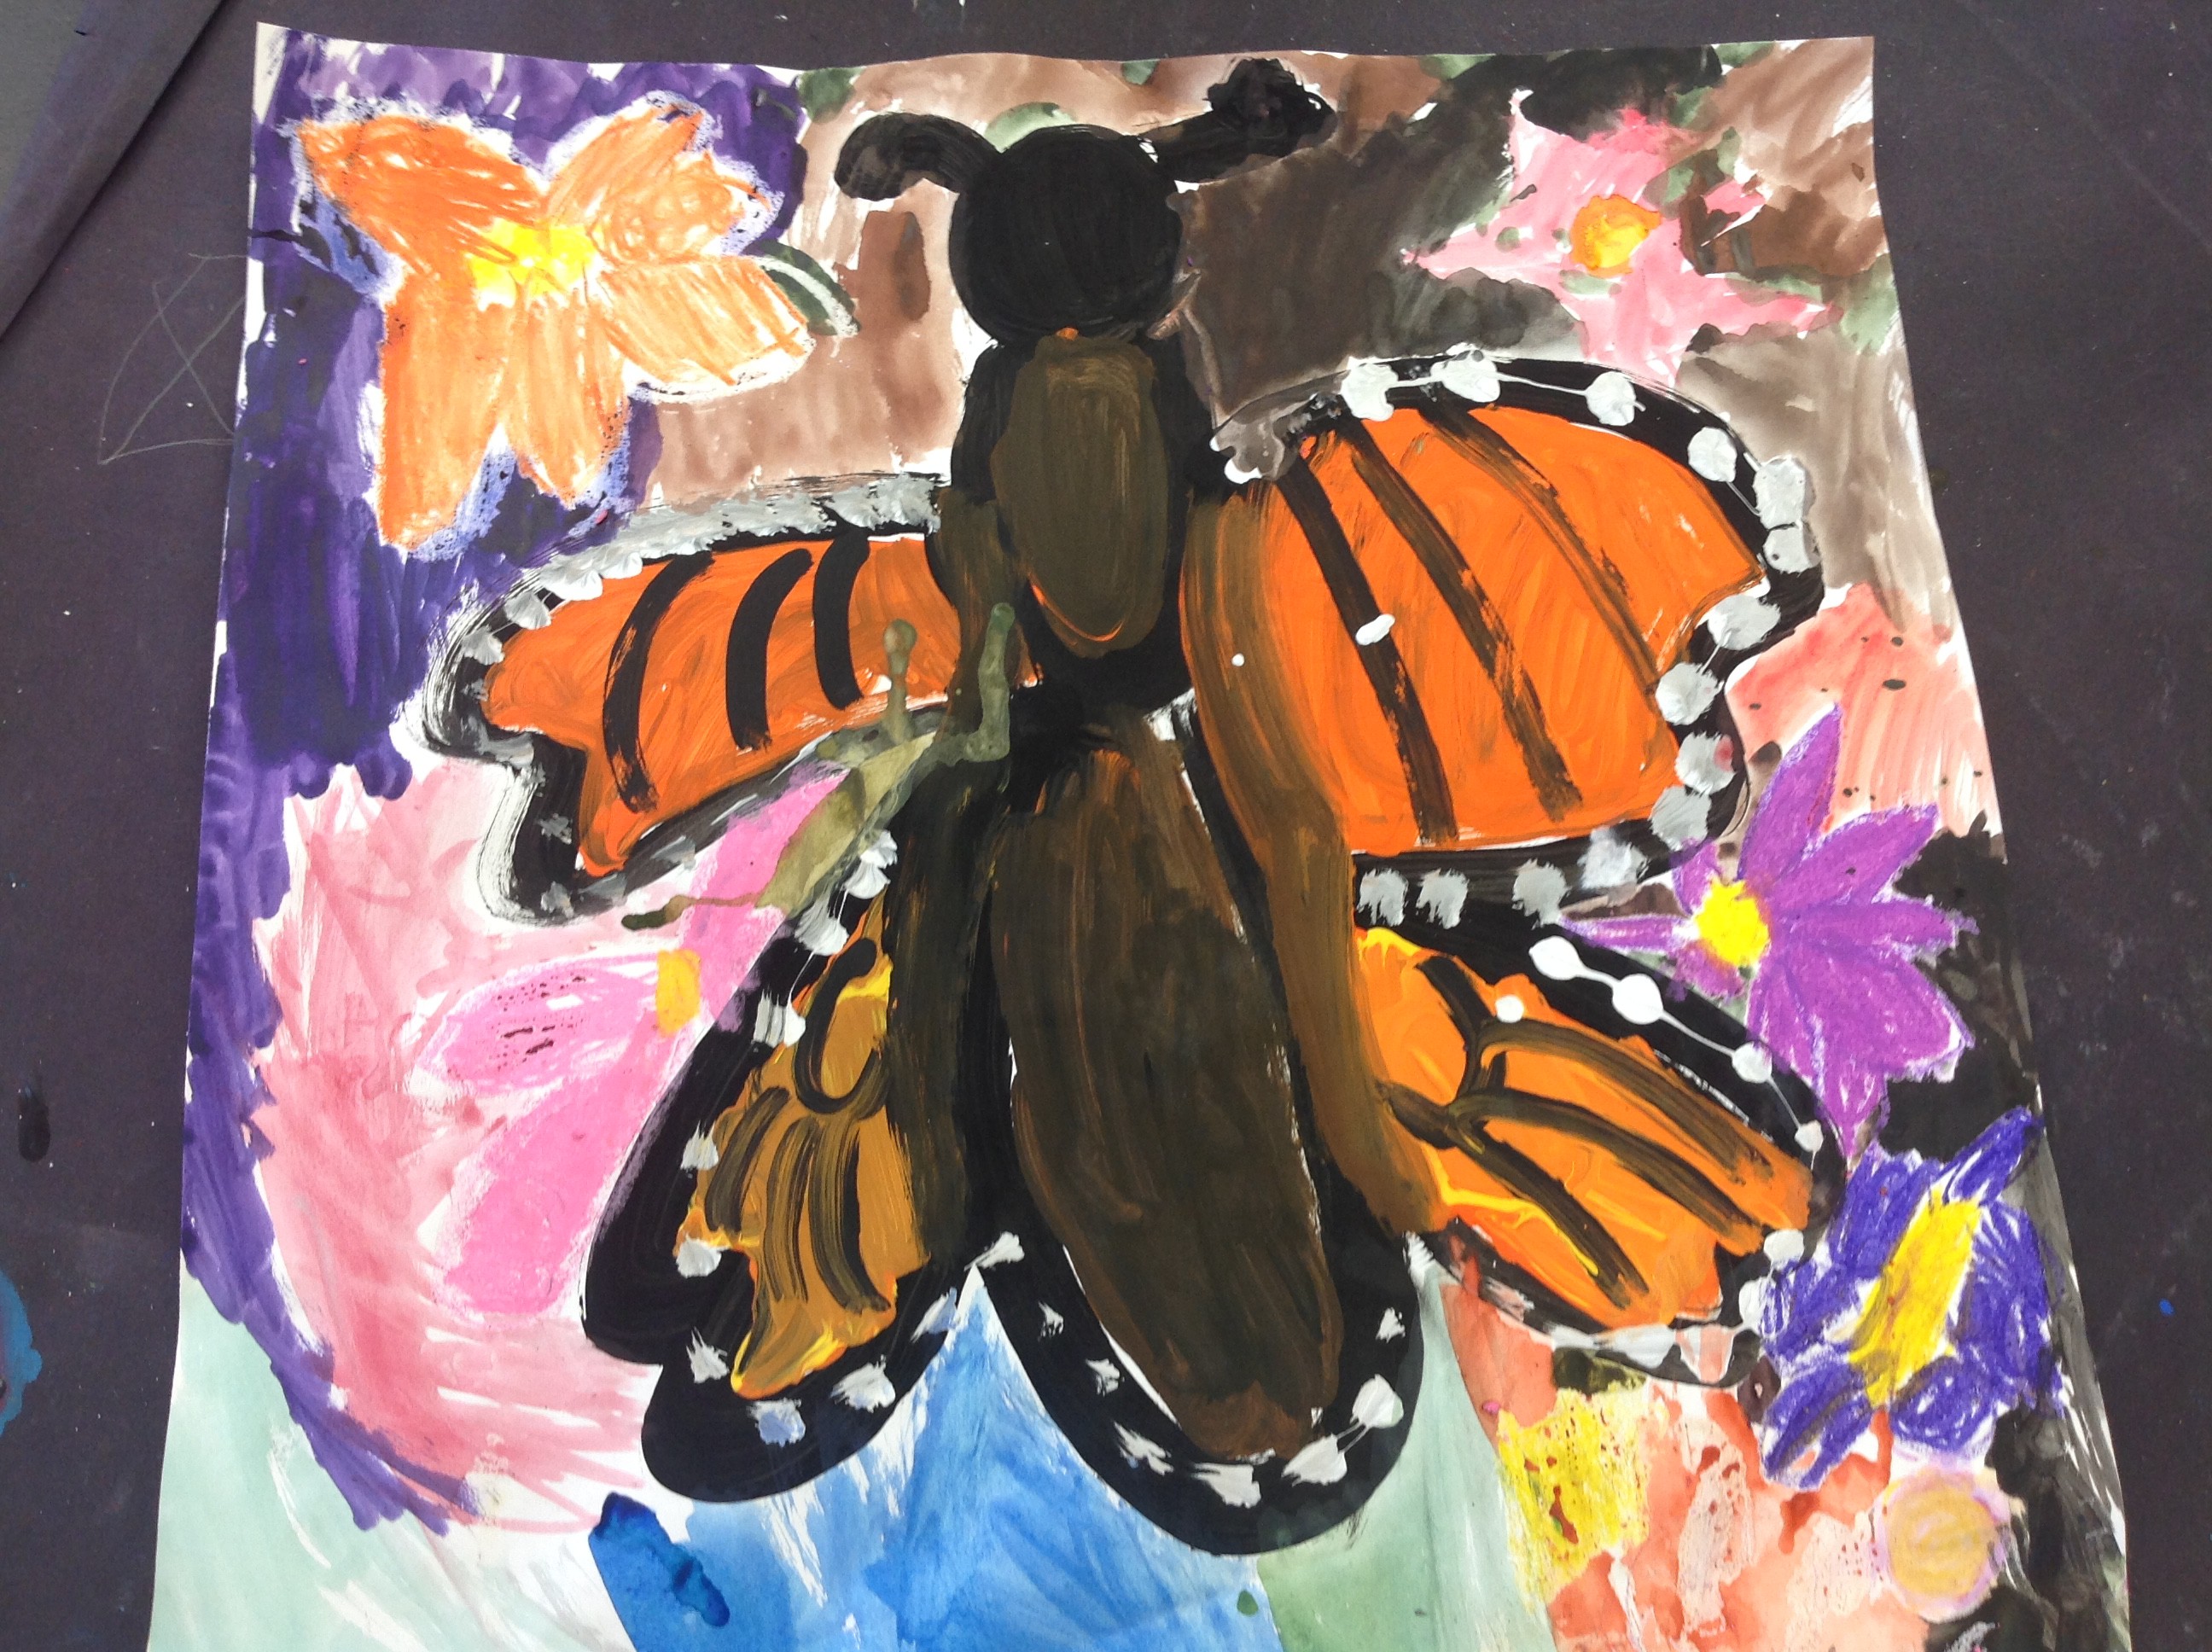
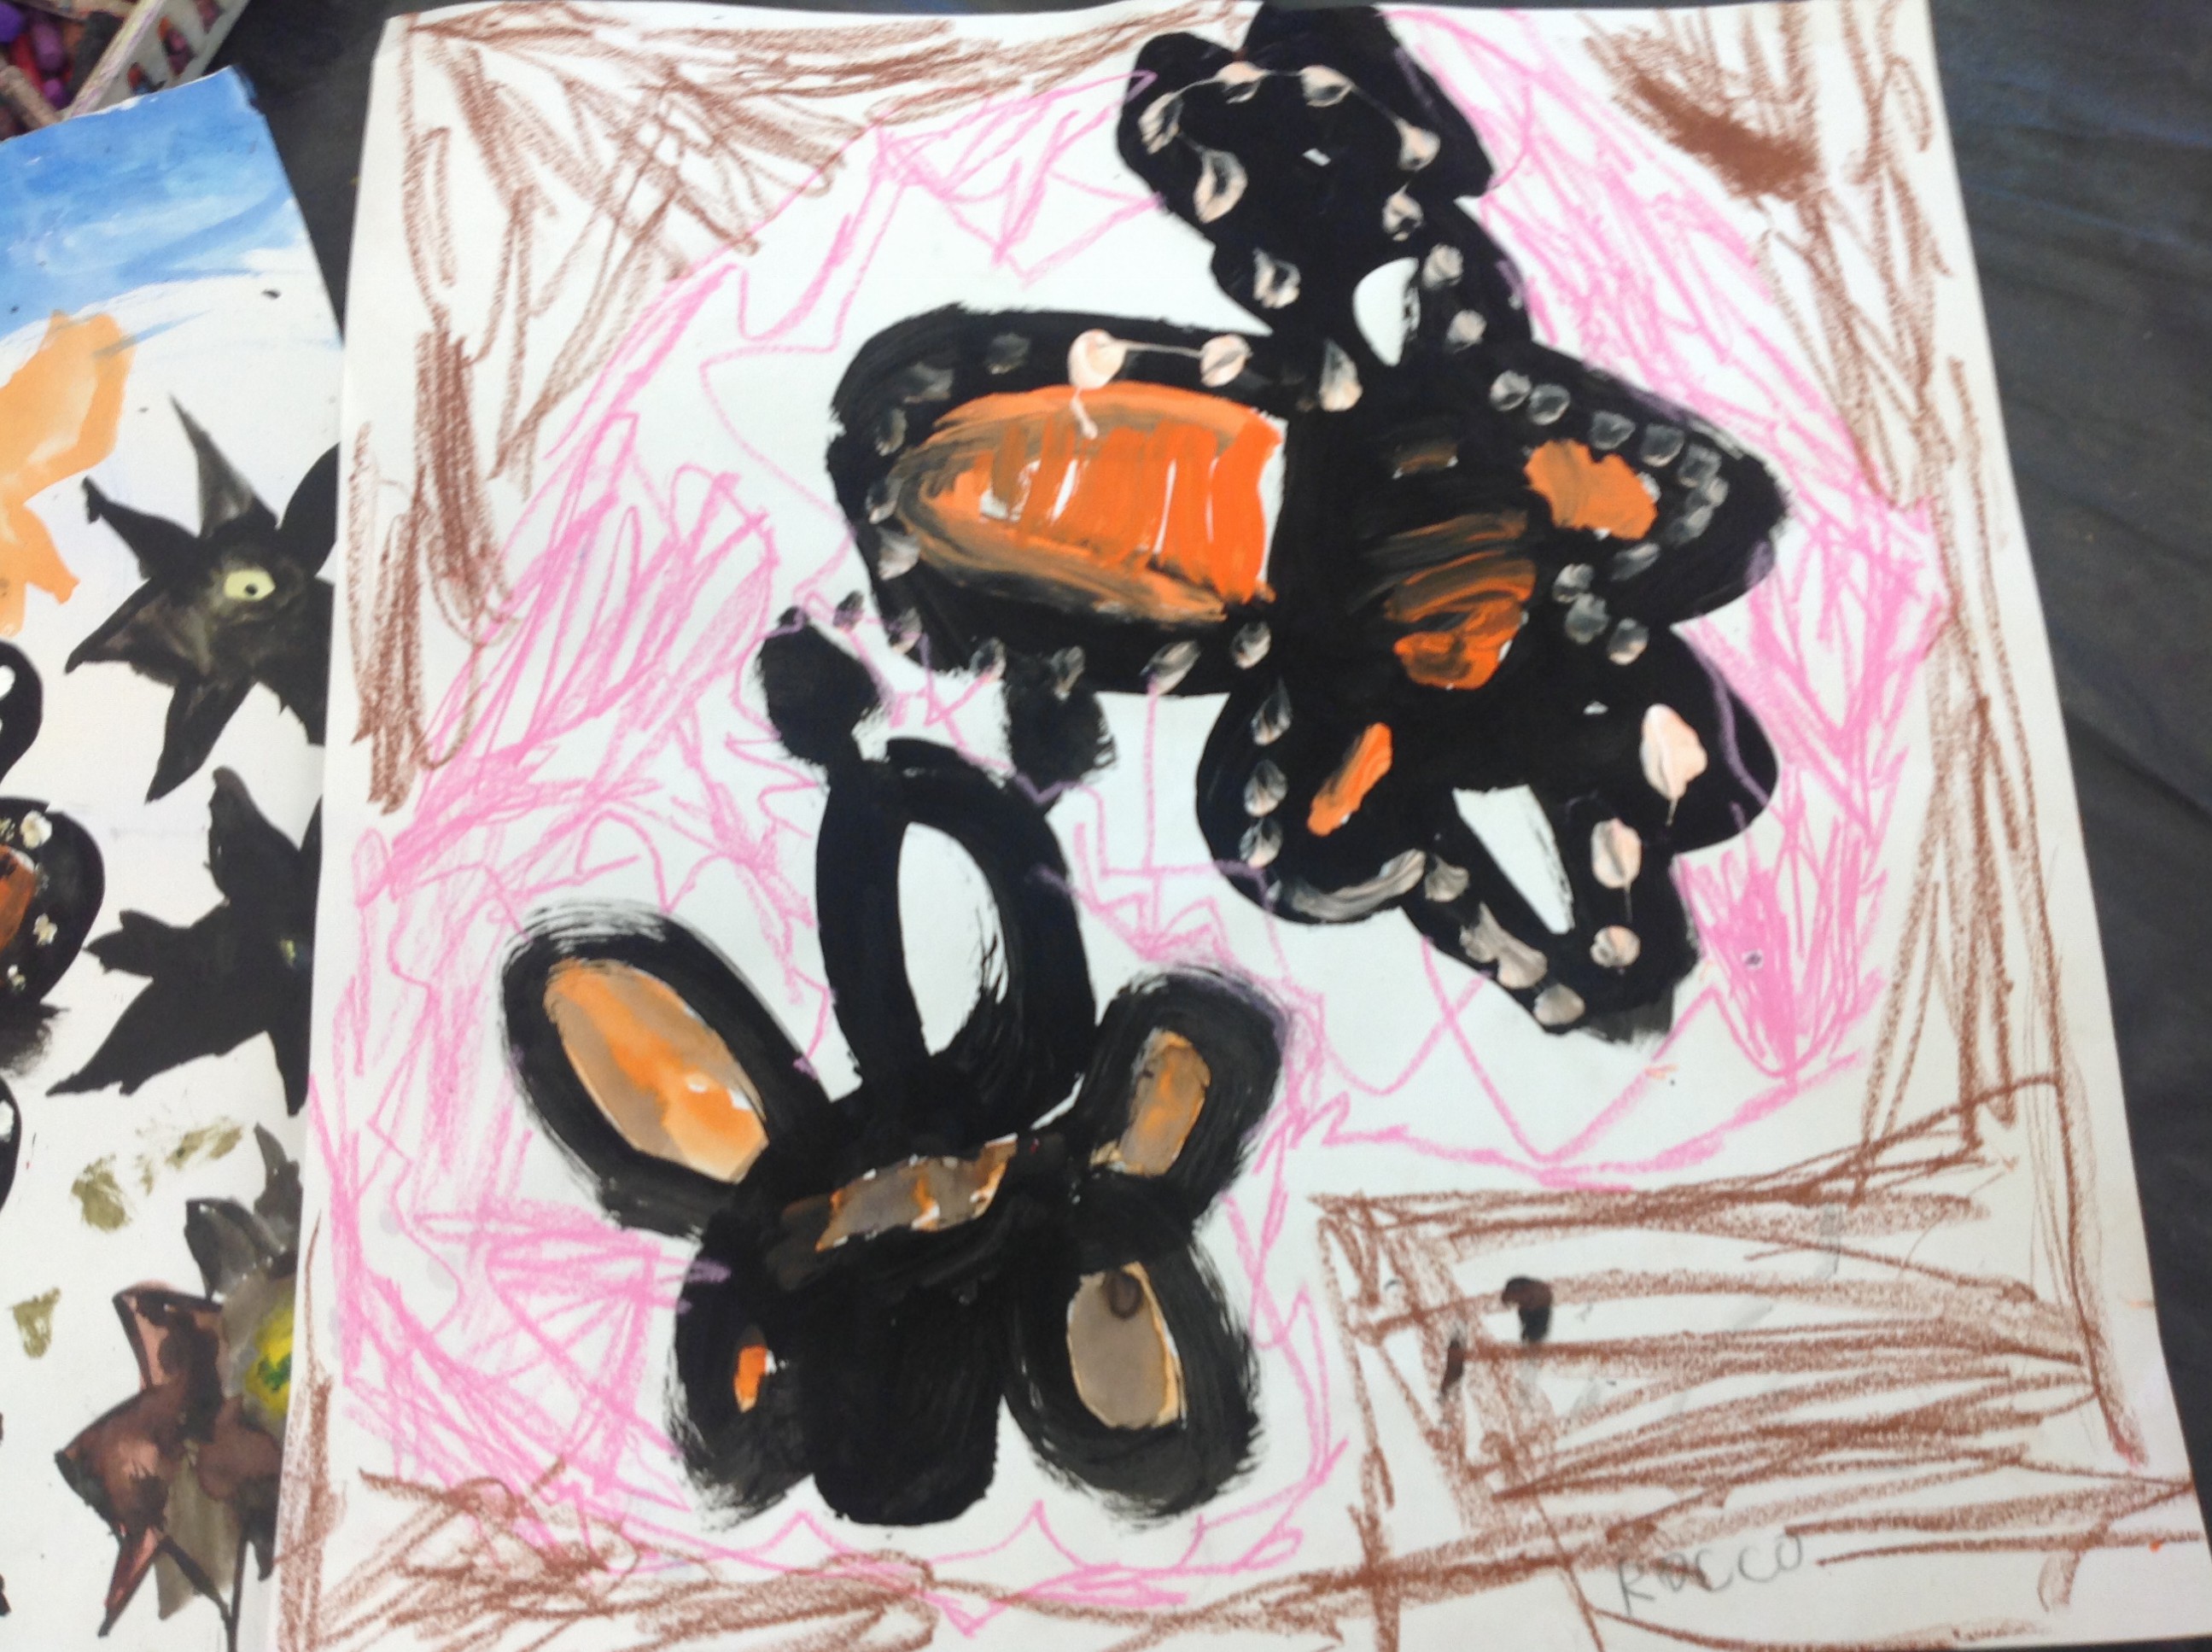
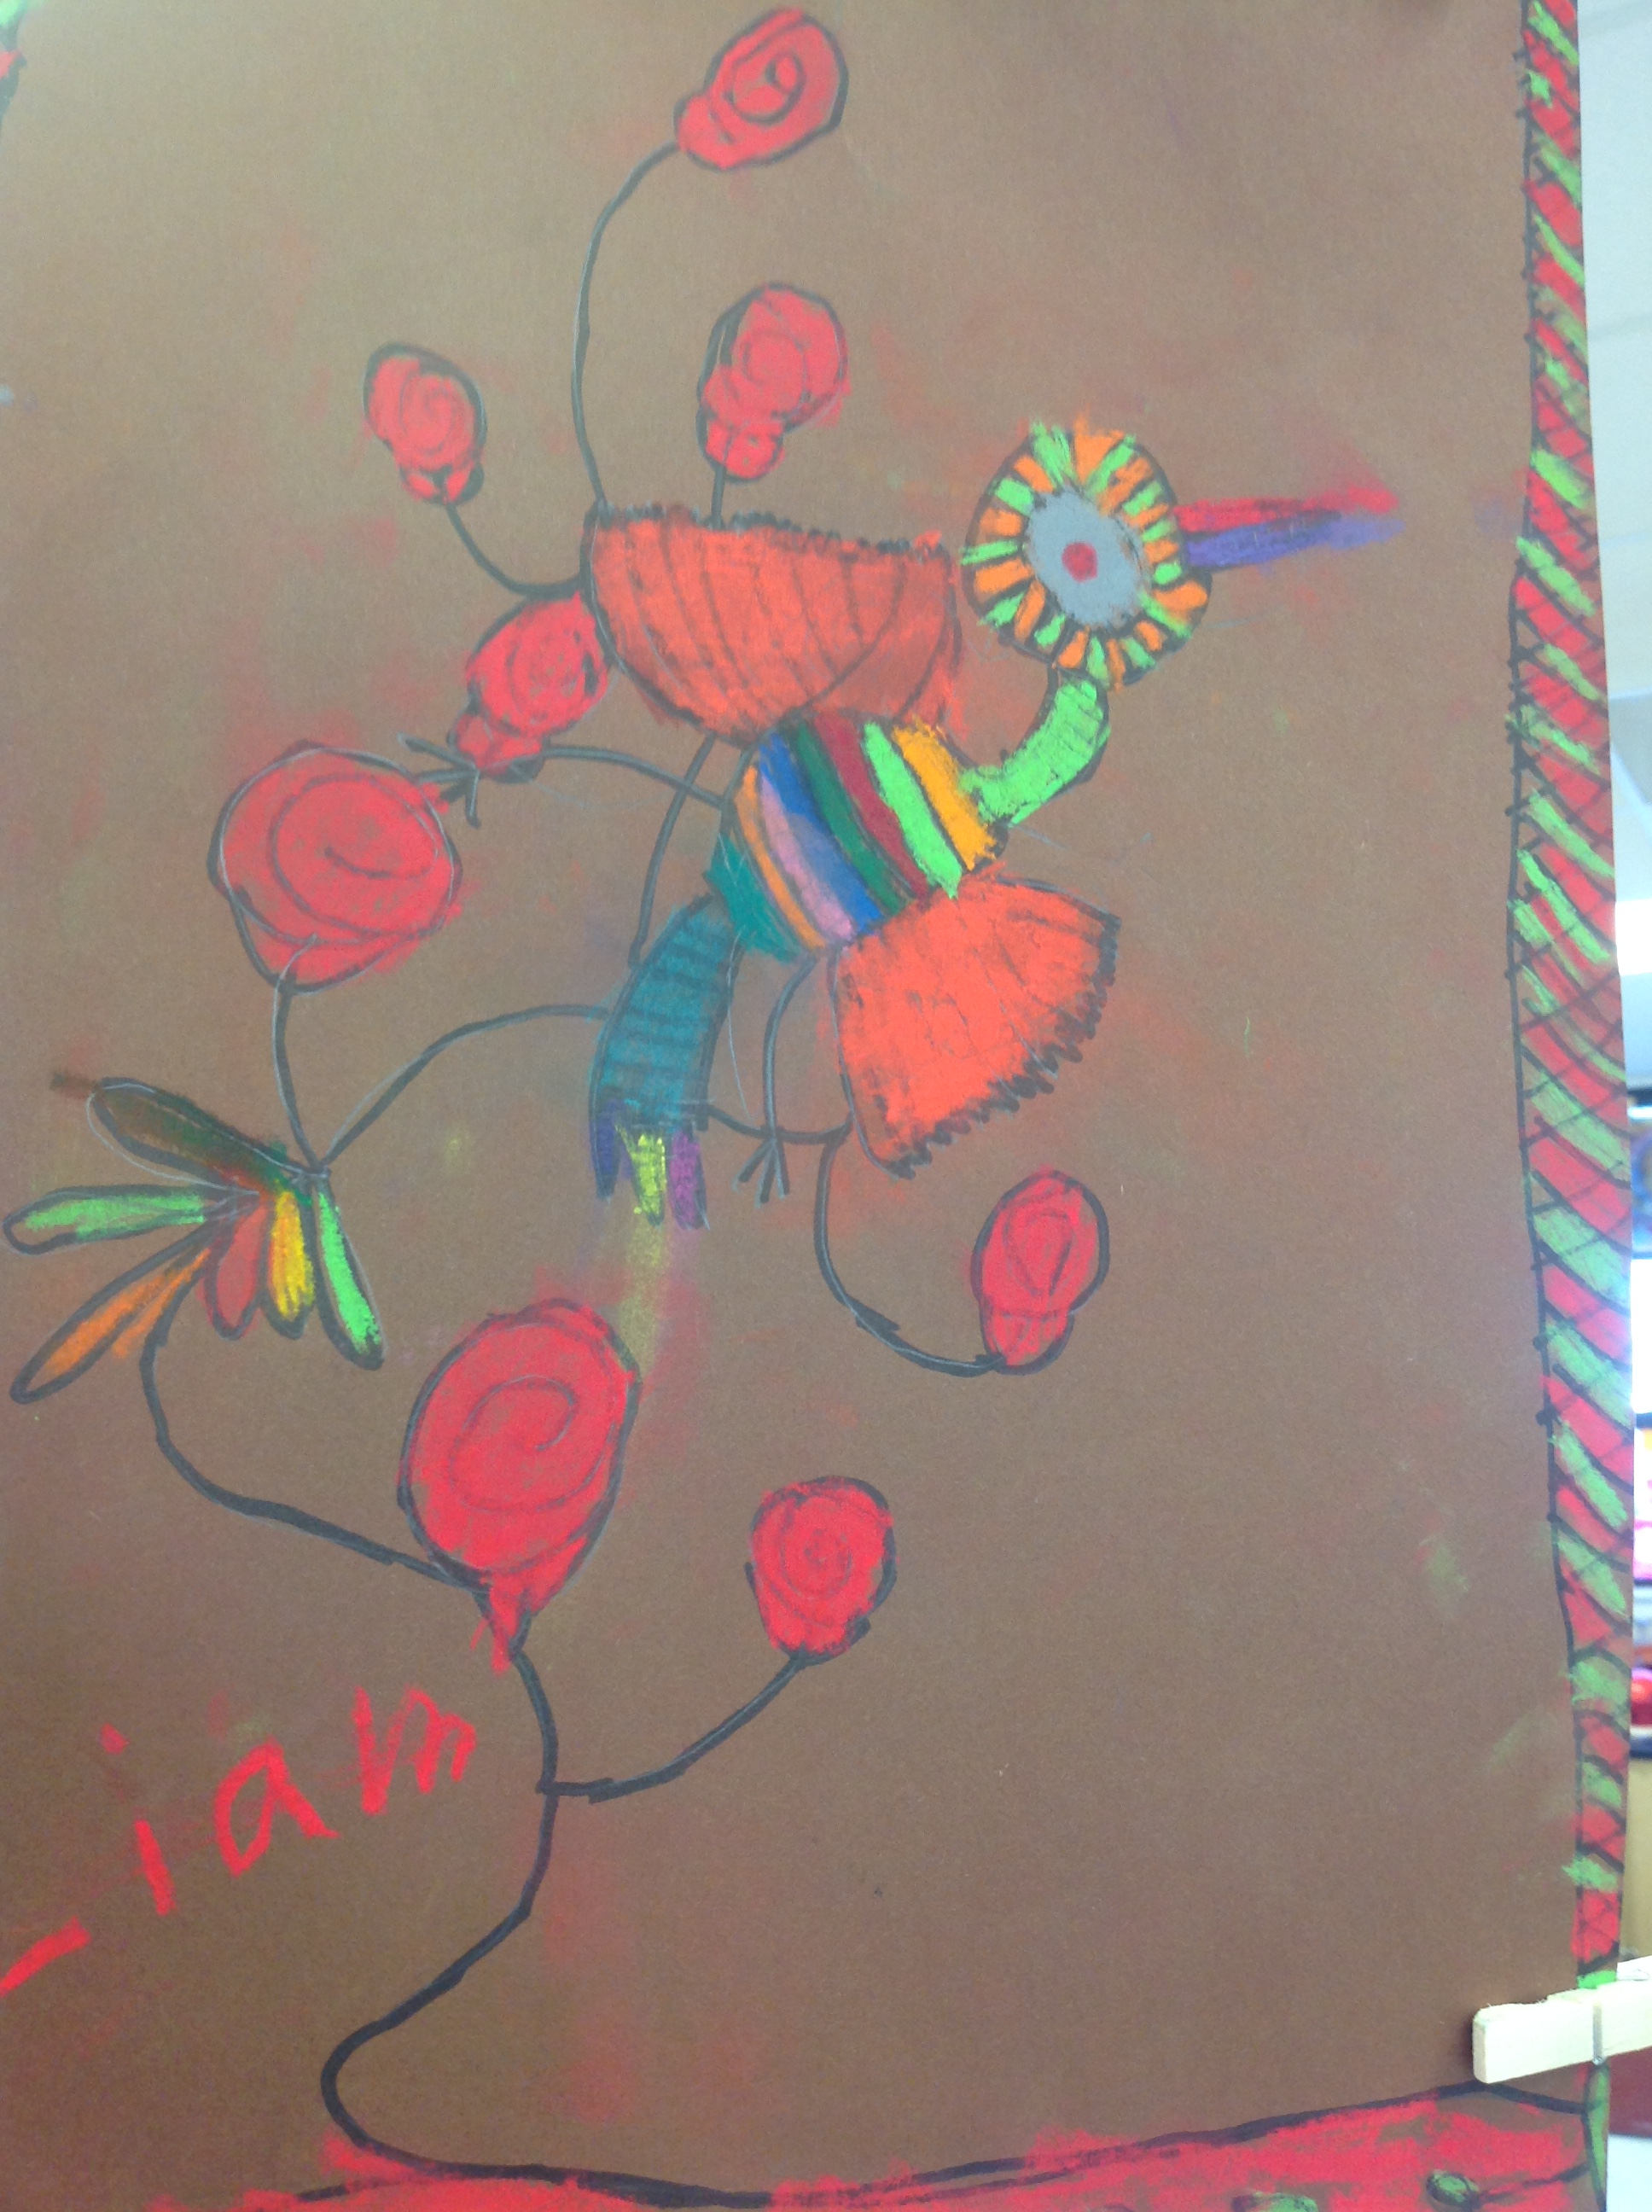
Monarch Butterflies: As we acknowledged Day of the Dead, monarch butterflies fly migrate to warmer climates such as Mexico for the winter. We looked at the parts of the butterfly’s boy: head, thorax, abdomen, forewings, and hindwing. 1st graders practiced drawing a monarch and then painting one using white, black, orange and yellow tempera paint. They used oil pastel and watercolor for the habitats.


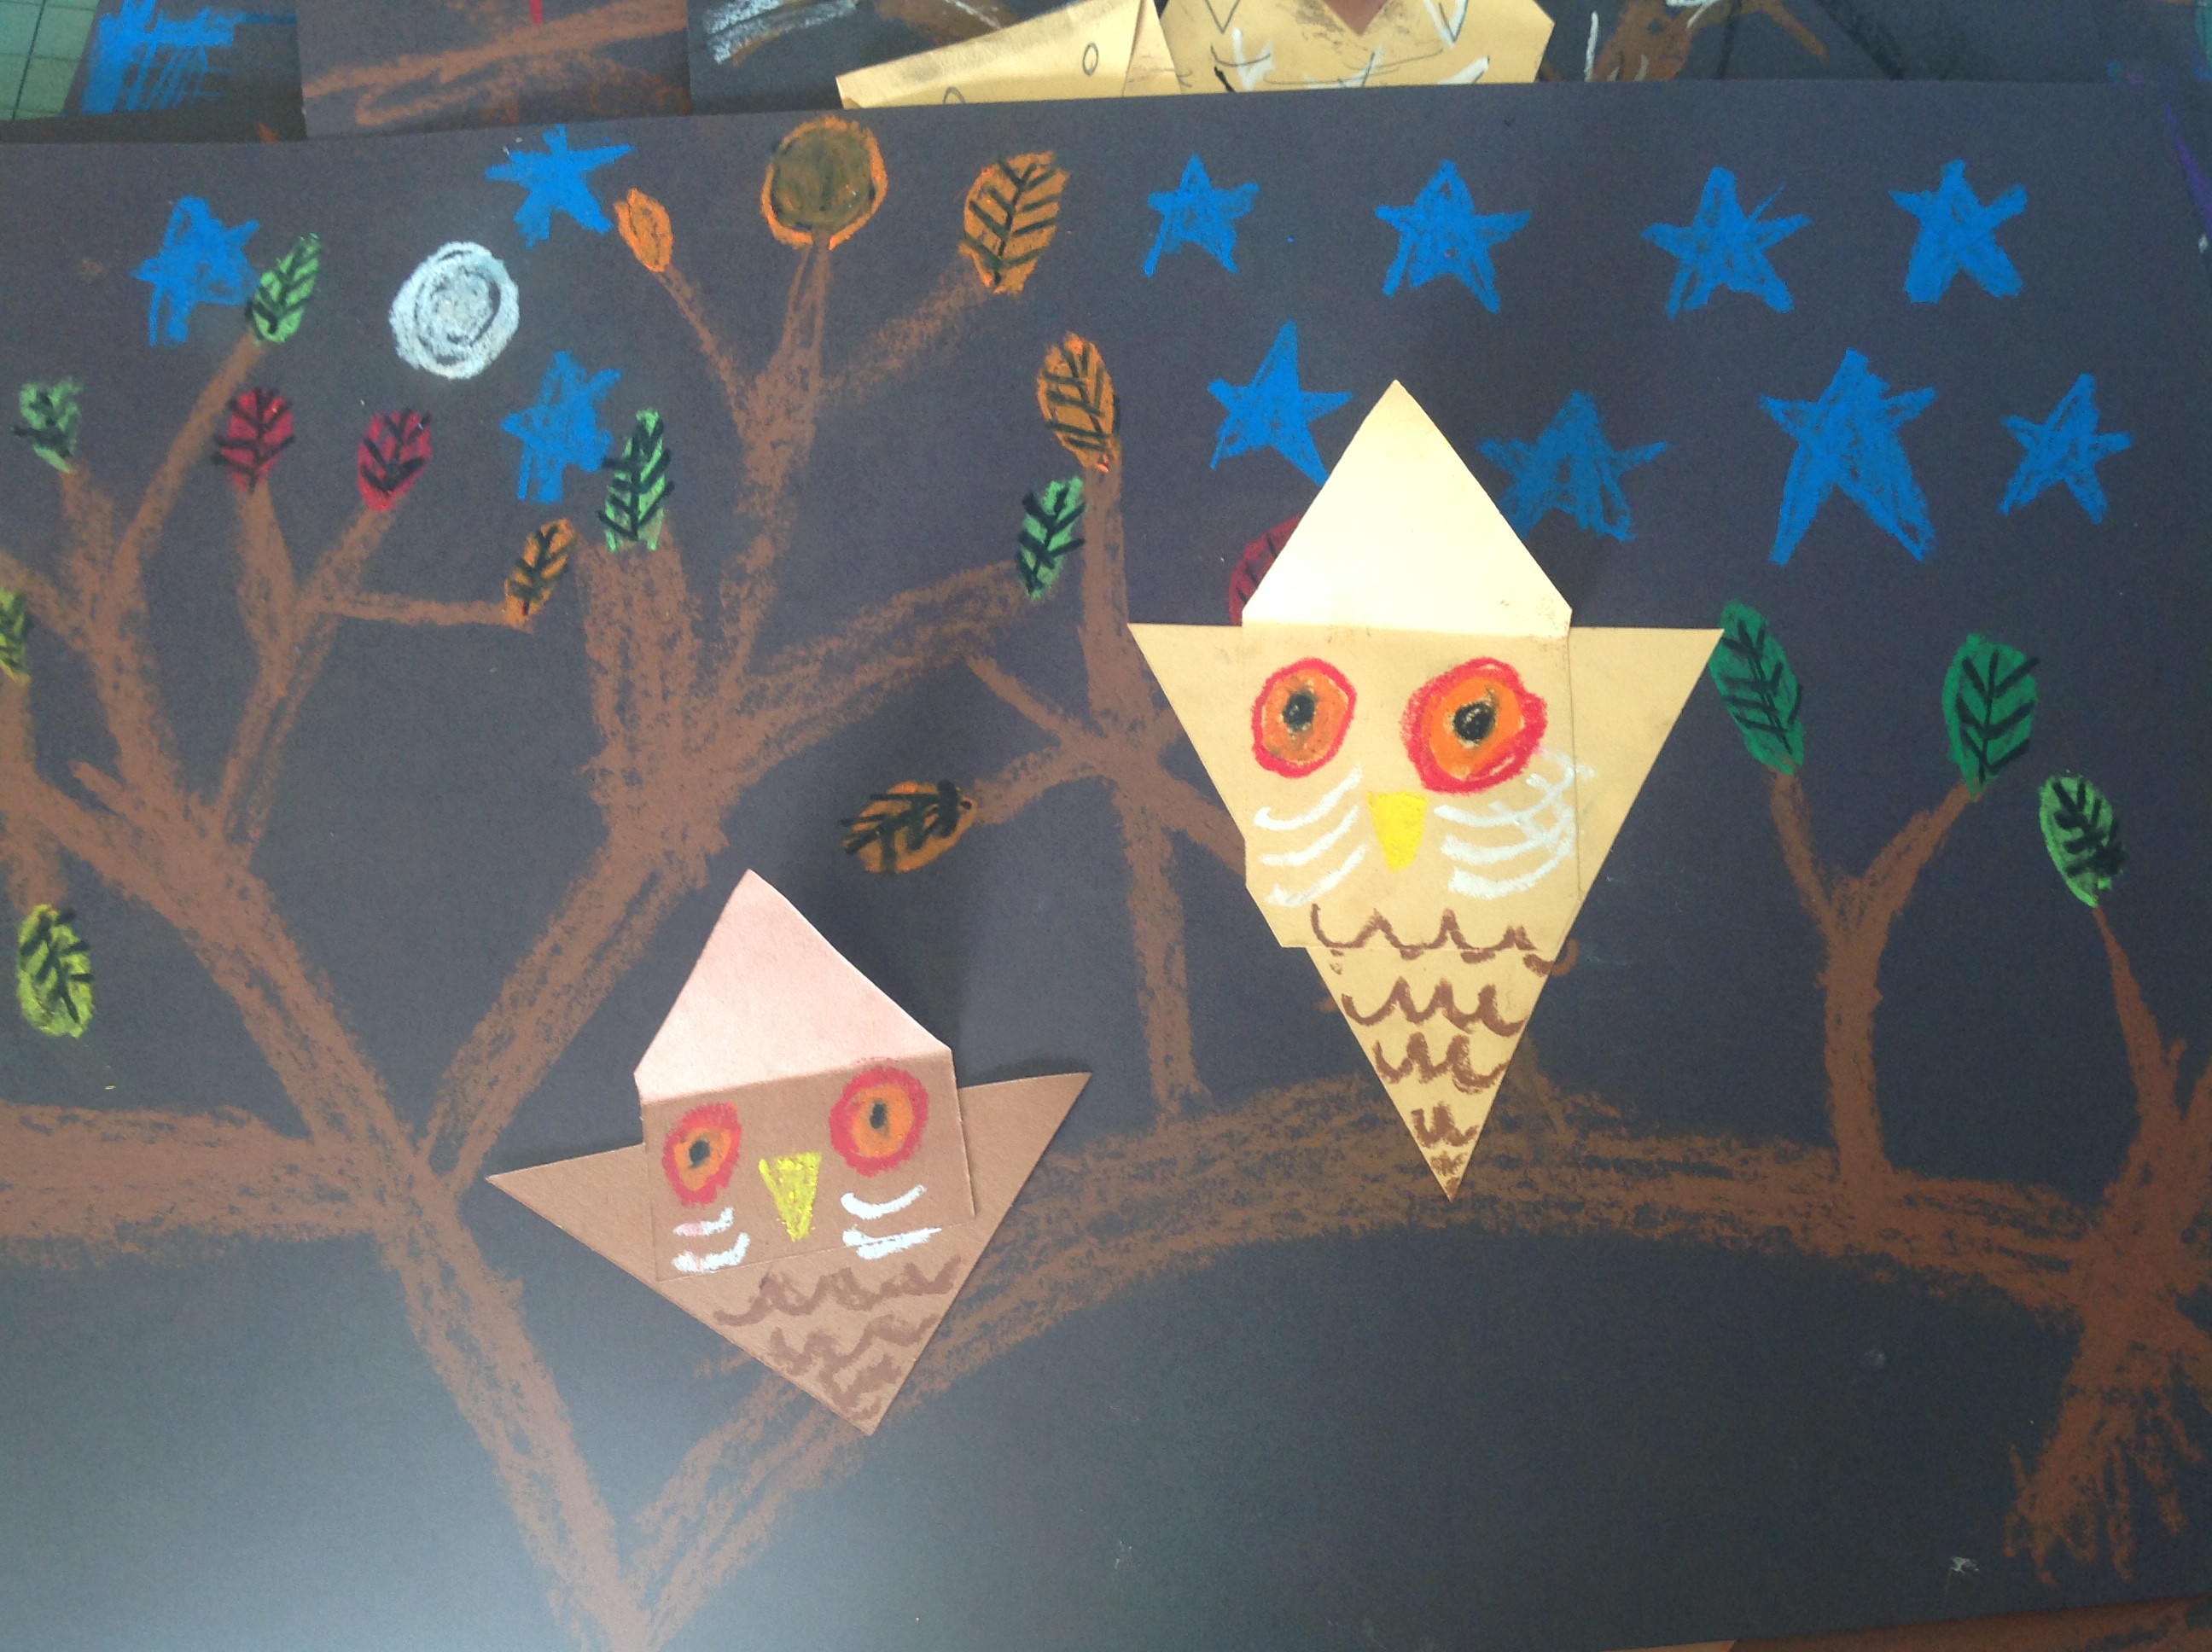
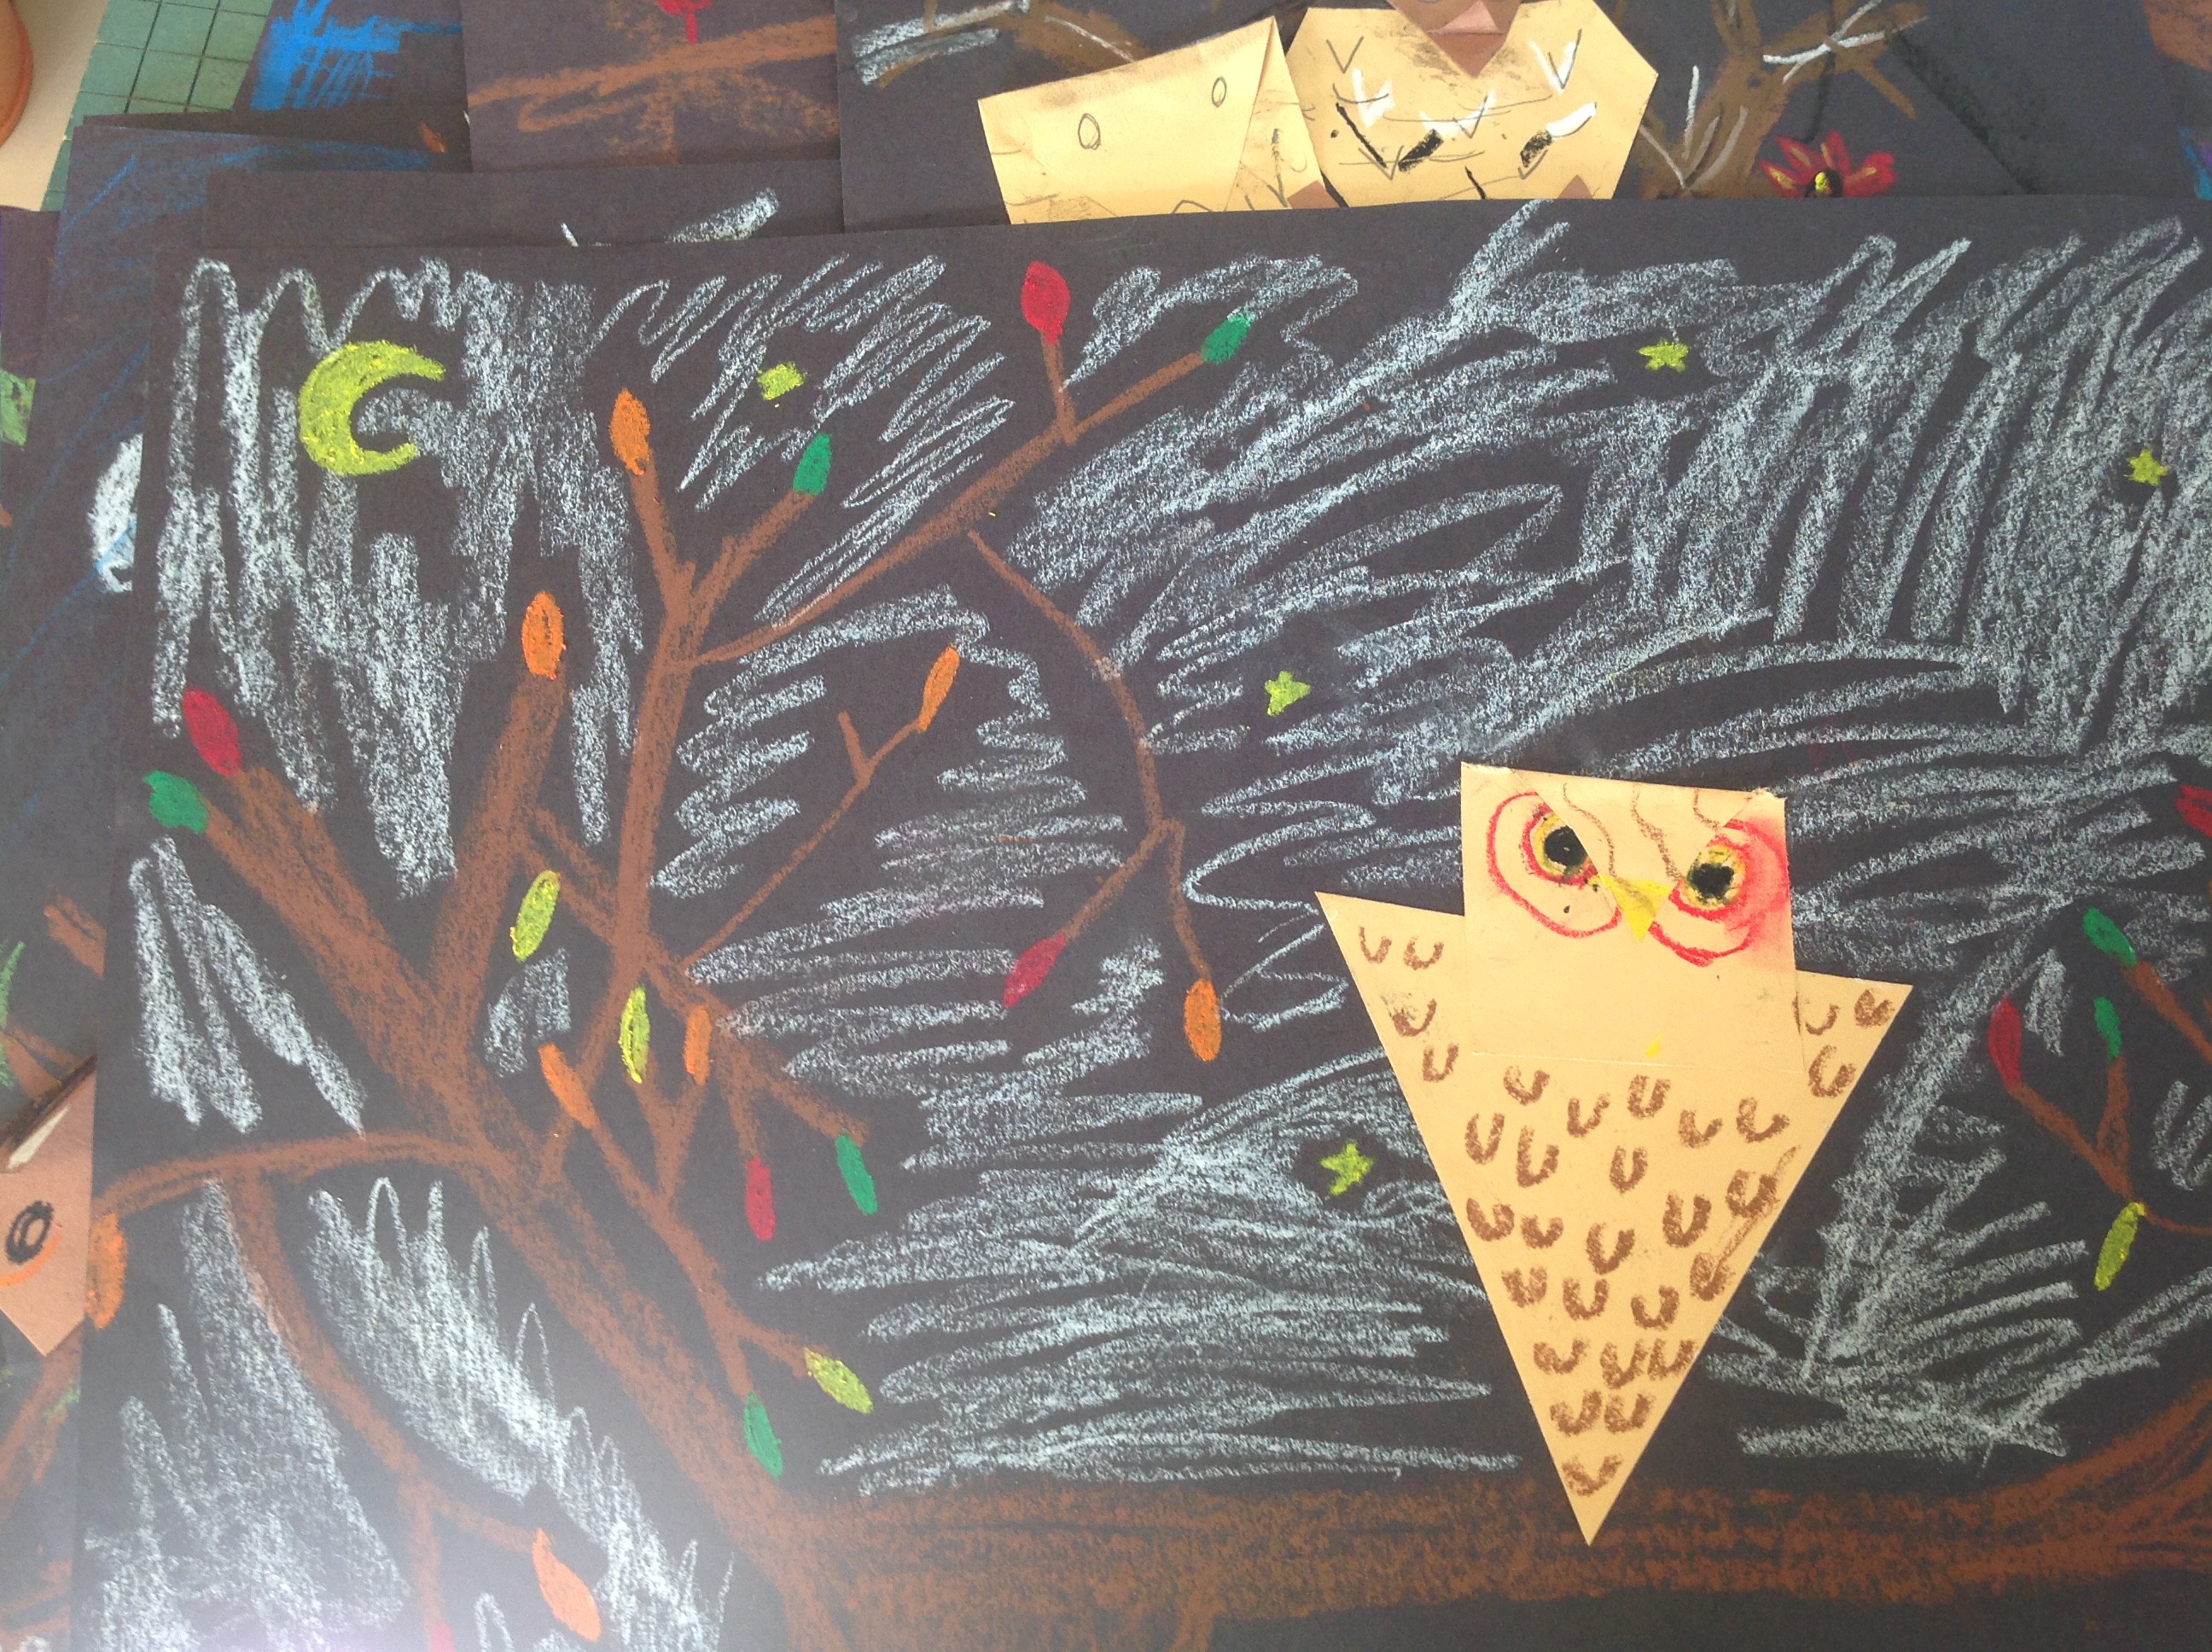
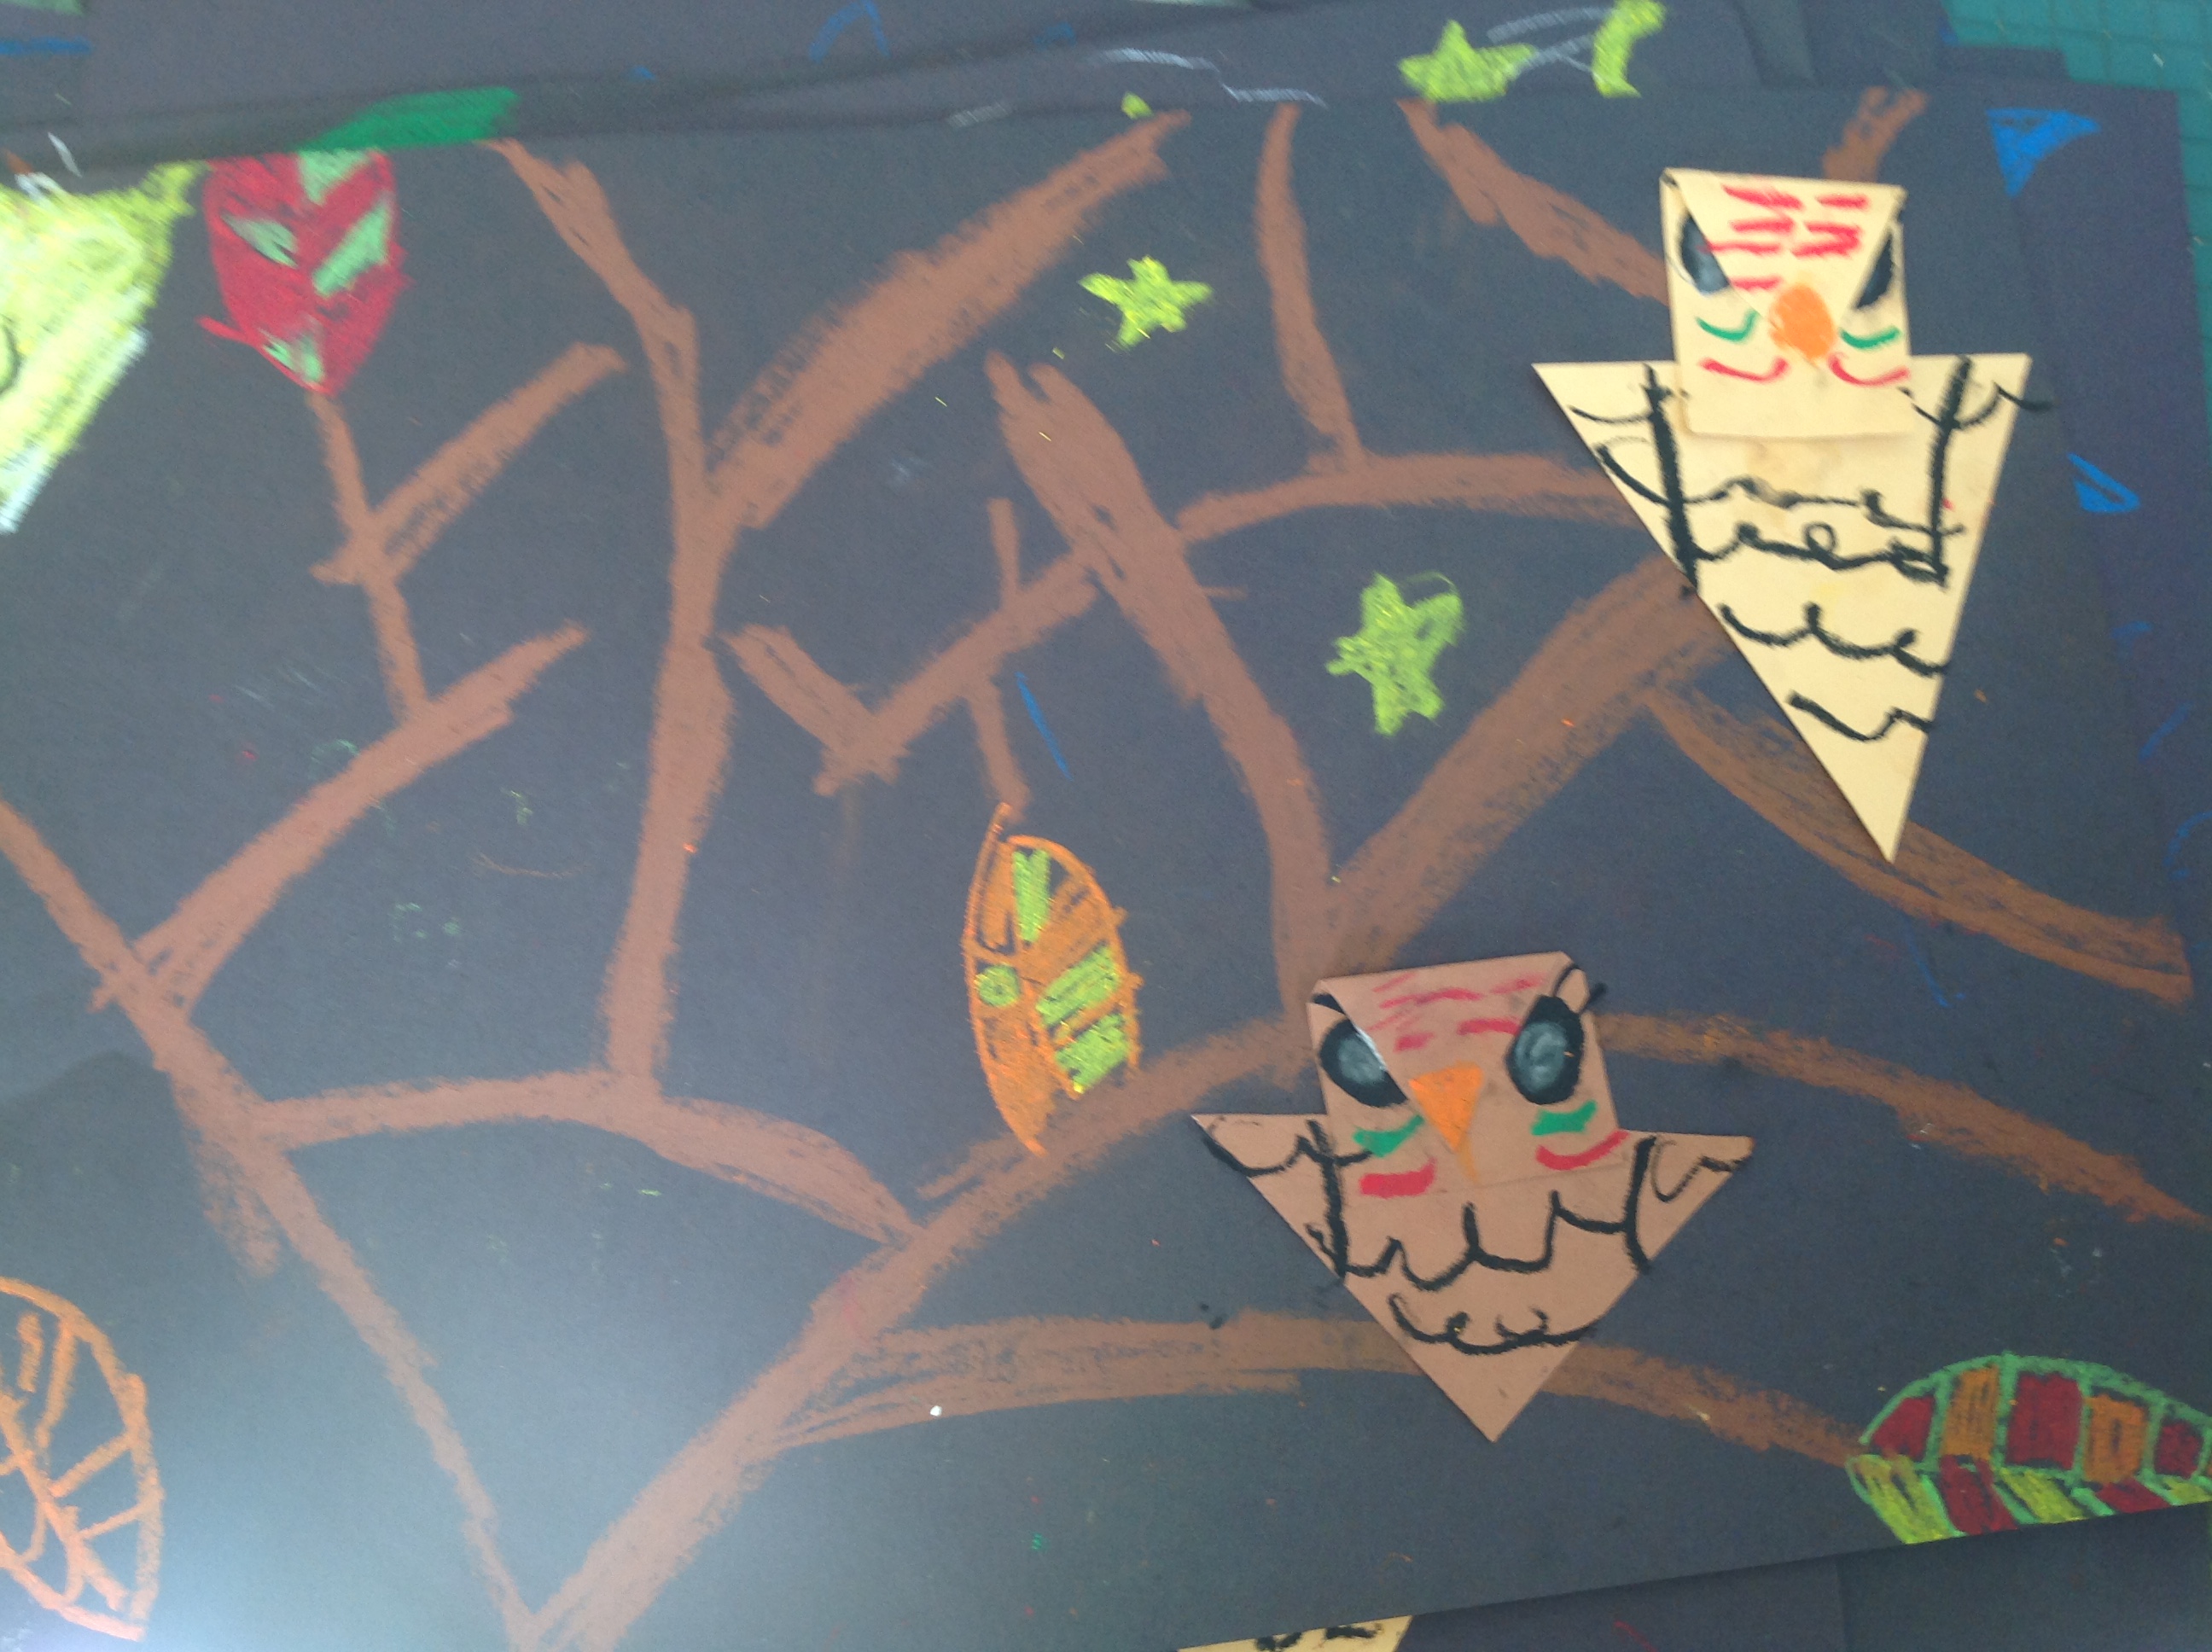
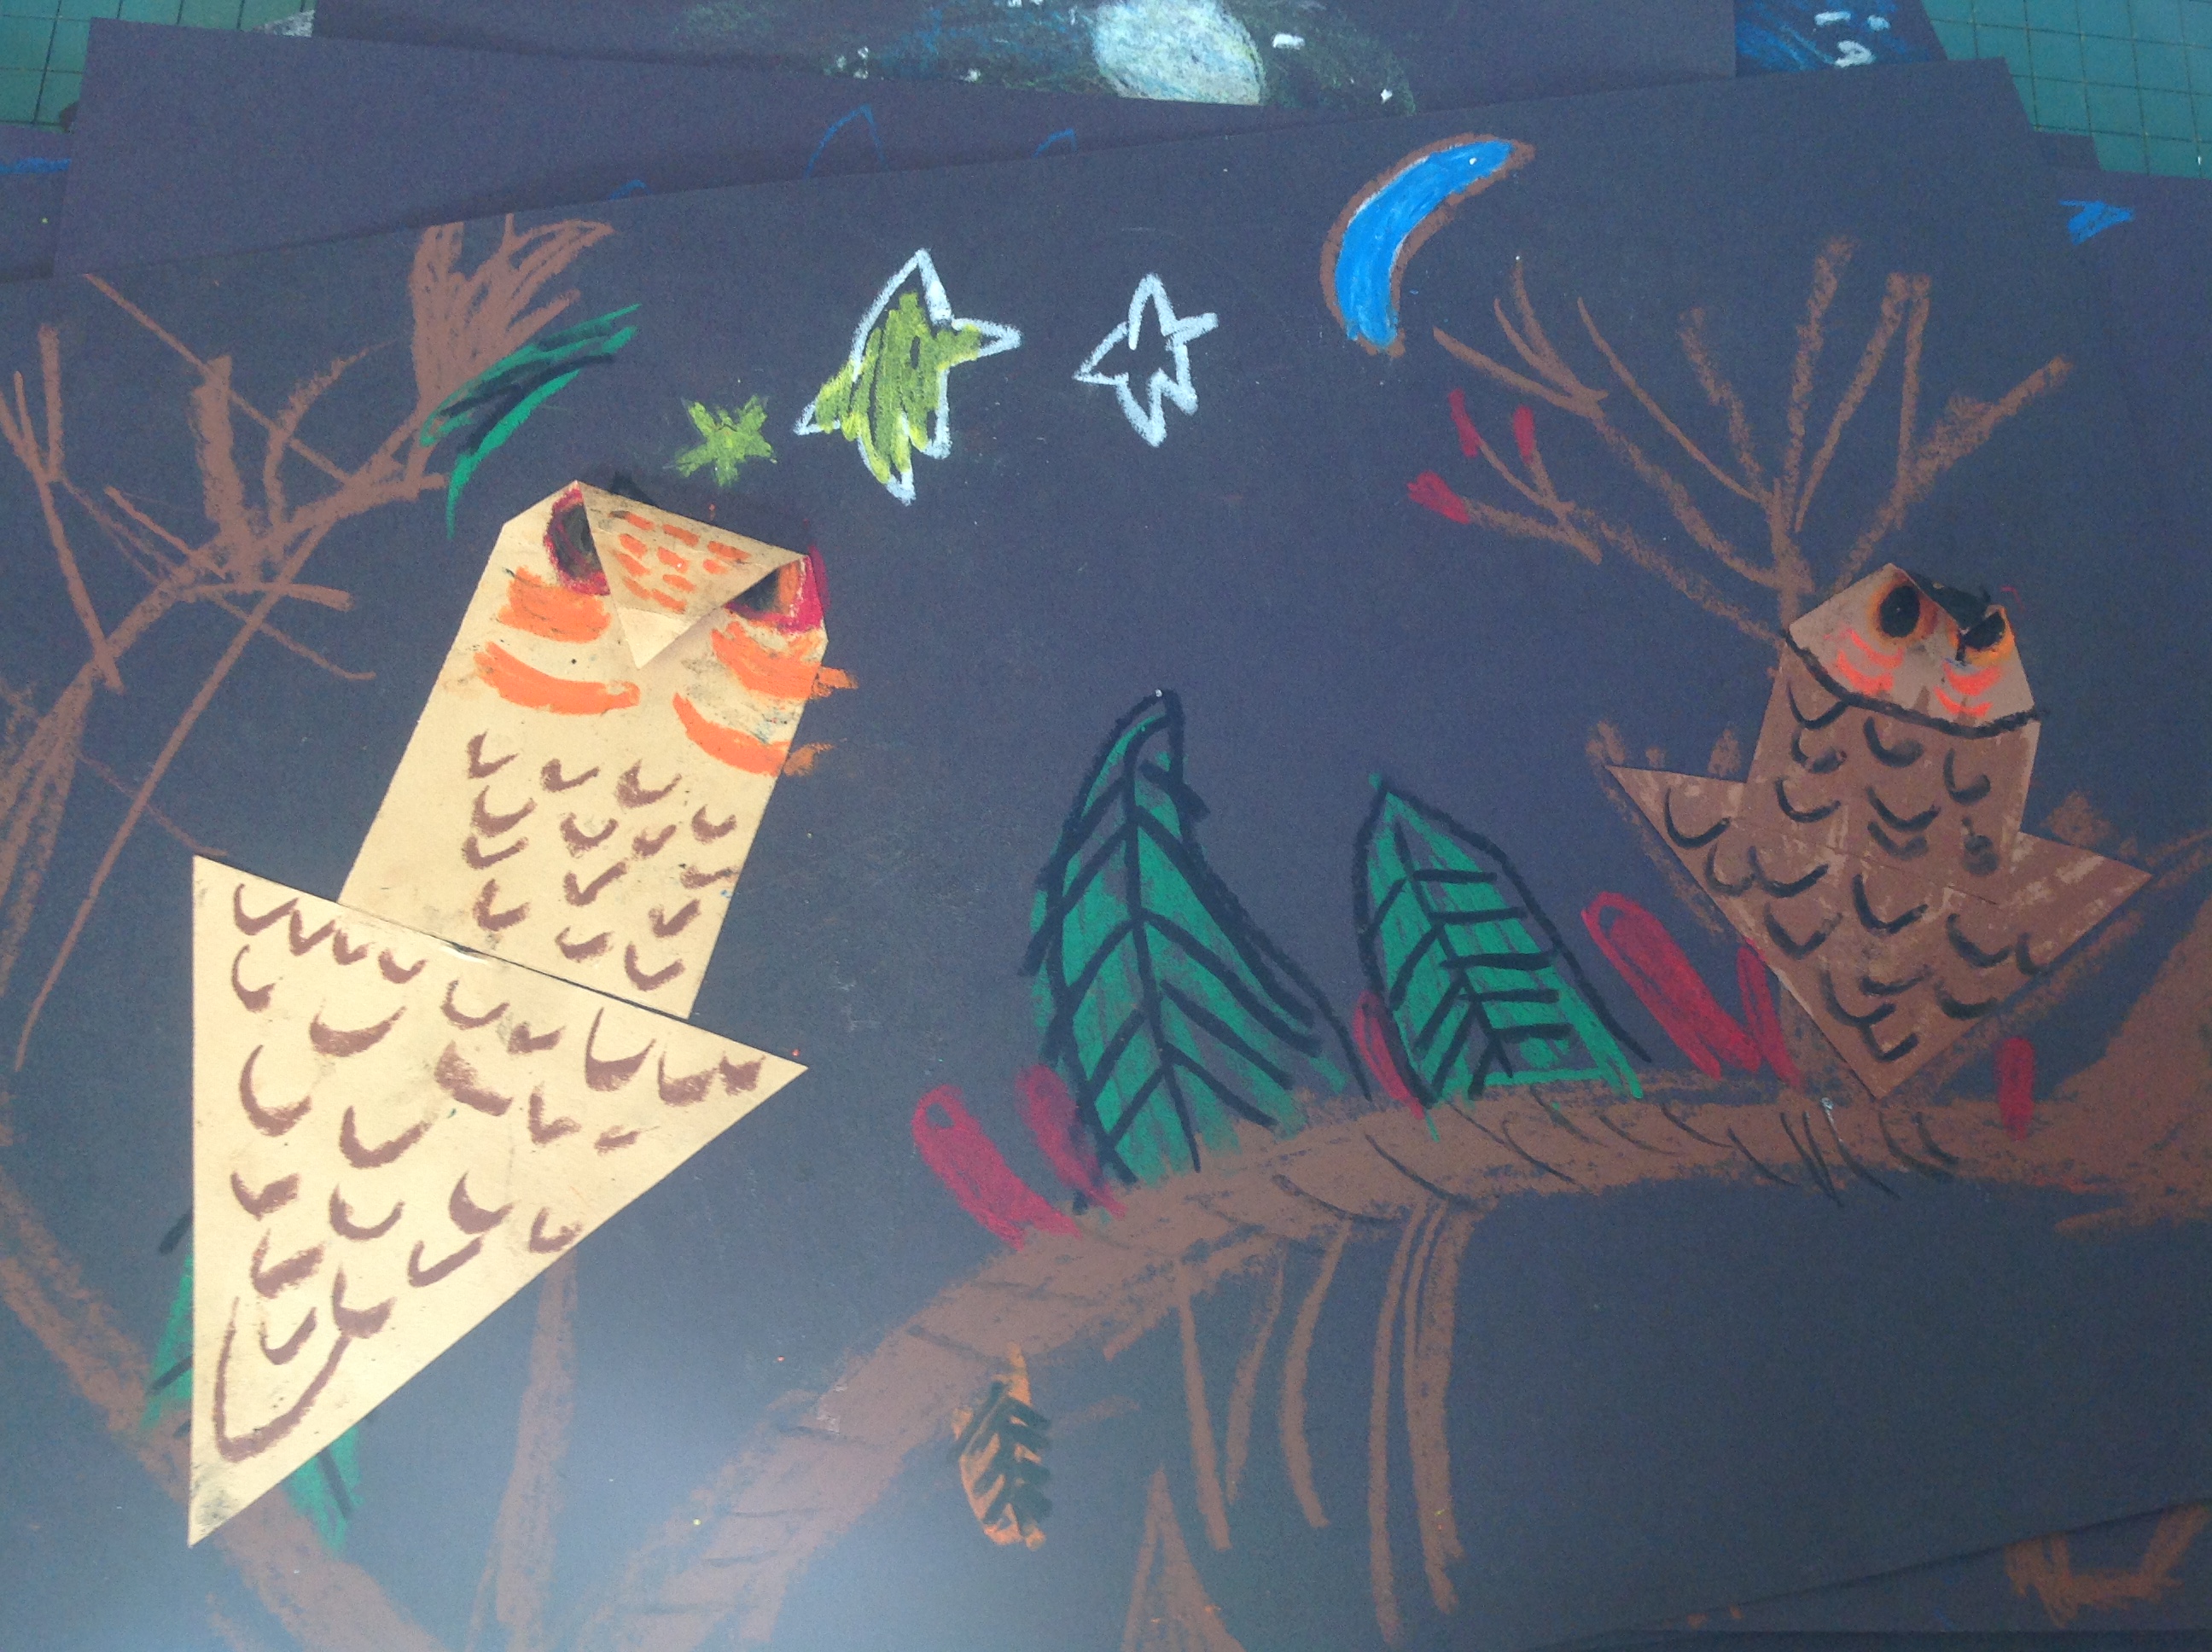
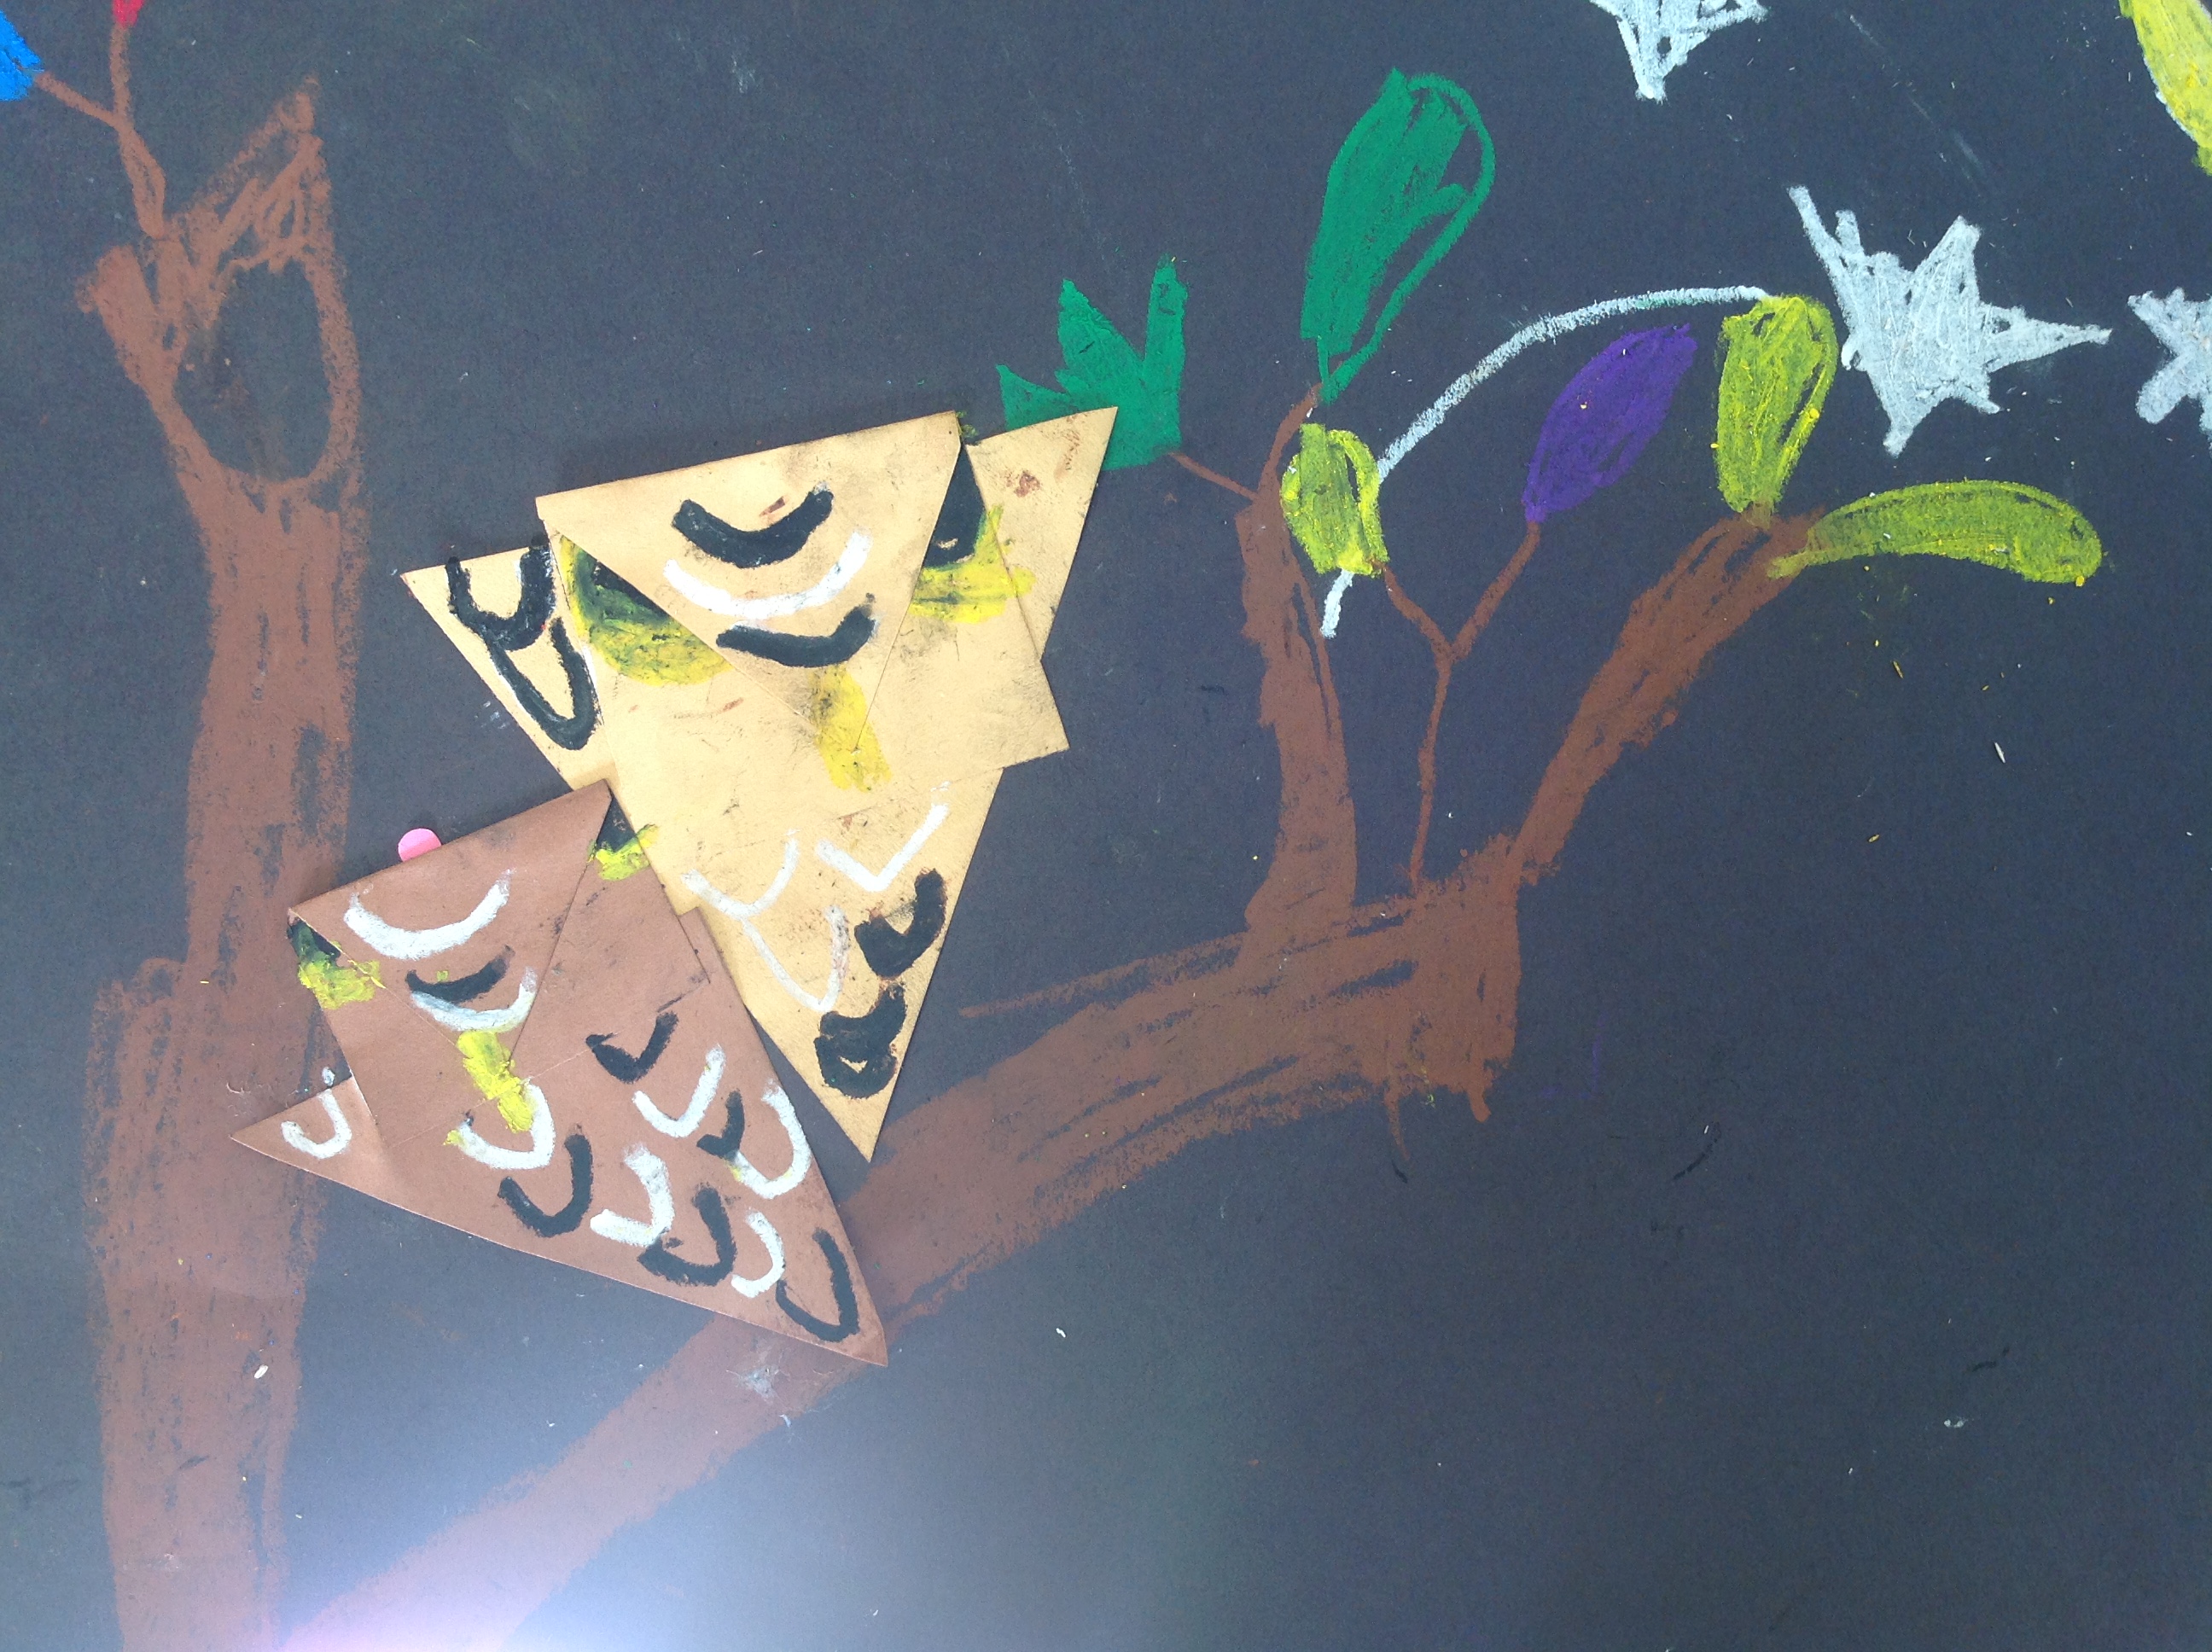
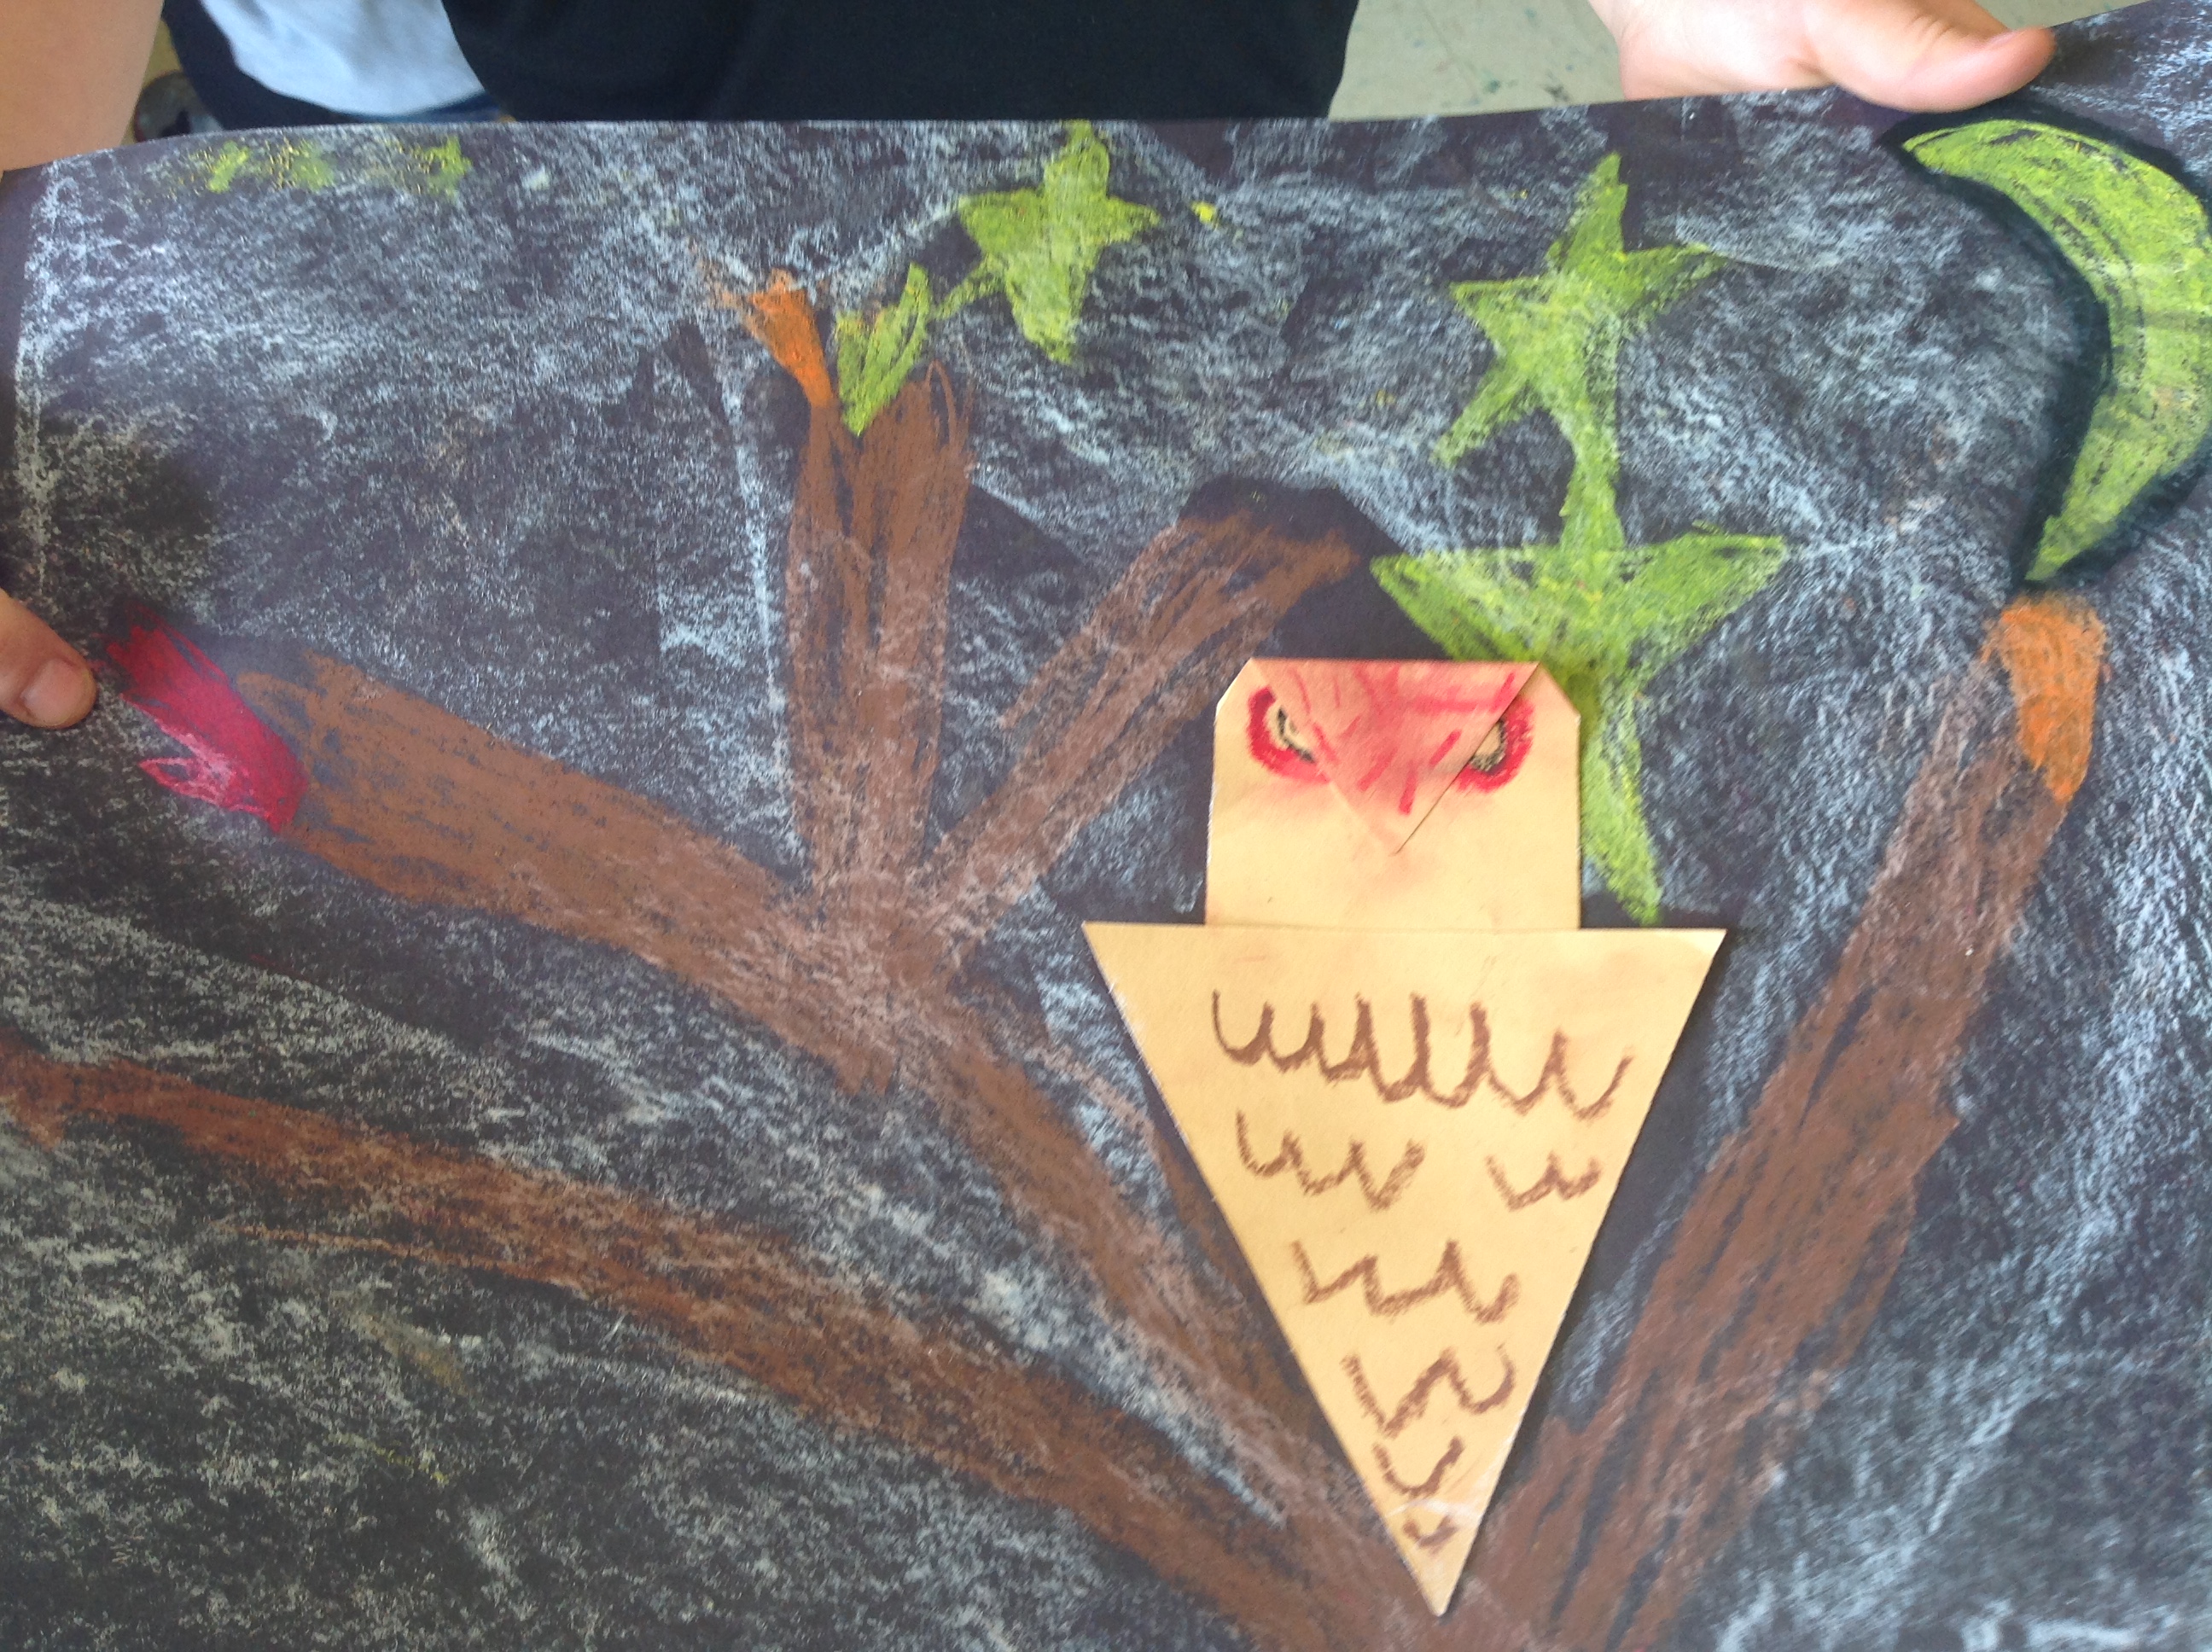
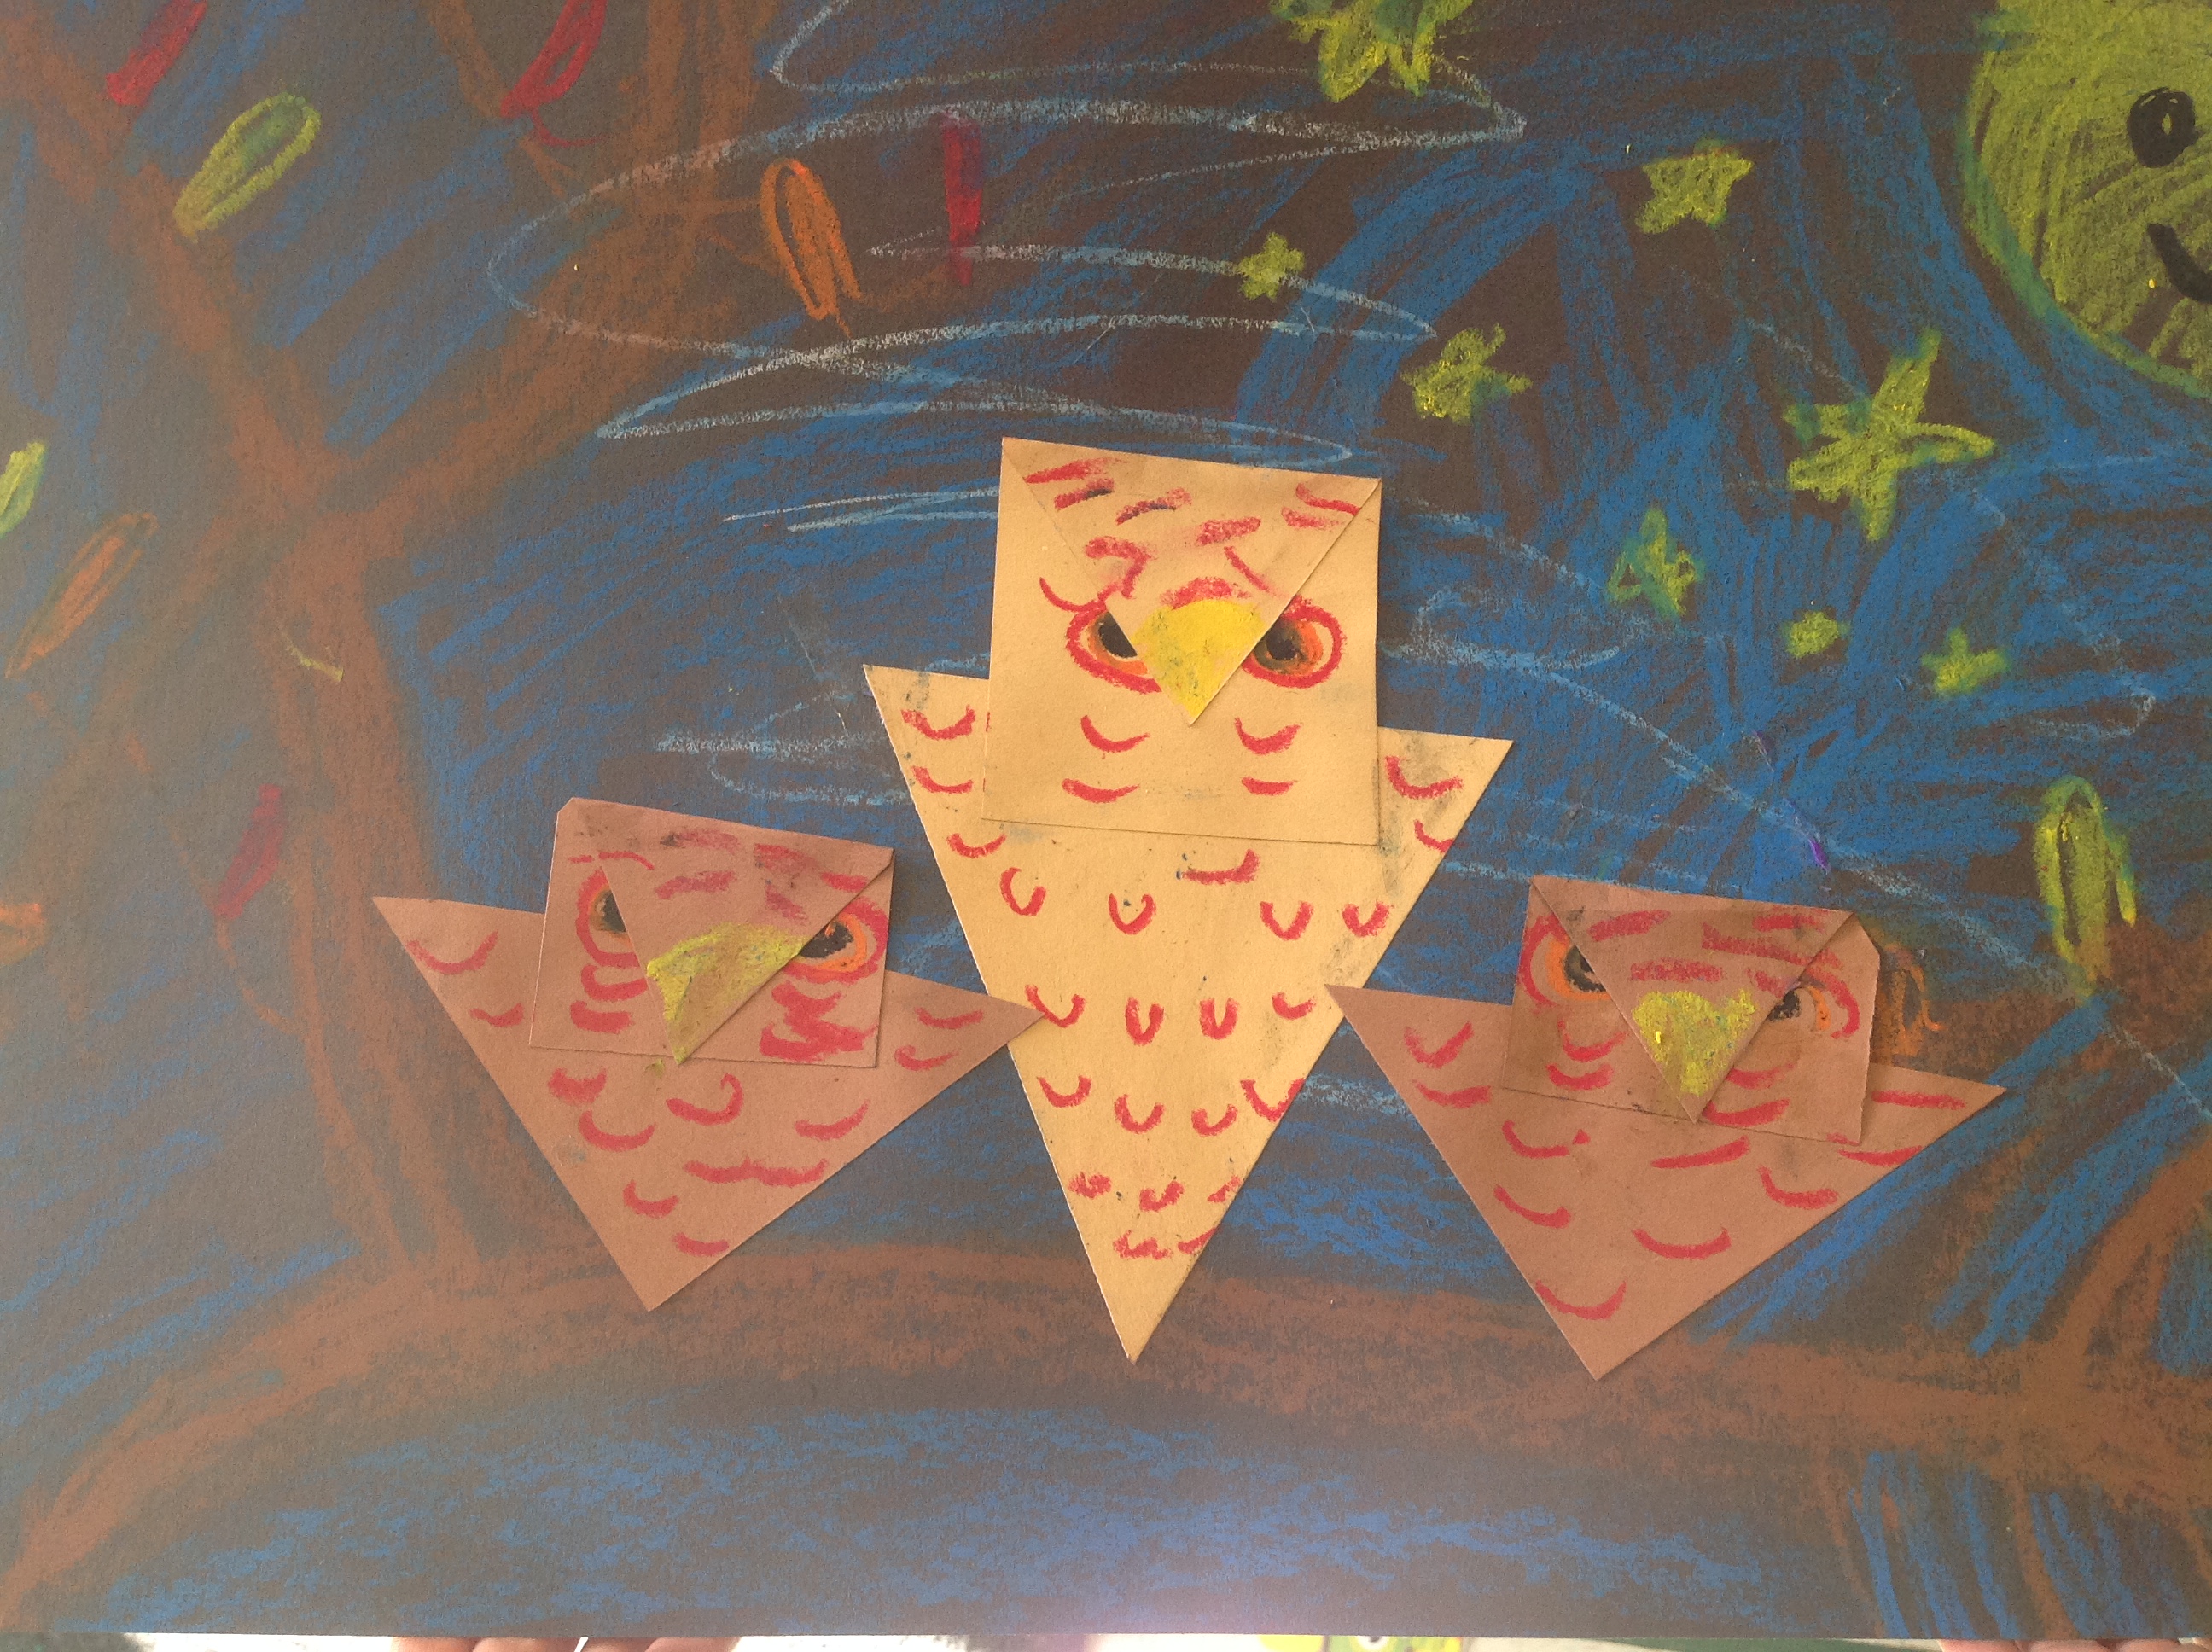
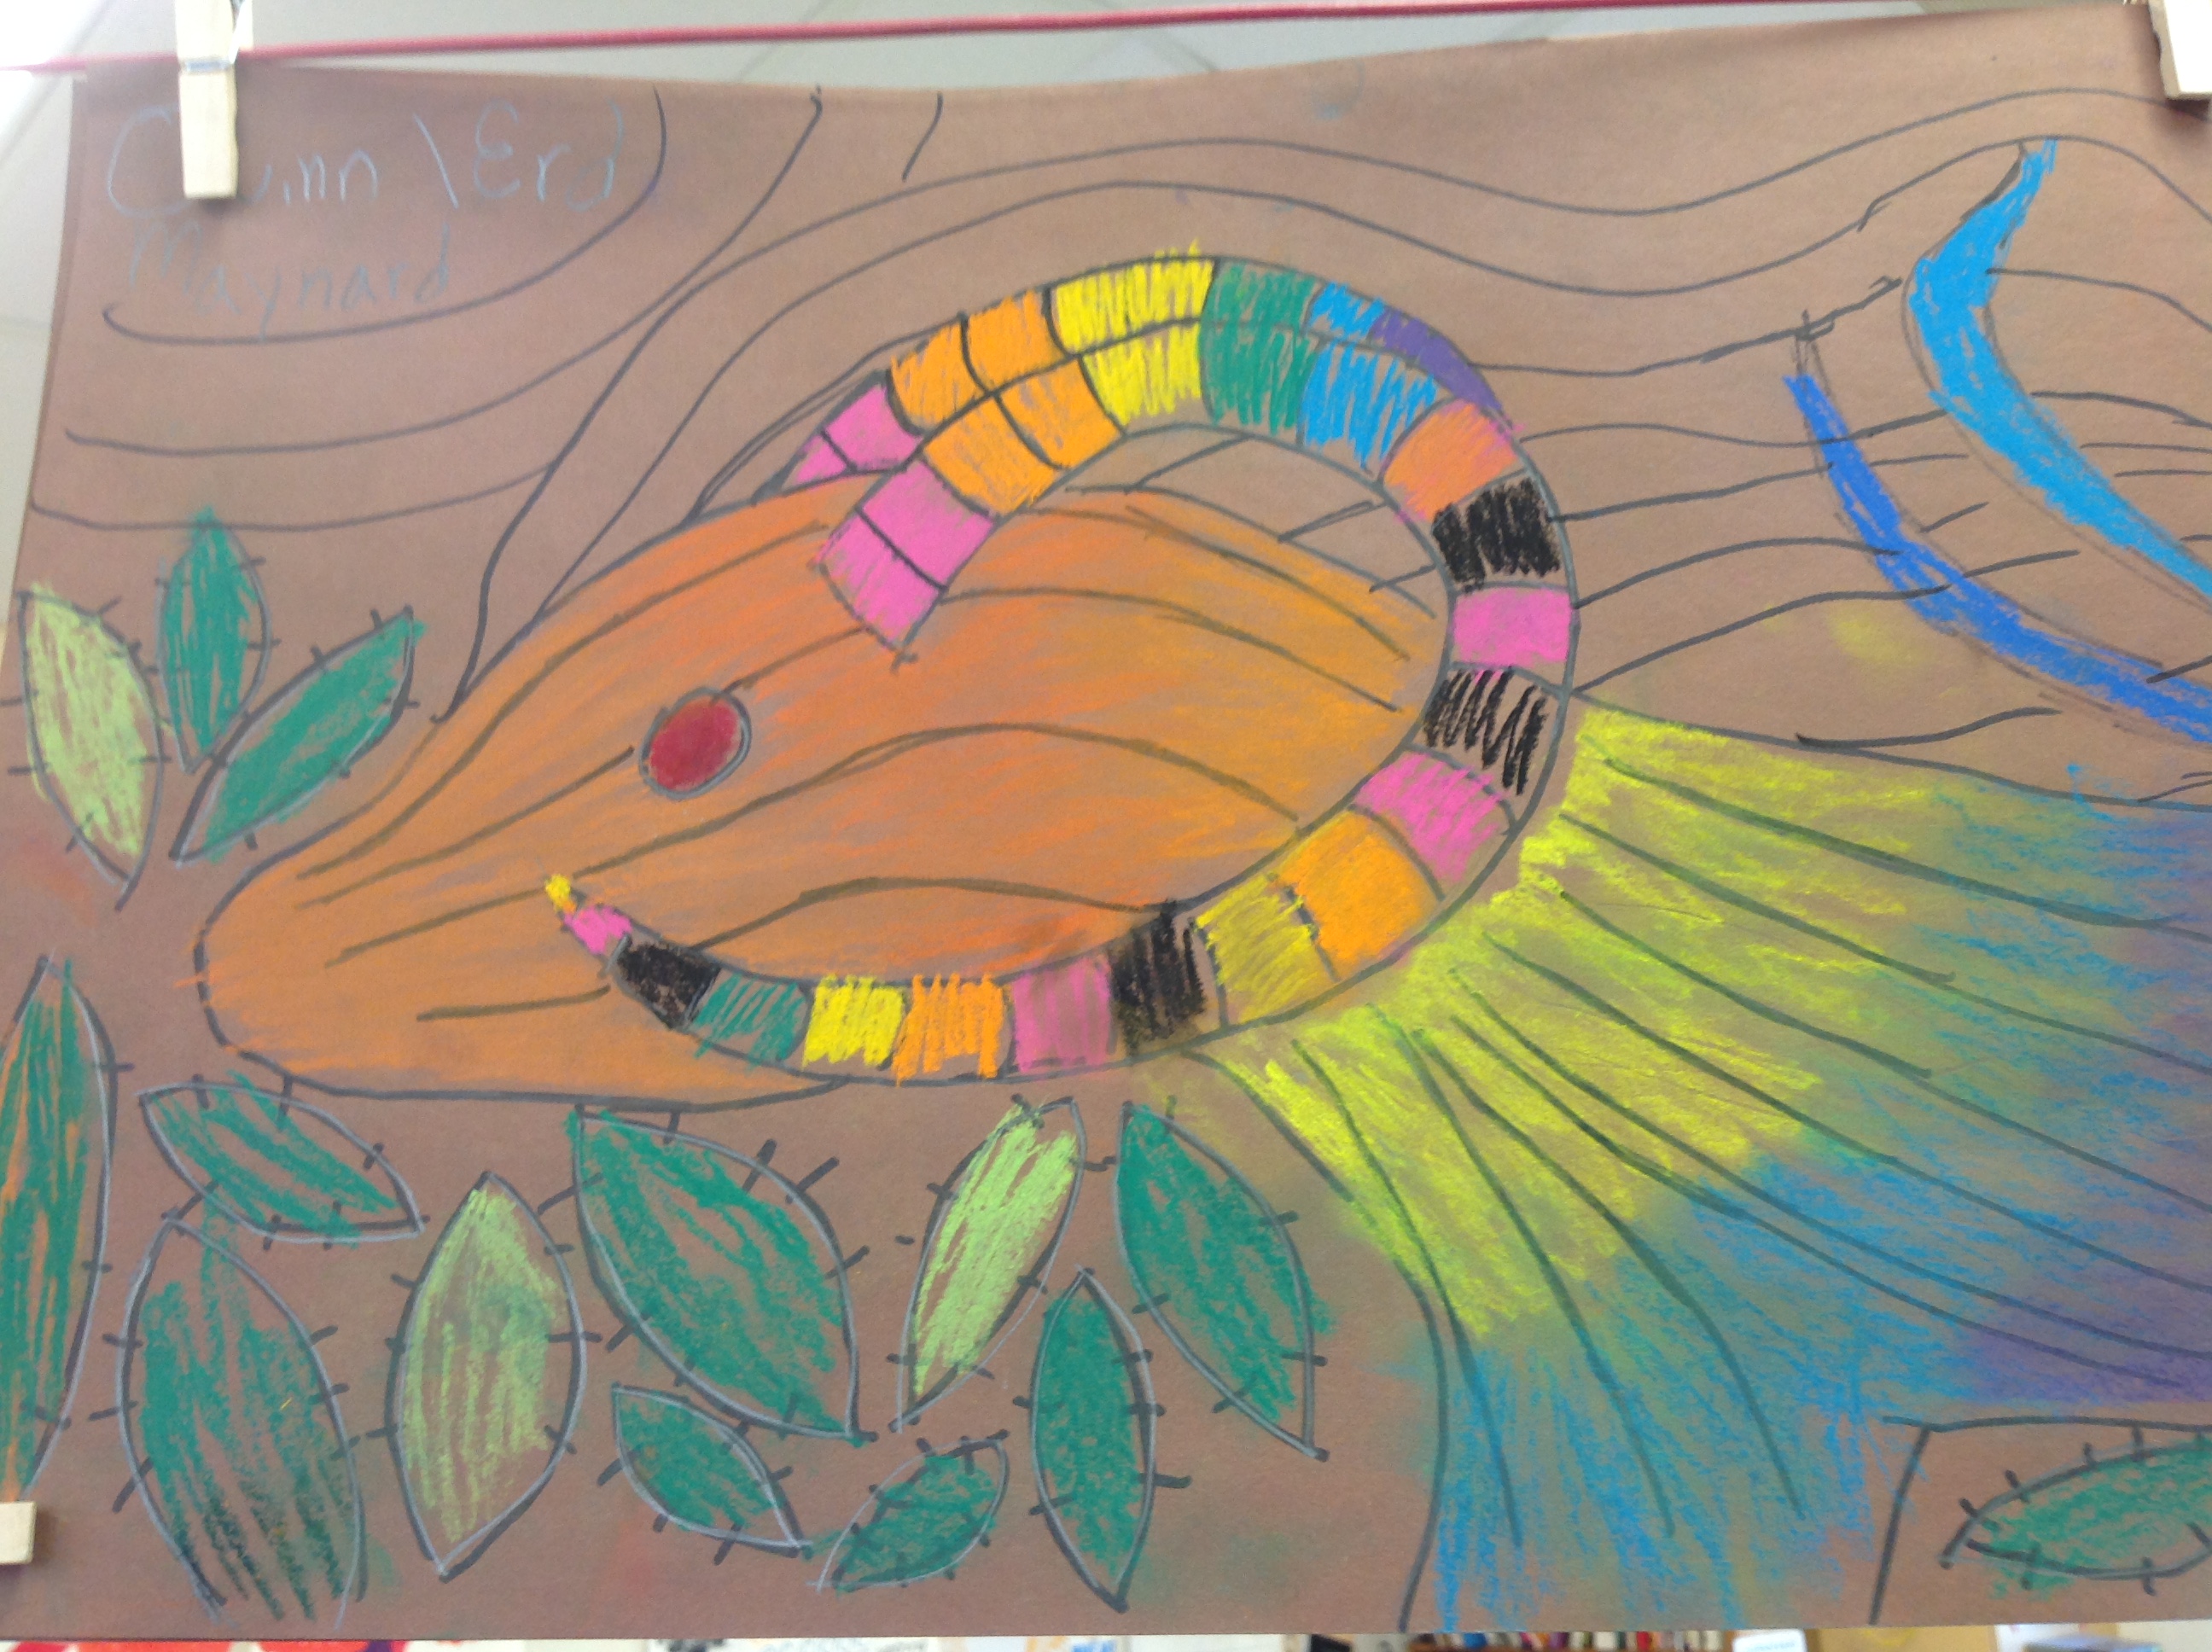
Fall Owls: Continuing with our Fall unit, 1st graders practiced many skills in this lesson. They learned how to draw a tree with oil pastels. They also practiced their collage skills but creating a tree owl out of paper. They used color, pattern and texture for the owl feathers and background. They could add a smaller owl(s) to their pictures.


2nd grade: 2nd graders have been and will continue to explore repetition and pattern in art and nature, using warm and cool colors, radial symmetry, sculpture and creating depth in art.
Sketchbooks: Students used round objects to trace to create overlapping patterns.
They could use crayons, markers and pencils to color in their shapes. I suggested as a possibility to use different colors in the new shapes that were created when circles intersected. They could draw on their back covers too.


Abstraction and Repetition: This summer I went to see the Sonia Delaunay exhibition at the Tate Modern in London. It was a great show and it was amazing to see how she was a true artist who produced beautiful work across media. Her bold geometric patterns translated from flat 2d works to modern 3d pieces of clothing. I wanted to share this with the 2nd graders…
Sonia Delaunay (November 14, 1885 – December 5, 1979) was a Russian-born French artist, who spent most of her working life in Paris and, with her husband Robert Delaunay and others, cofounded the Orphism art movement, noted for its use of strong colours and geometric shapes. Her work extends to painting, textile design and stage set design. She was the first living female artist to have a retrospective exhibition at the Louvre in 1964, and in 1975 was named an officer of the French Legion of Honor. Her work in modern design included the concepts of geometric abstraction, the integration of furniture, fabrics, wall coverings, and clothing.


I provided them with a piece of white drawing paper that already had 2 big circles drawn on them. The circles were touching slightly. They could use rulers and circle templates to draw in concentric circles if they wanted and they could use the rulers to divide up the circles draw lines. They could use oil pastel, marker and pencils to create color patterns.


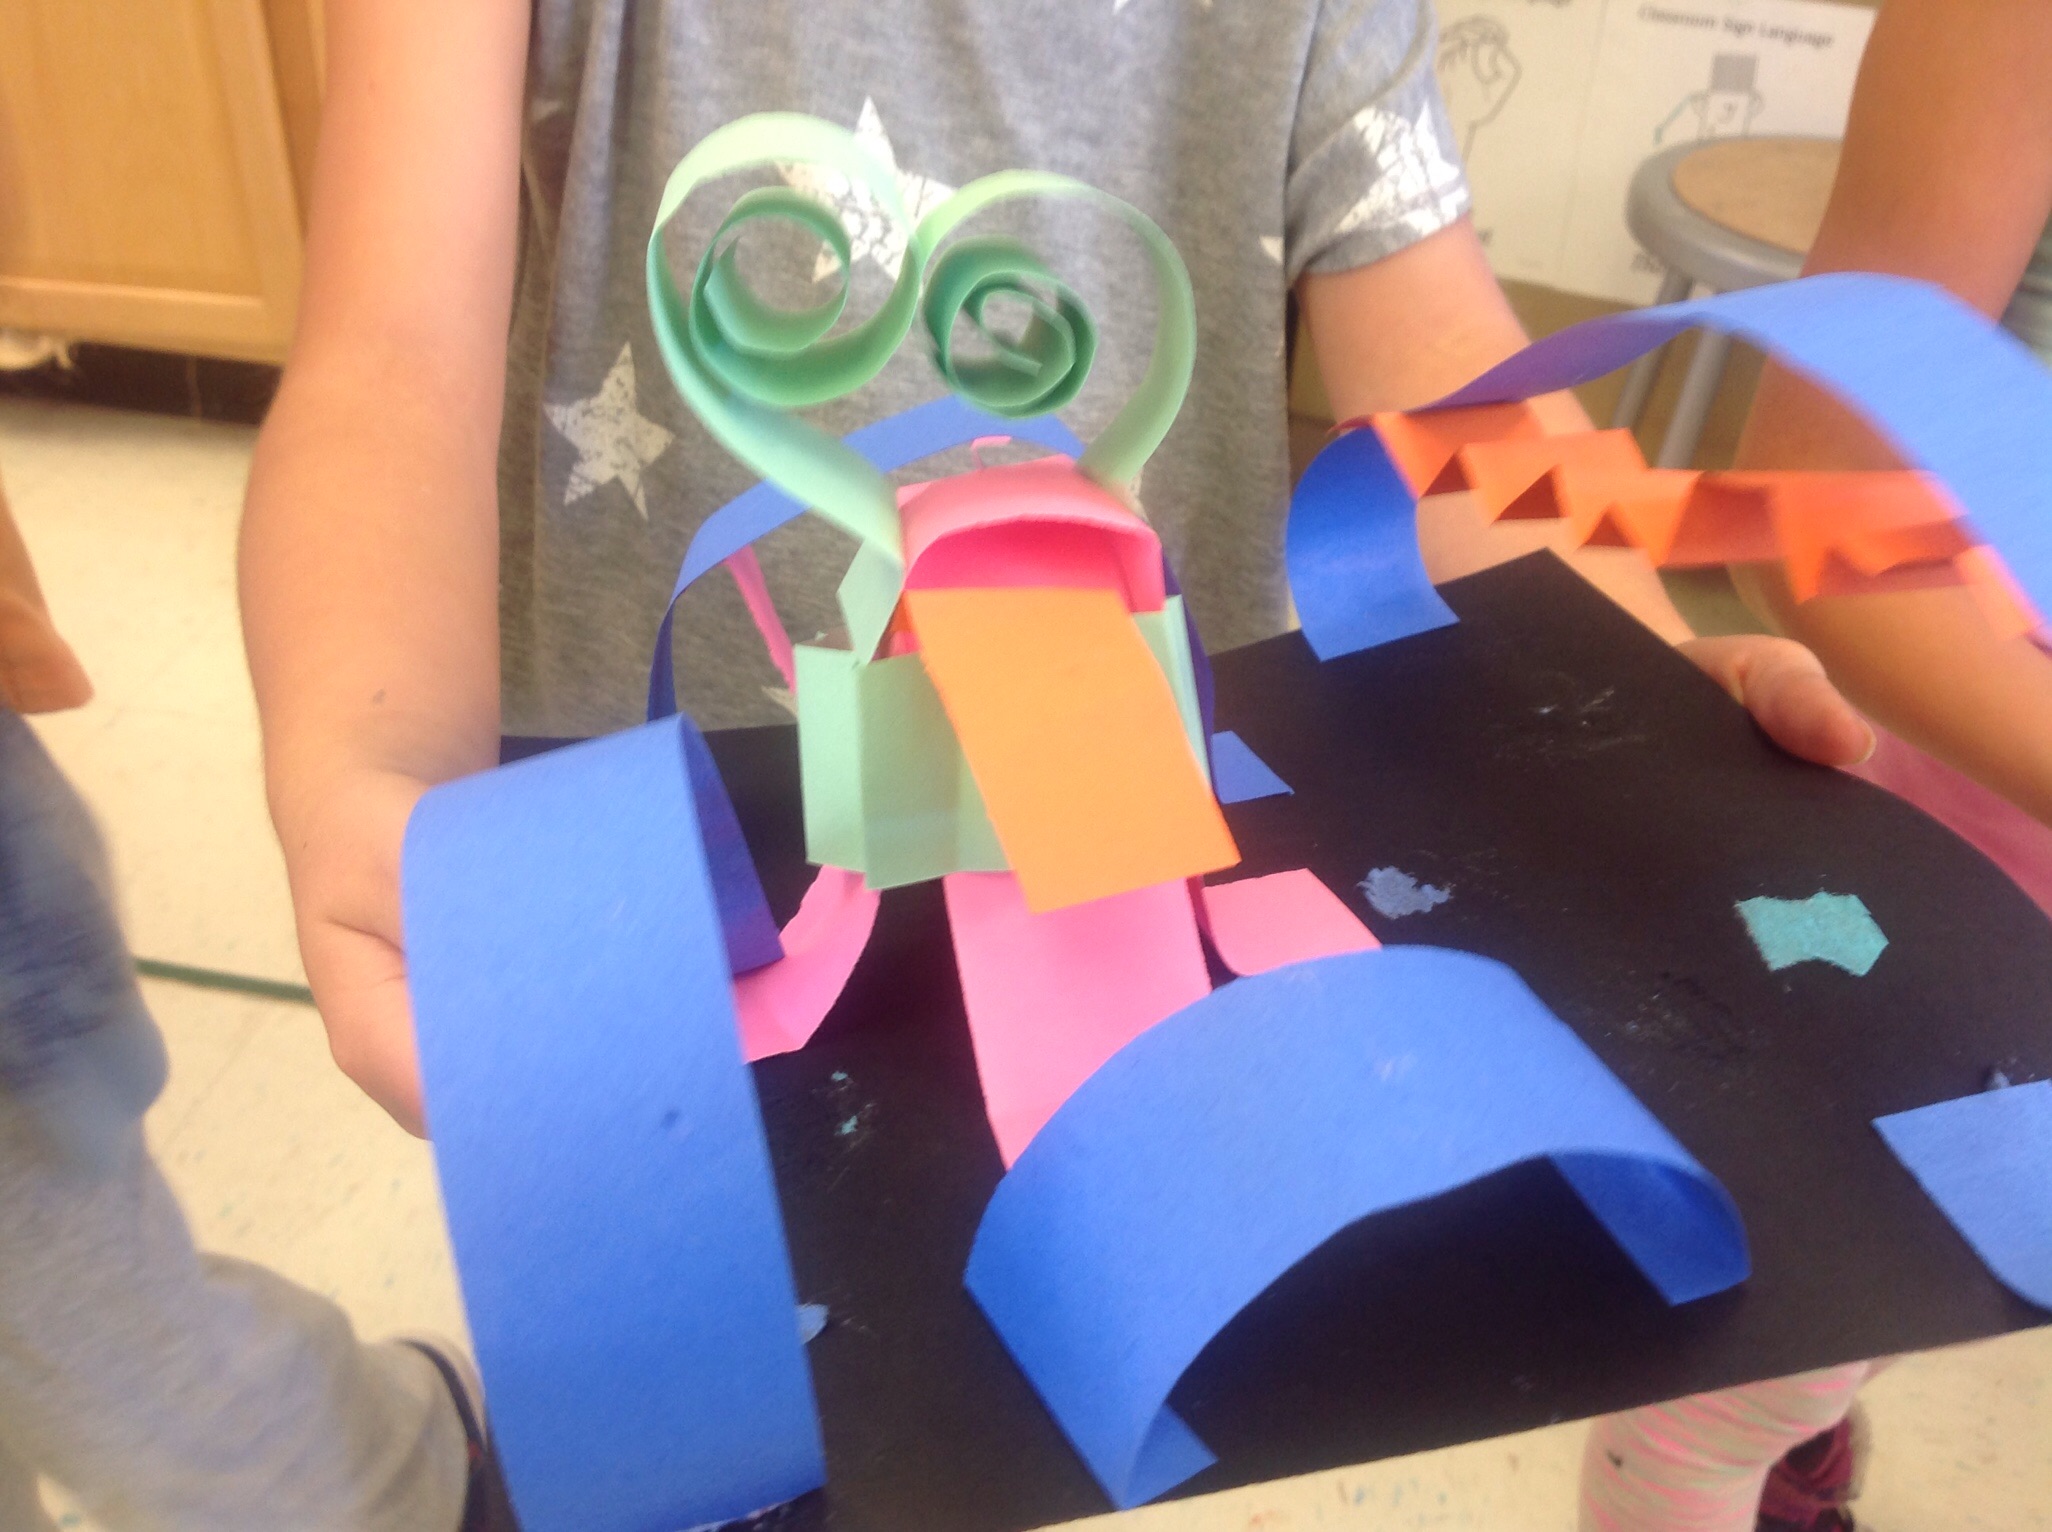
Paper Playgrounds: 2nd graders practiced their paper folding, rolling, twisting, bending, fringing, tabbing, cutting and gluing skills in creating colorful sculptures.
They could be playgrounds, skateparks or art pieces. They used strips of paper and glue sticks. The only guideline was that the structures had to stand up. This is a fun project for the students as it is open ended, very kinesthetic and can be made at home and for nothing. These went home.


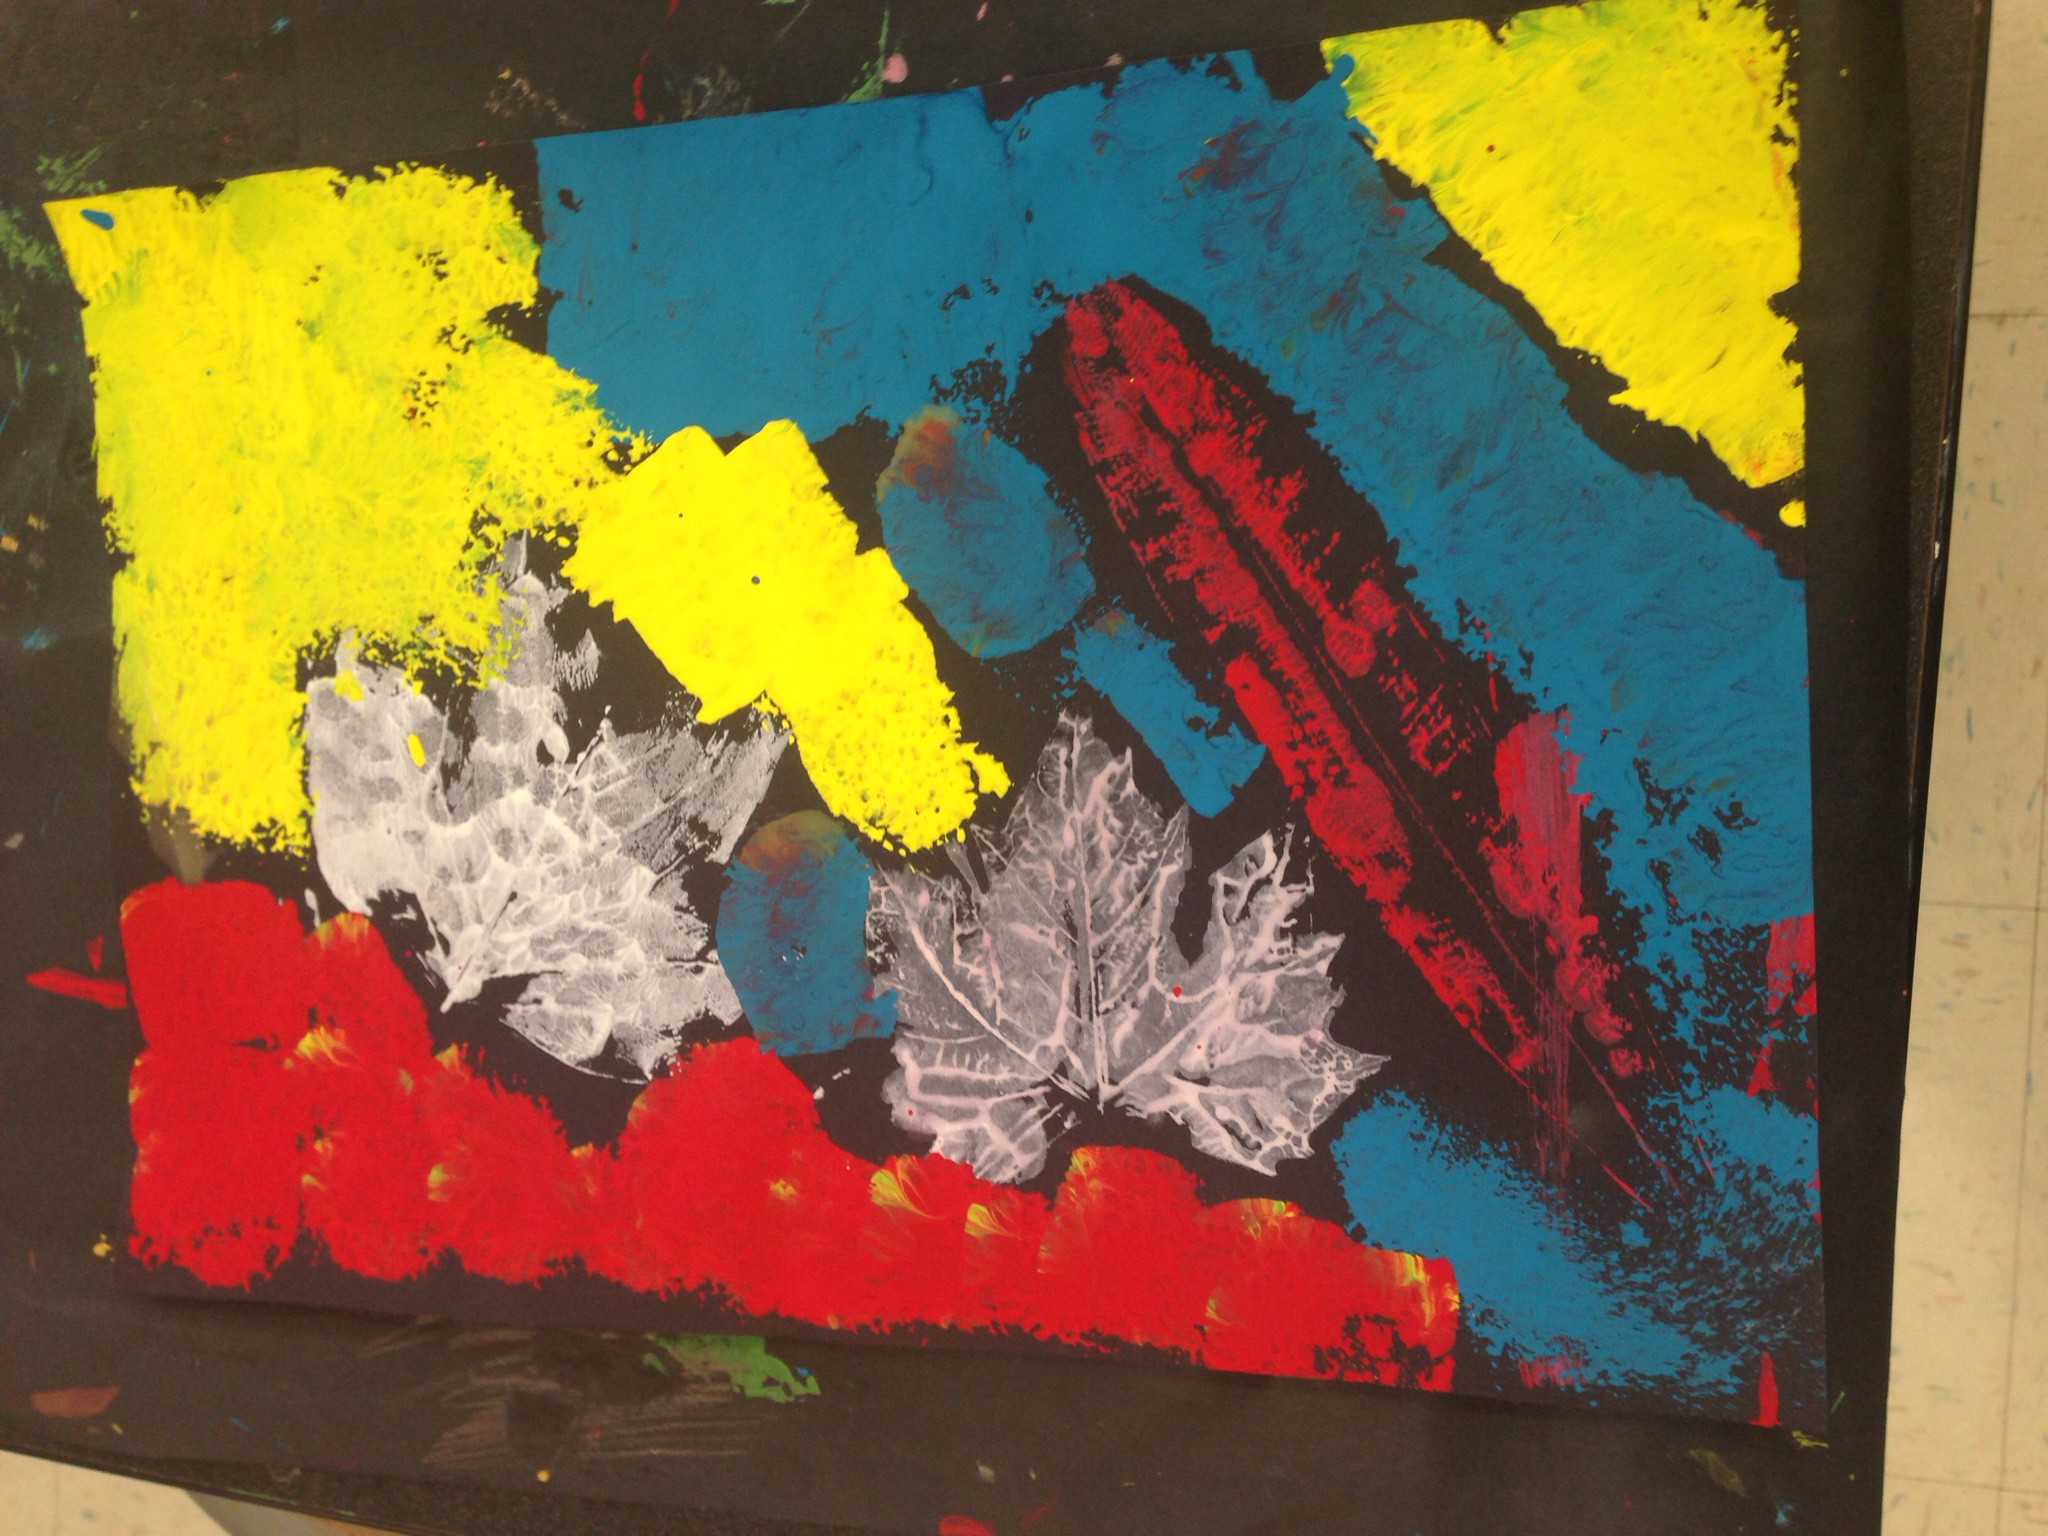
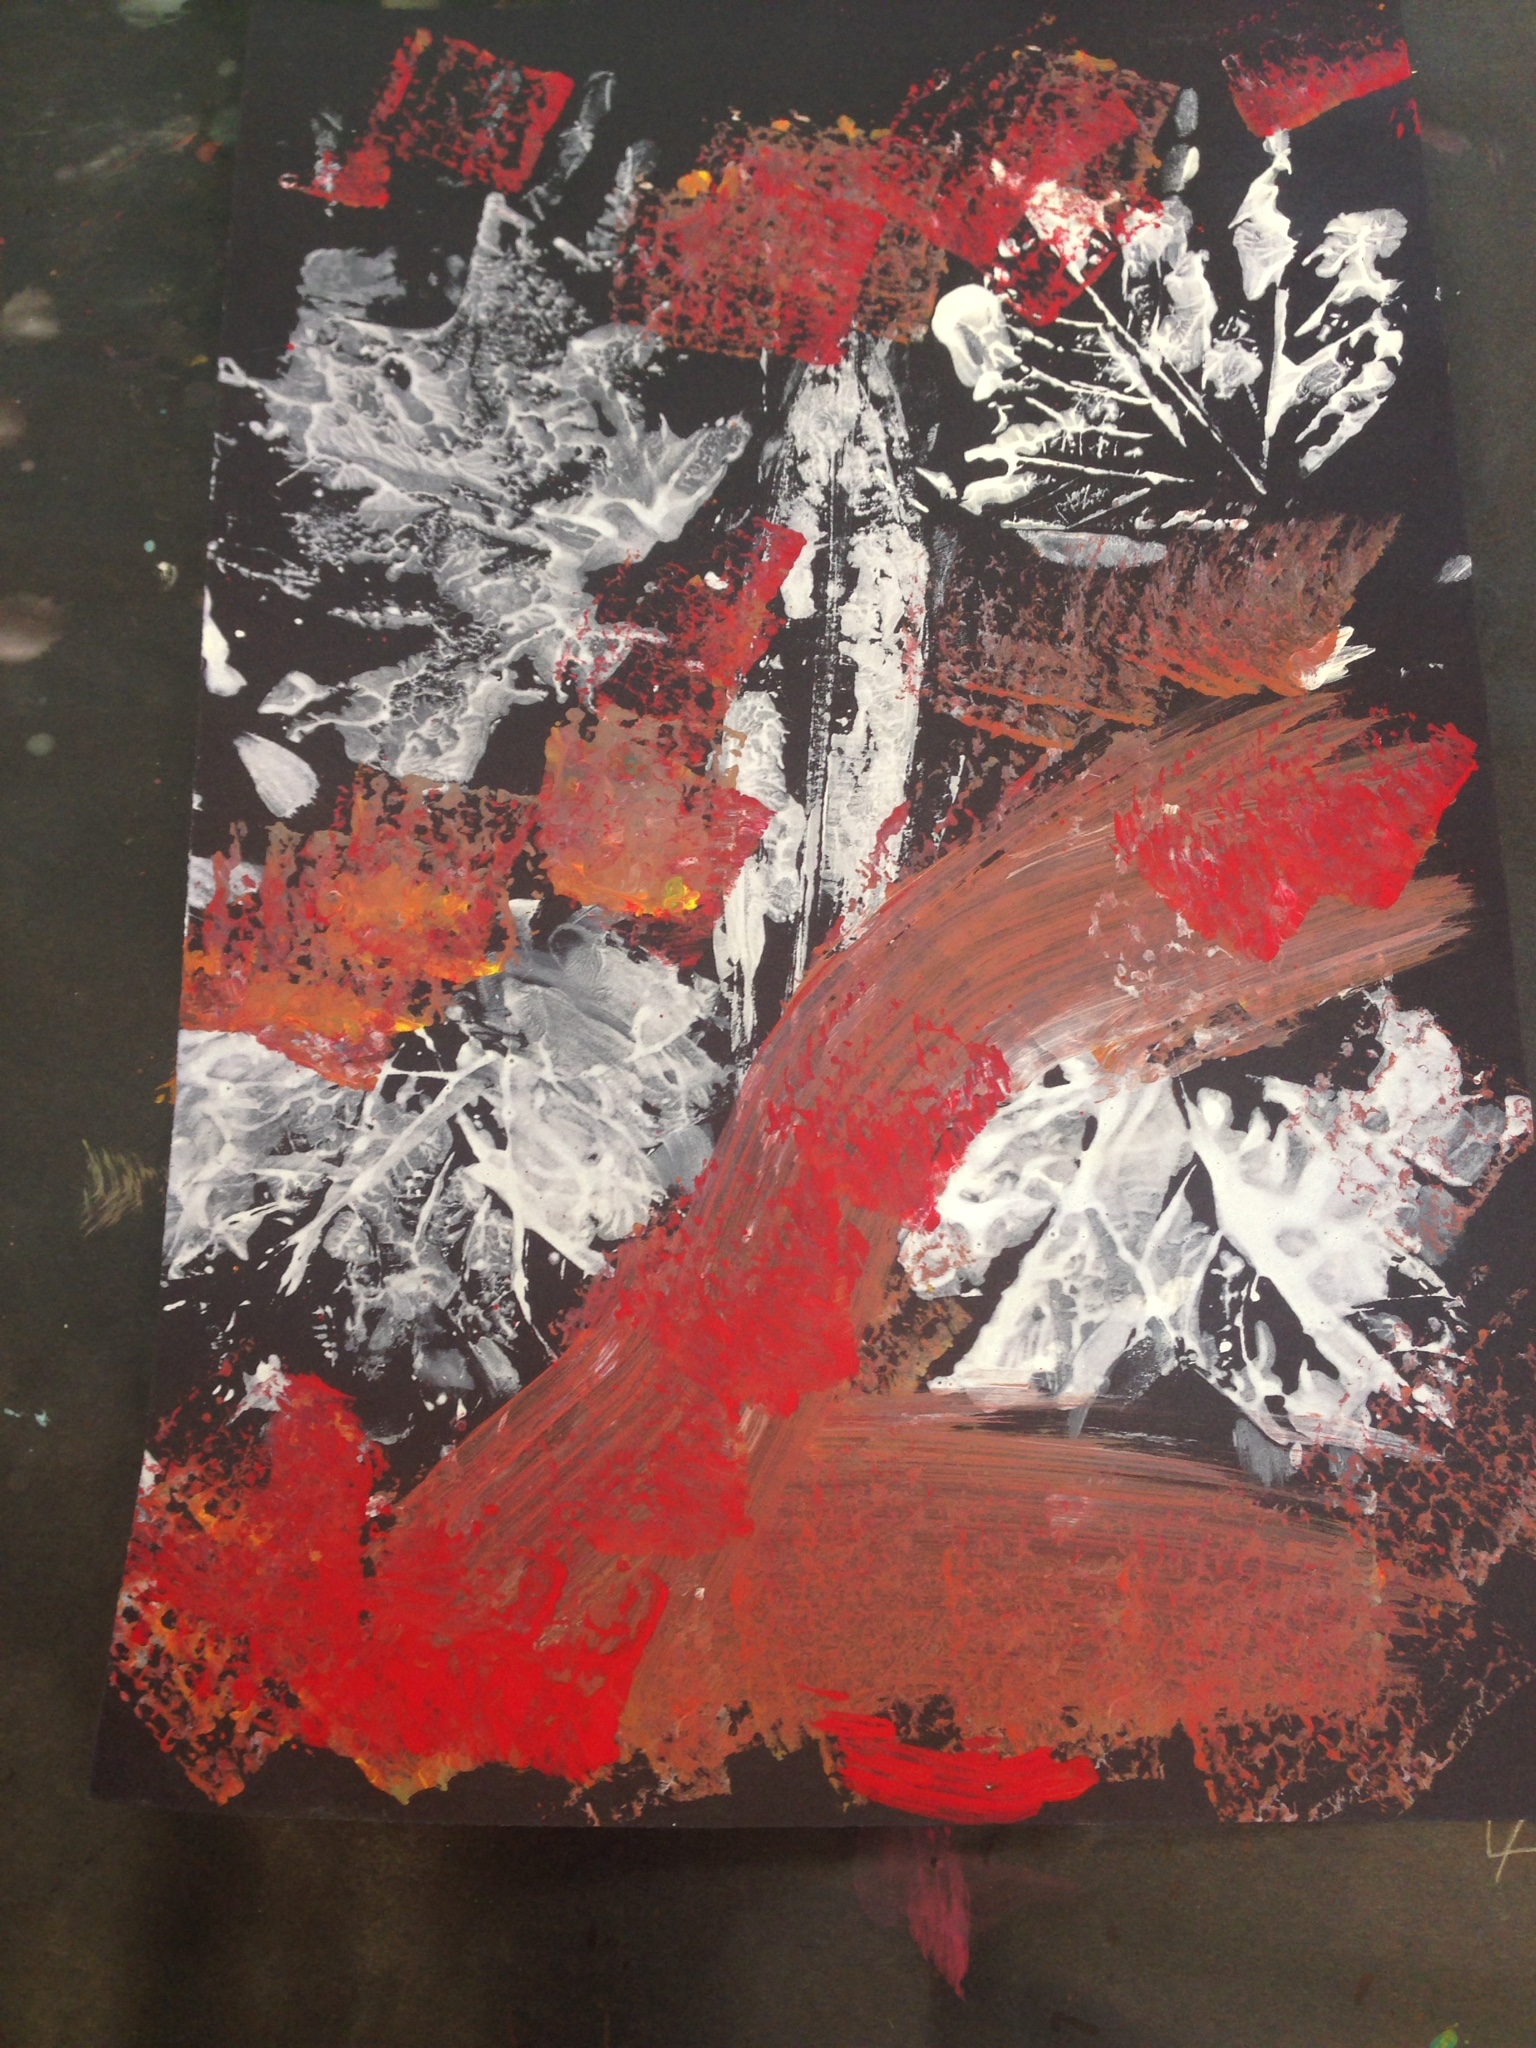
Leaf Prints: We went out around campus and collected leaves. We identified them as elm, maple, oak and douglas fir. Student looked at their shapes and lines and practiced printing using the bumpy side face down in white tempera paint. The them use da final piece of black construction paper to make multiple prints. They were given primary colored paint and white. They could use tints, warms and cools or mix primaries to make secondary colors. They used sponges for the background. I explained that the black paper that surrounded the leaves was called “negative space.”


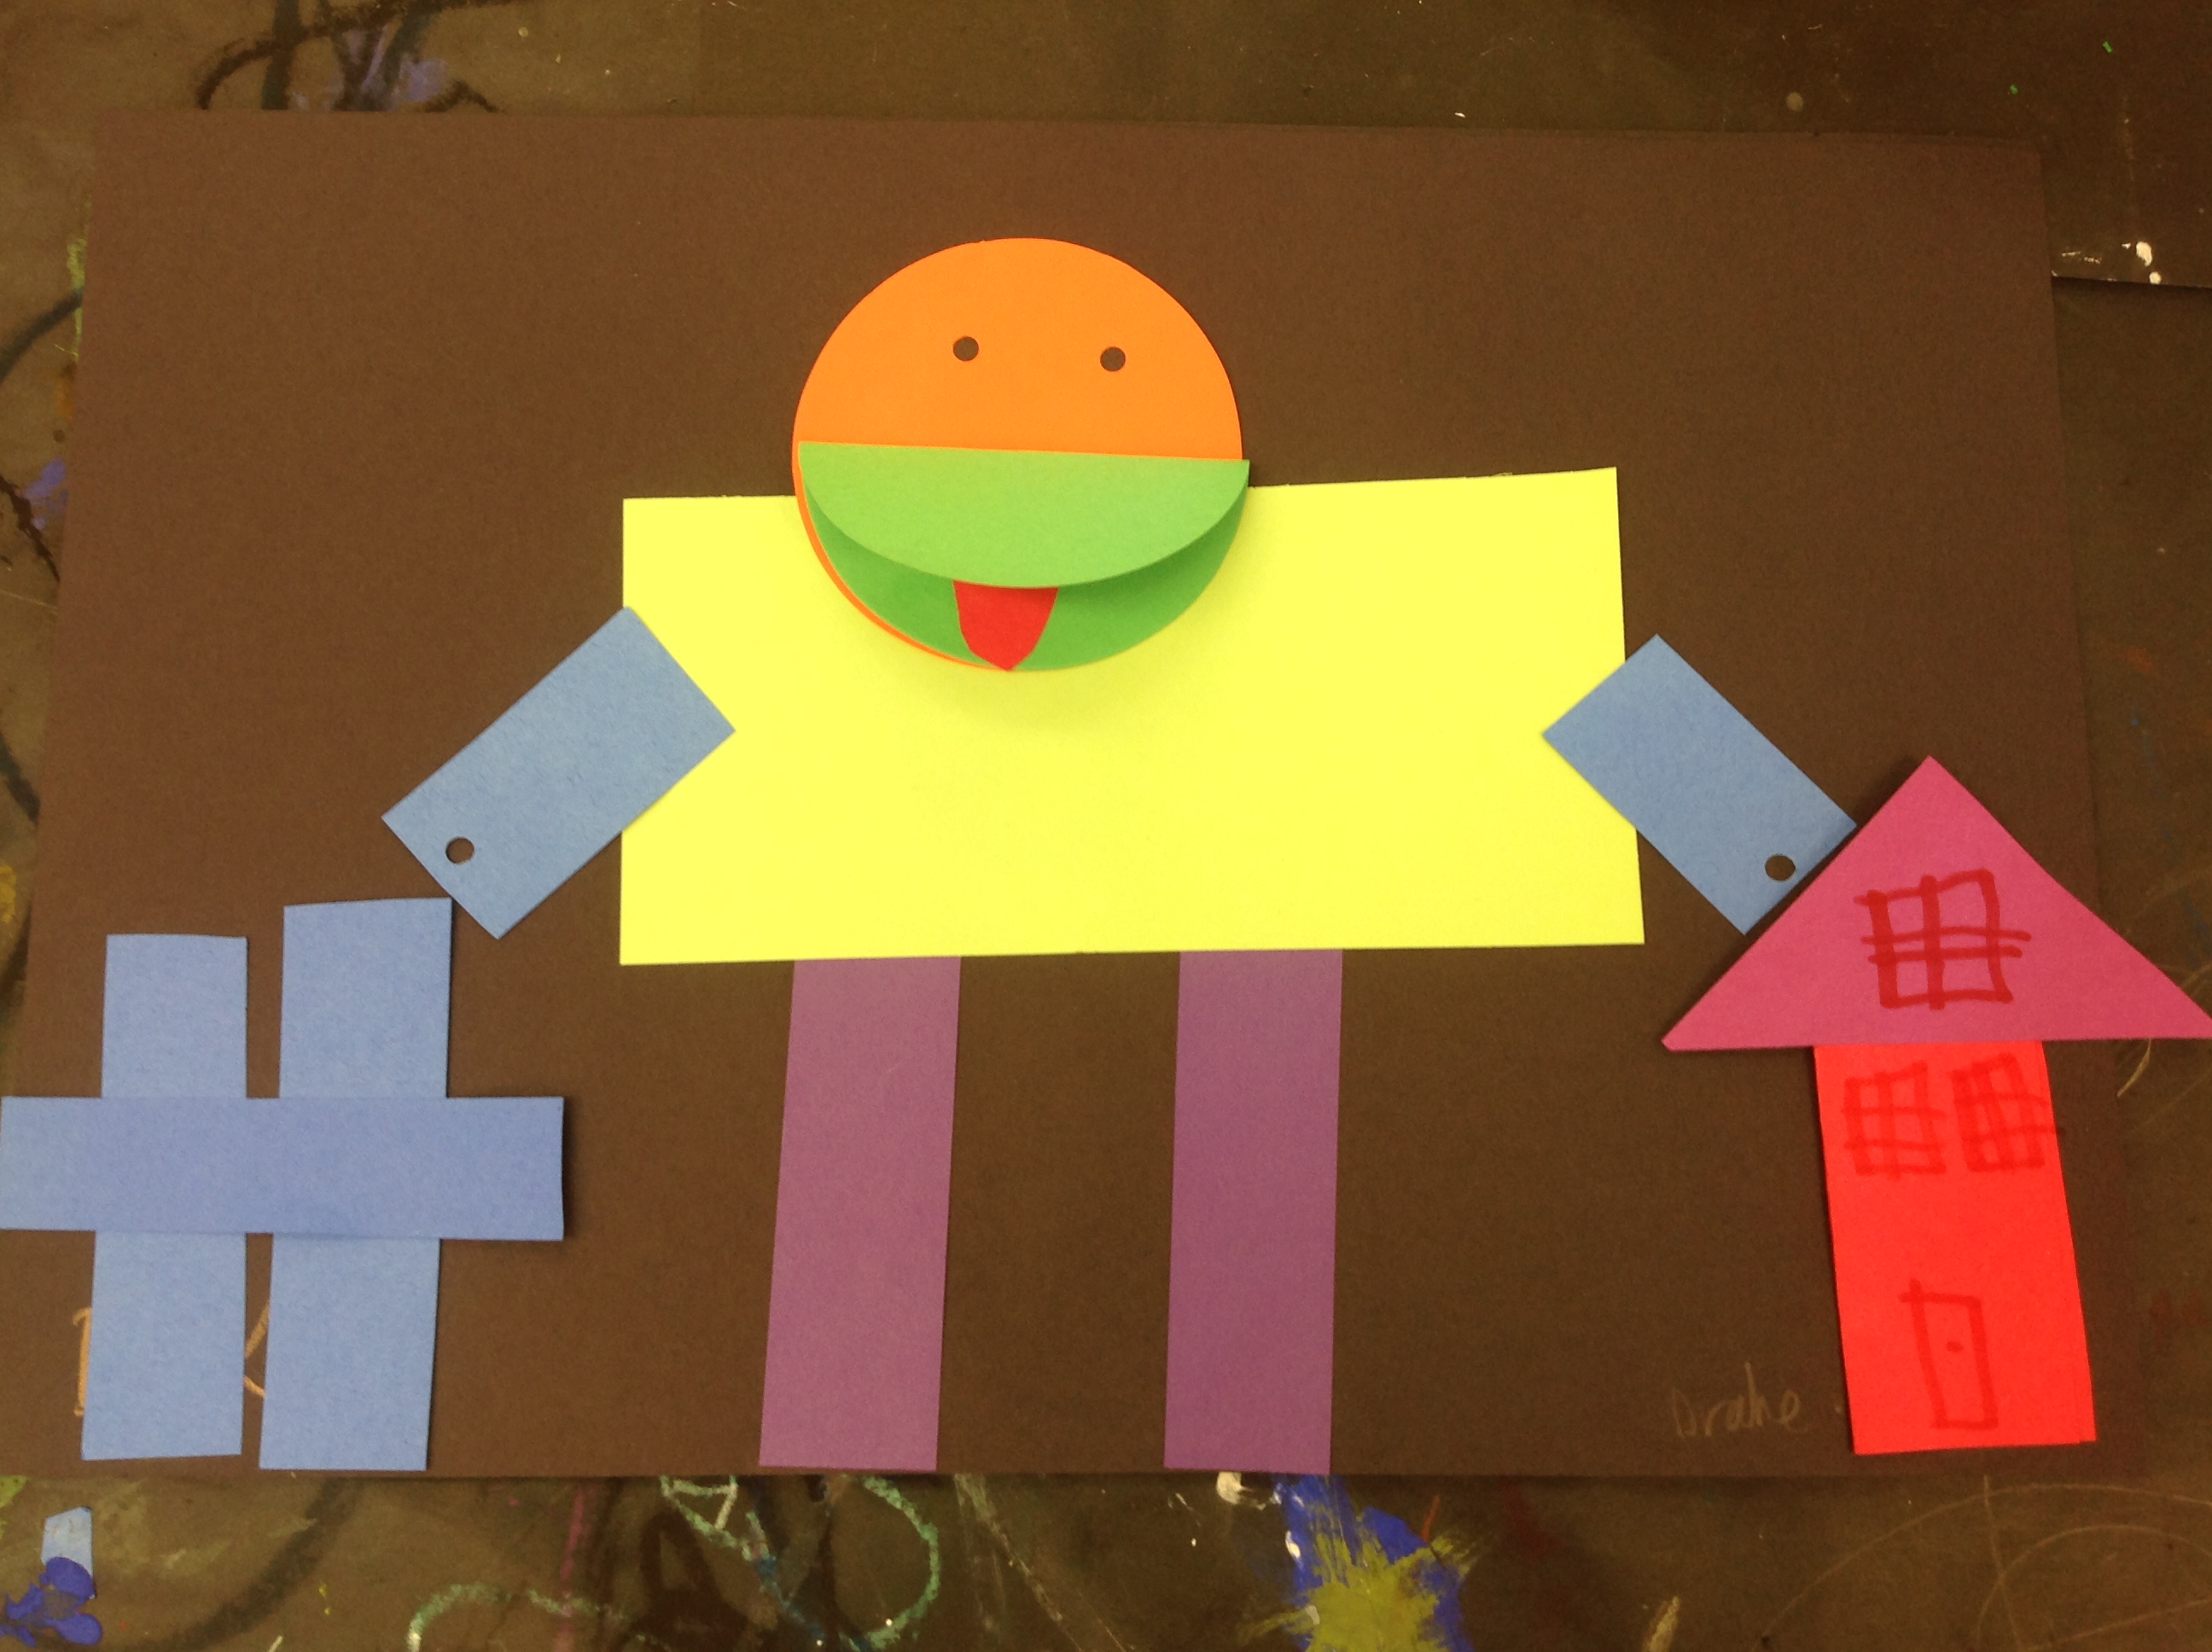
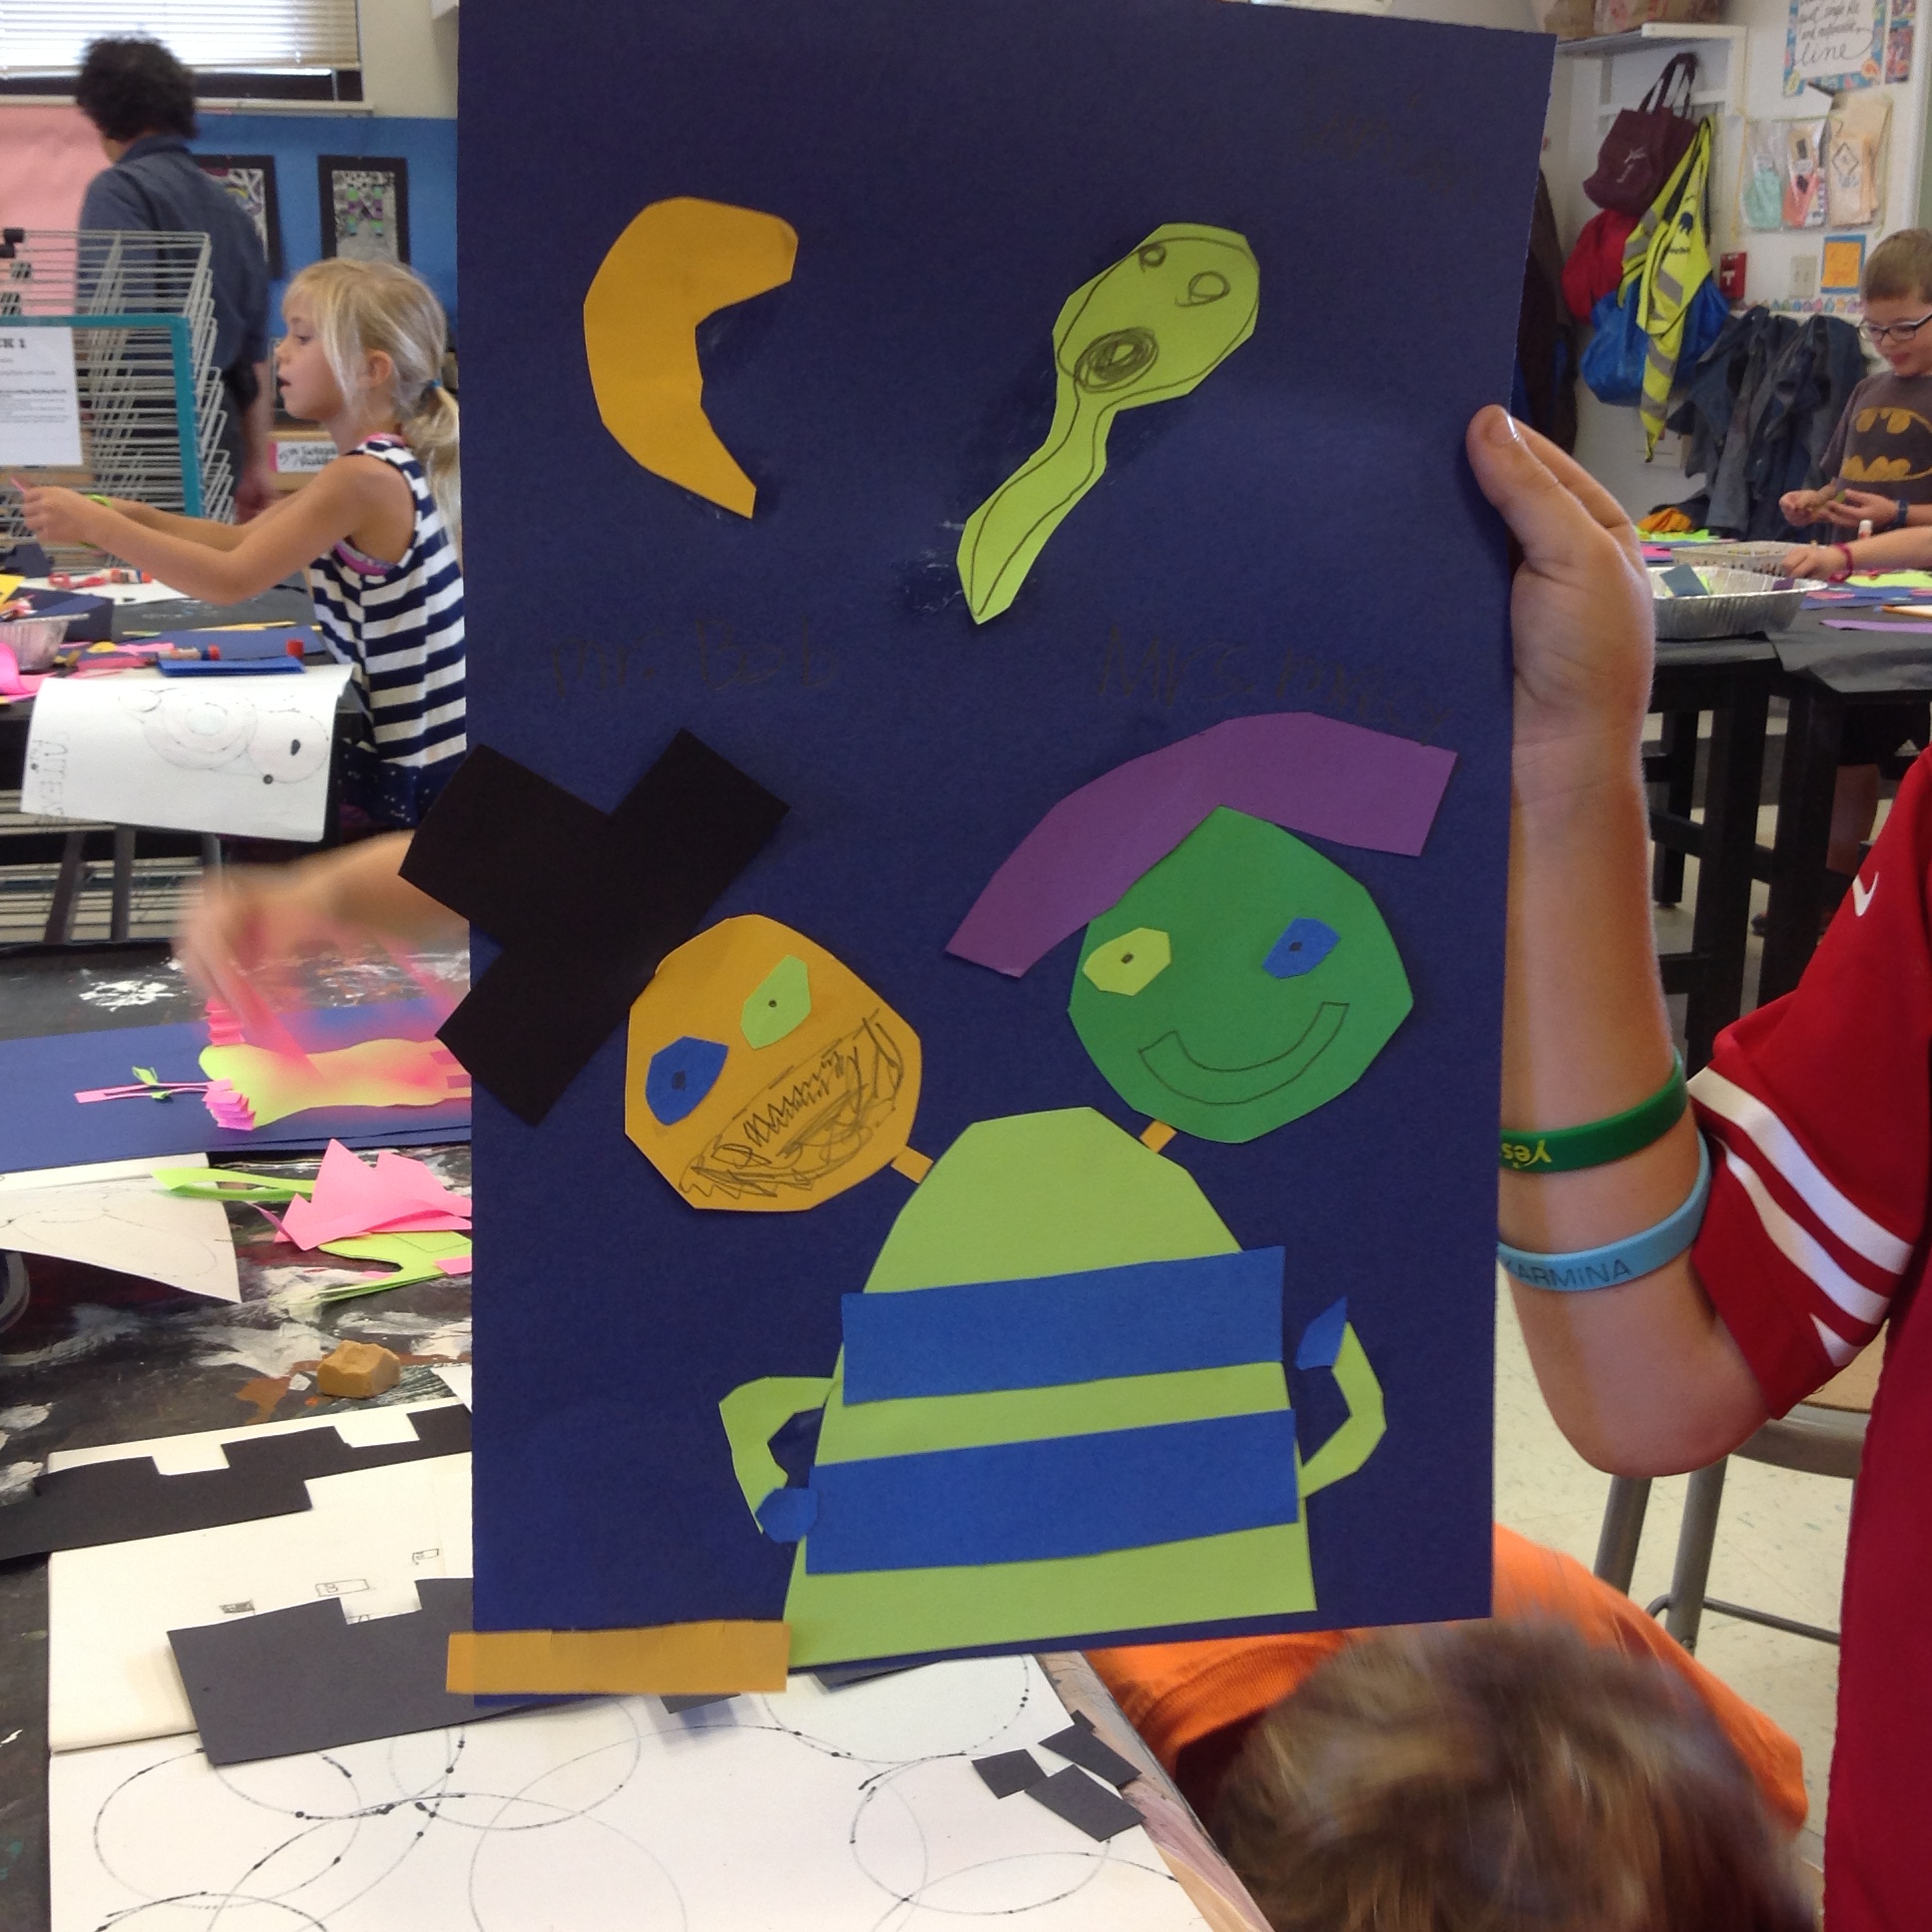
Collage Monsters: Building upon their collage skills from the paper playground, 2nd graders practiced cutting out free form and geometric shapes by folding paper in half and cutting out symmetrical shapes. They first sketched 2-3 monsters in their sketchbooks and then collected the papers they needed to execute the monster they liked the best. we talked about monster details like fangs, fur, tails, horns, distortion of scale (big eye + small eye, one eye, may eyes, many heads) and expression. I think the creatures came out very silly and odd (yay!) versus terrifying and creepy. Some creatures had names and stories which was hilarious to hear.


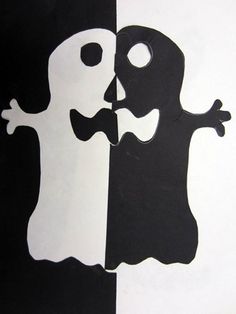
Halloween Positive/Negative Space Collage: 2nd graders practiced their cutting skills with this 1 day project. They practiced folding a paper lengthwise or width wise and cutting out a Halloween icon: Pumpkin, ghost or bat. They had to make sure they sketched from the folded center and cut out the shape from there otherwise they would end up with 2 pieces of paper rather than 1. We discussed positive space as being space that is occupied by the subject. Negative is the empty space that surrounds the positive space. Many students were intrigued by the optical illusions that were created when they were done gluing everything down. These pieces went home.

Dia de los Muertos: I showed several classes this video about the calaca festival.
https://vimeo.com/99428116
La Calaca is an annual festival born in San Miguel de Allende, MX, that is integrated into the vibrant Mexican celebration of life and death known as ‘Día de Muertos’ (Day of the Dead). La Calaca seeks to foster culture of participation that honors, promotes and explores the traditions and themes of Día de Muertos. La Calaca will be held October 30 – November 2.
lacalacafestival.org
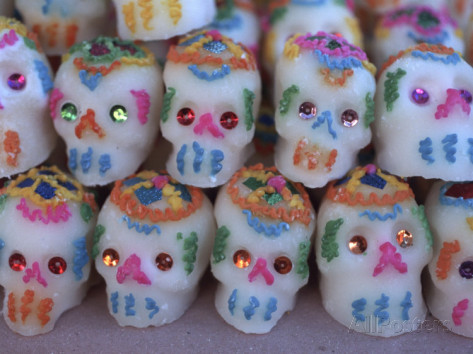
We talked about how we are all calacas (skeletons) and in Mexico remembering the dead is not a sad occasion as community comes together each year honor the departed. Art, music and prayer are integral parts of this remembrance. Sugar skulls are created to take away the bitterness of death. Many students talked about family members who were no longer here and pets who were well missed.
Students cut out skull masks and used color, line, patter, feathers and sequins to make a calaca. These went home.


3rd grade: This year students will identify use foreground, middle ground, and background to create the illusion of space, explore ideas for art in a personal sketchbook, xix and apply tempera paints to create tints, shades, and neutral colors, and will paint or draw a landscape, seascape, or cityscape that shows the illusion of space, will create a clay piece using organic forms.
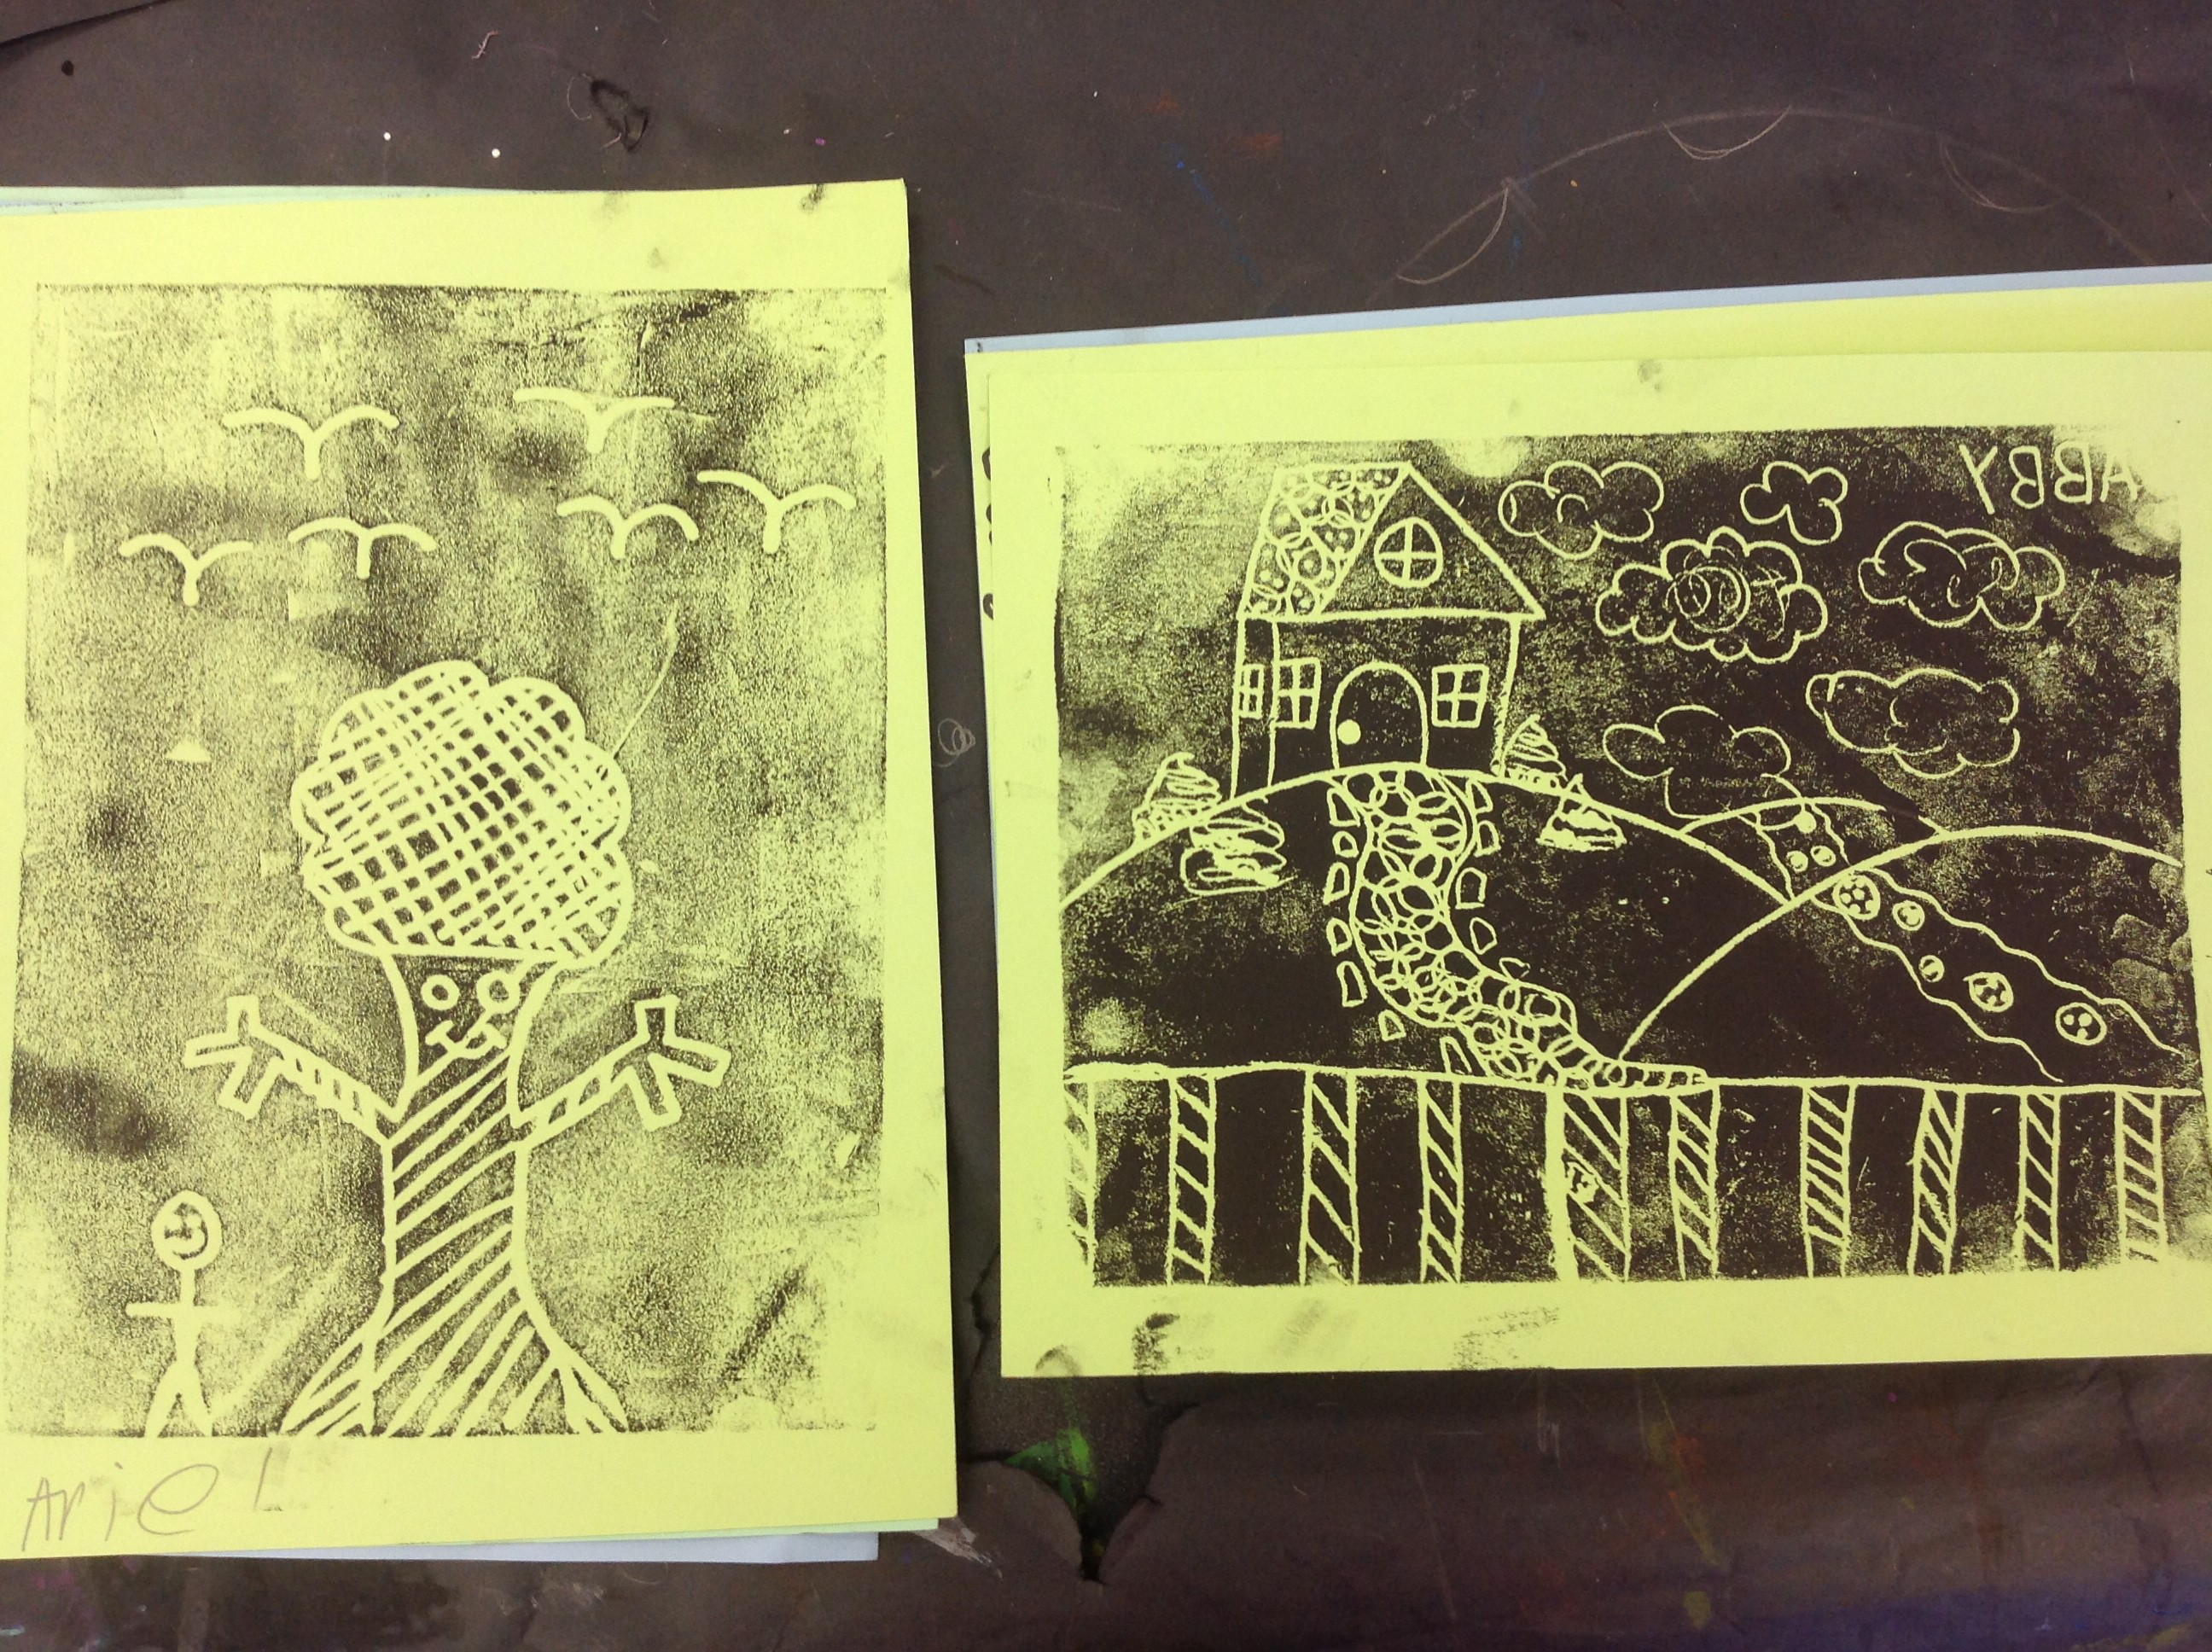
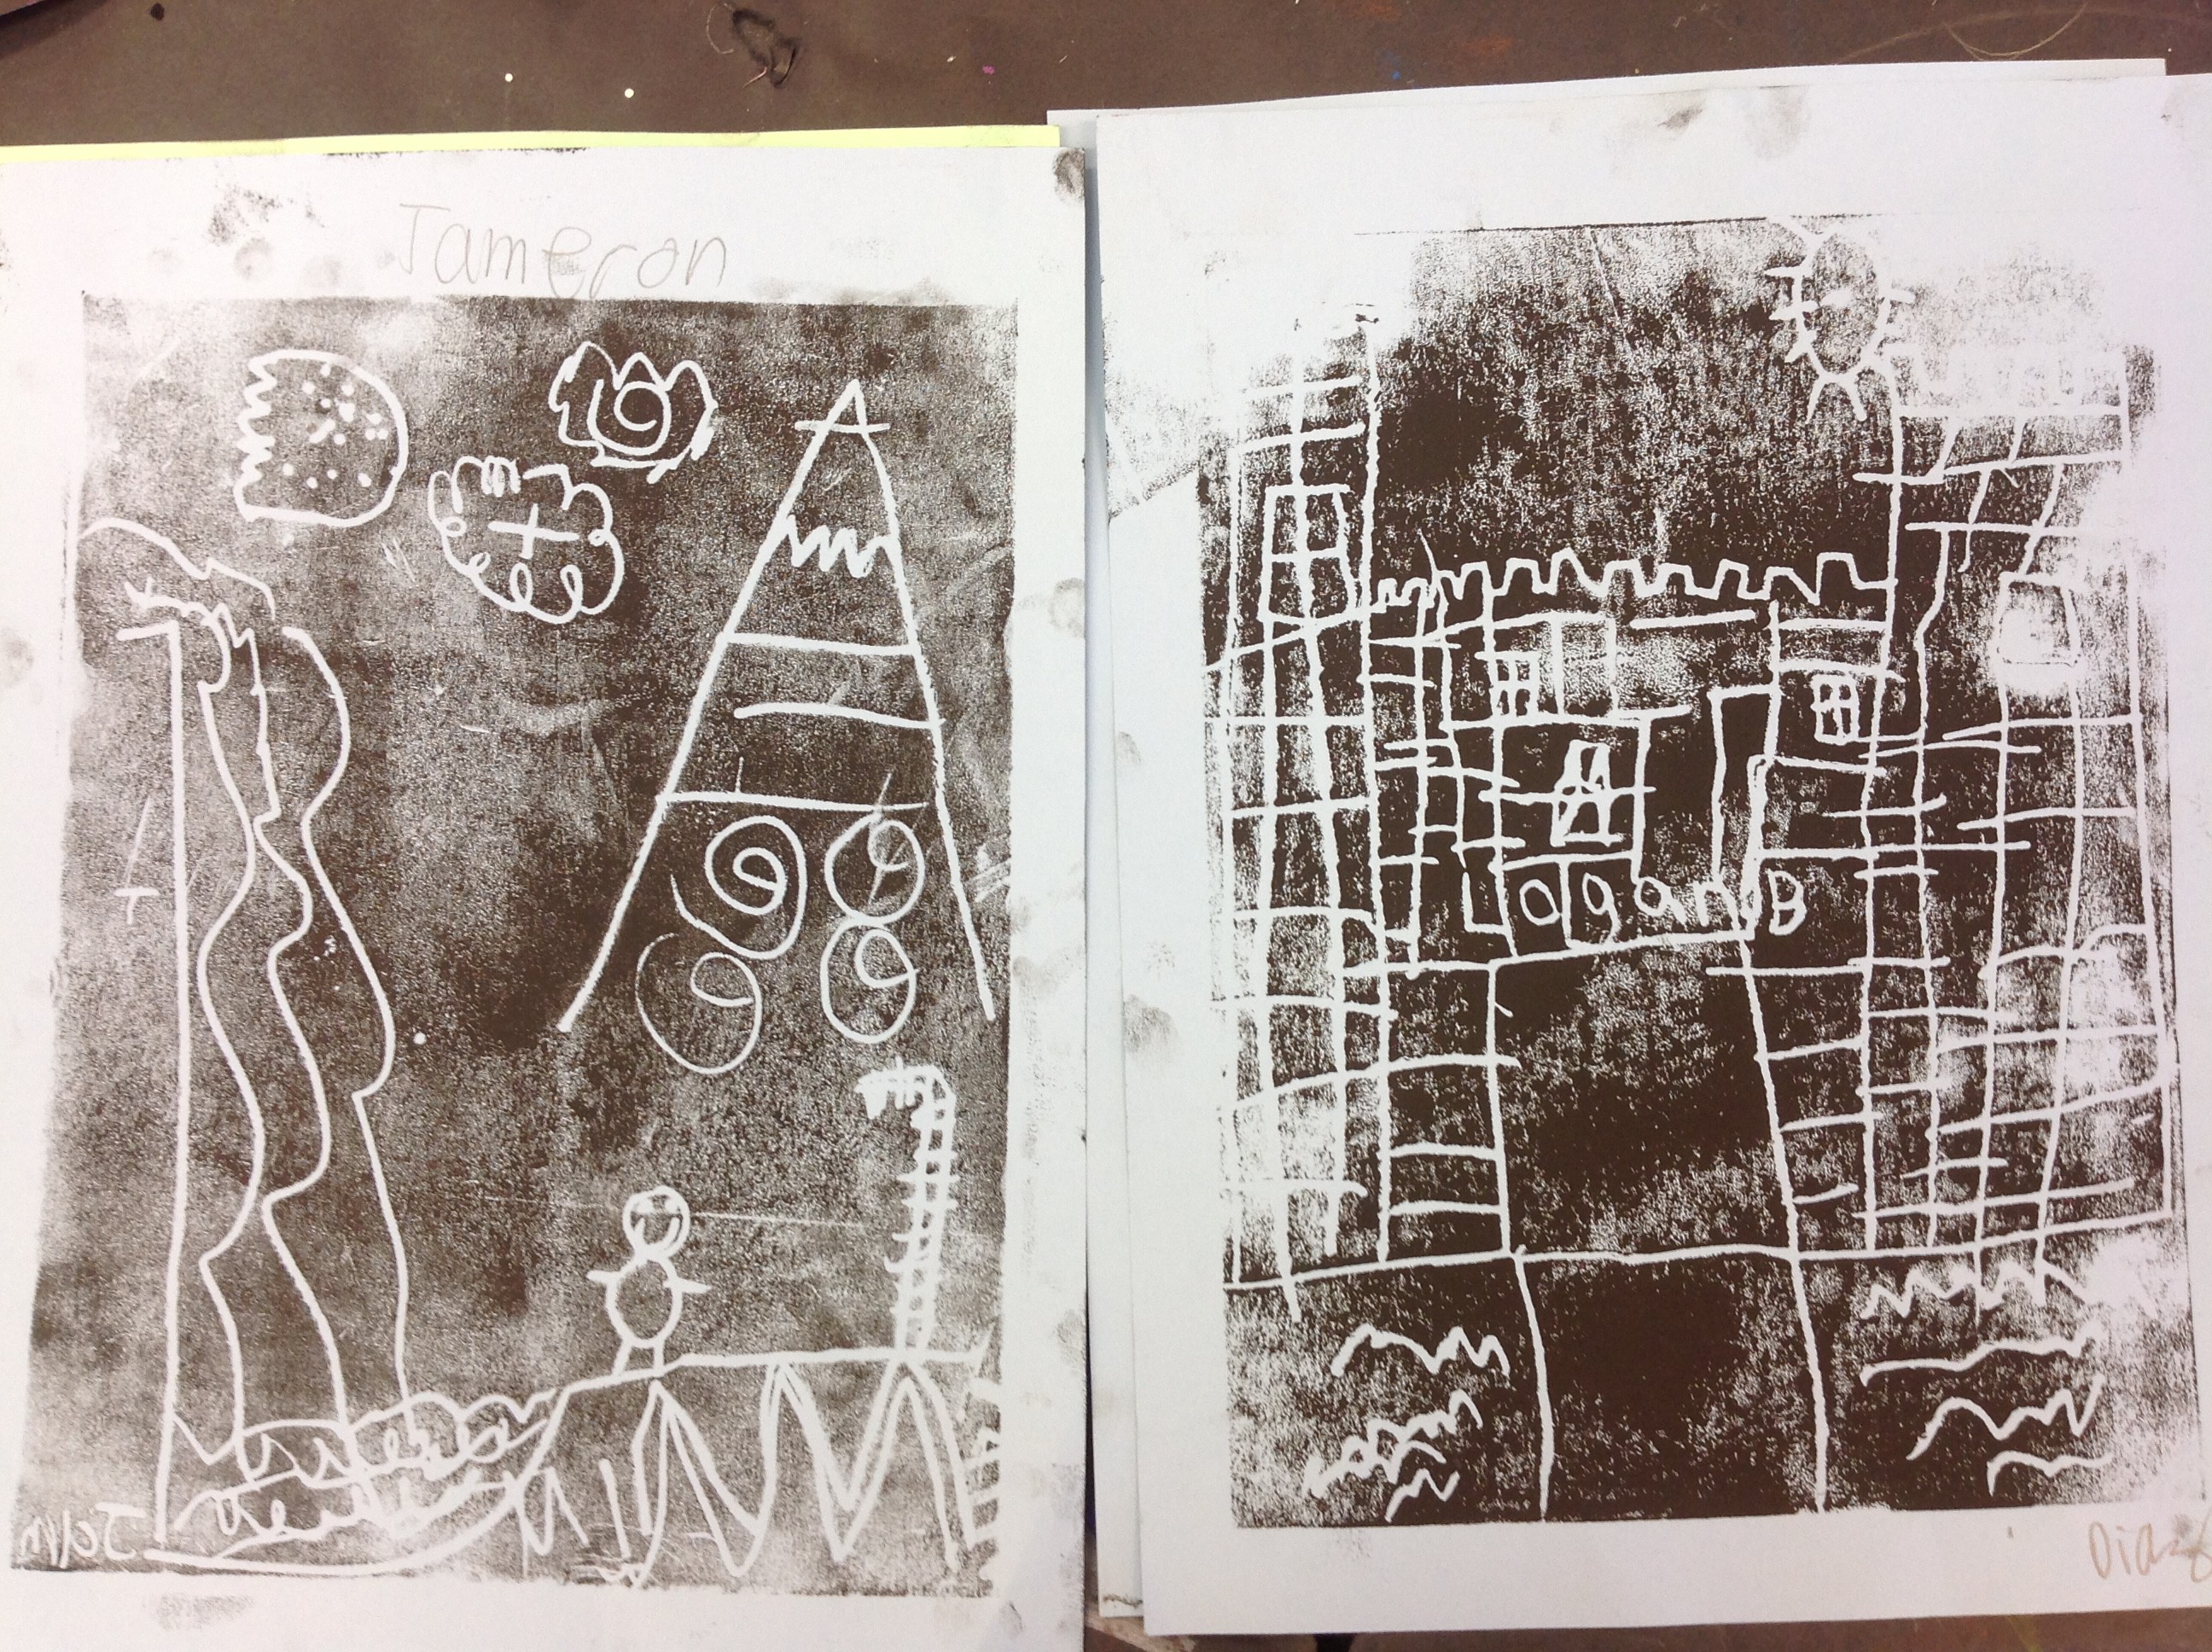
Sketchbooks: Students drew real or imagined landscapes, seascapes (or spacescapes) showing foreground, middleground and background. They used pattern and shapes to add texture to their drawings. They then created foam prints based upon their sketchbook covers. They could make multiple prints some of which went home.


Leaf Books: Students practiced drawing leaves and doing crayon rubbings in their sketchbooks.

They then used these techniques on long pieces of white paper using the front and back of their papers. They used crayons, oil pastels and a watercolor resist. They could have leaves go off the page, they could repeat leaves, and also color in leaves with crayon or watercolor. These lovely pieces were then folded up, wrapped in a ribbon and greenery and were taken home.
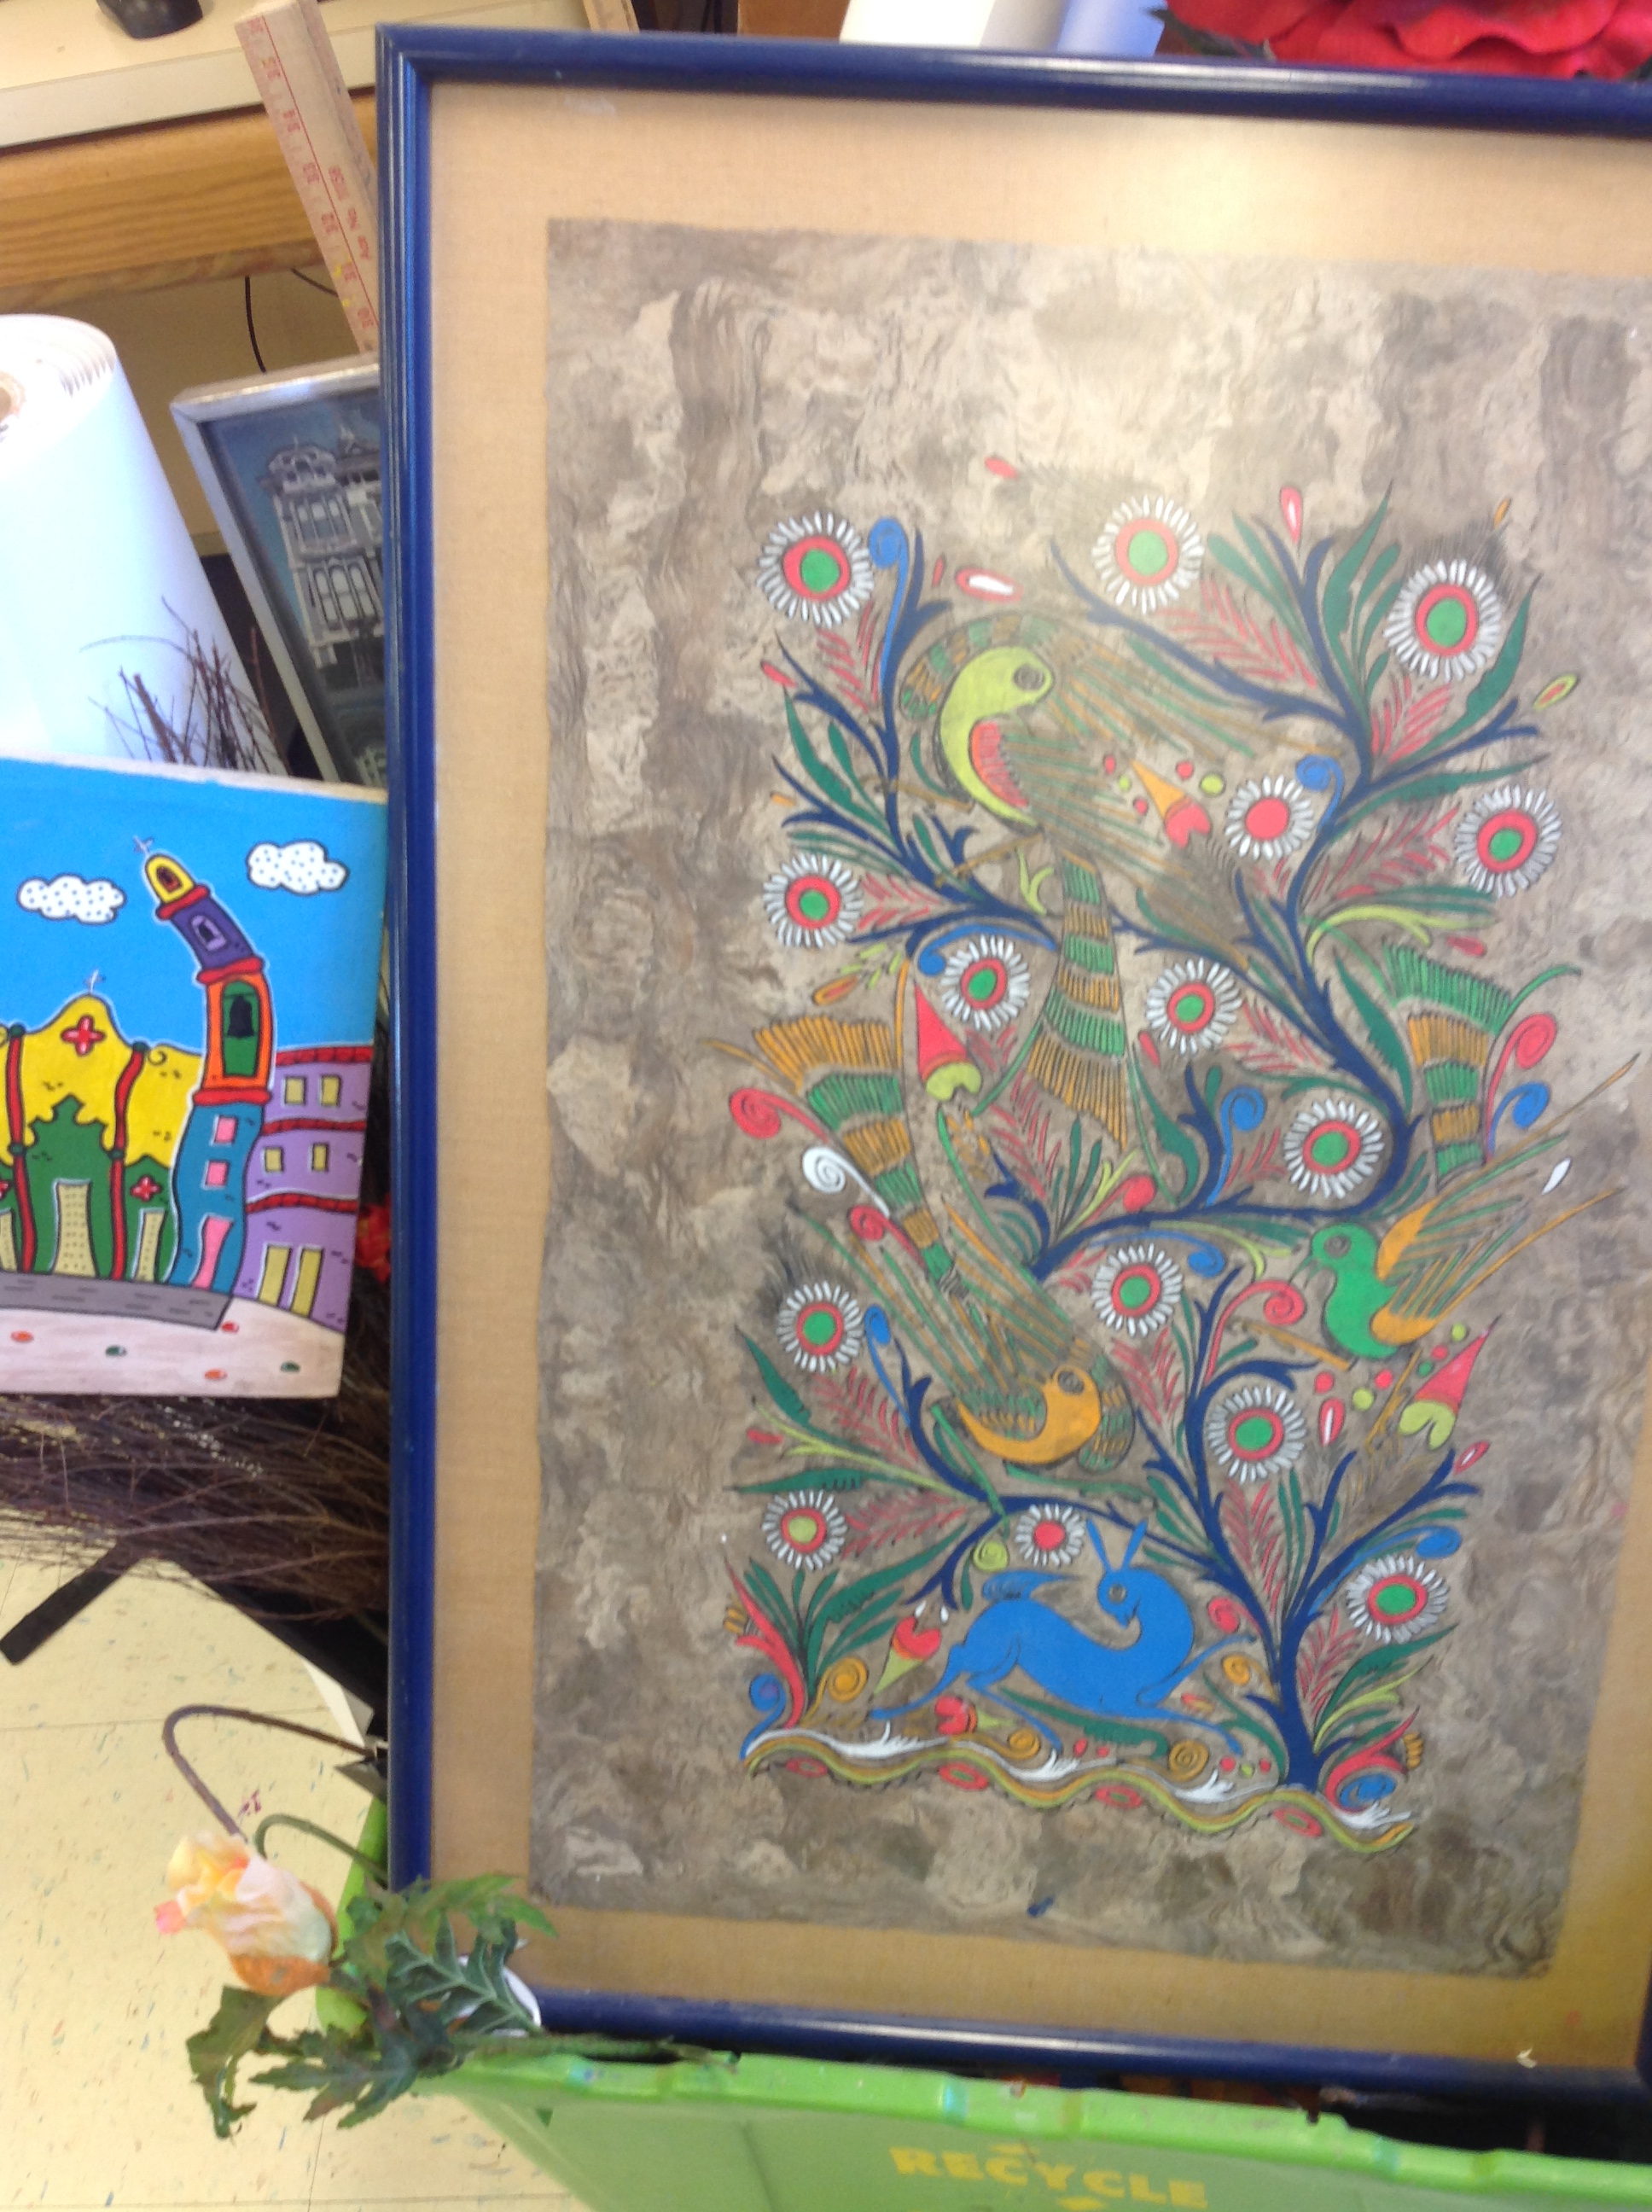
Amate Paper Drawings: We moved into animal drawings for a bit by way of Mexico. We watched a video about the making amate paper. The Aztec used amate paper to record their history. The students then looked at examples of Amate art noticing the animal, vegetation and architectural themes in the art. I then showed them a framed piece of Amate art that I had in the classroom. It was great to have an artifact to look at that the kids could see the actual handmade paper and painting details.
Students sketched in their sketchbooks first and then moved to their brown paper.
They drew their in pencil first, outlined in sharpie and used chalk pastel for color. We discussed using the end of our chalk pastel for thin lines and bold color and the flat side of it to create texture and large swaths of color. Many students enjoyed the blending of colors with their hands and layering colors. They really noticed the boldness of color but also the dustiness of the material.


4th grade: Students have been and will be looking at art from other cultures, how cultures create meaning from art, using proportion to create a self portrait, explore positive and negative space and use additive and subtractive techniques to create a sculpture (POP ART FOOD!!!!).
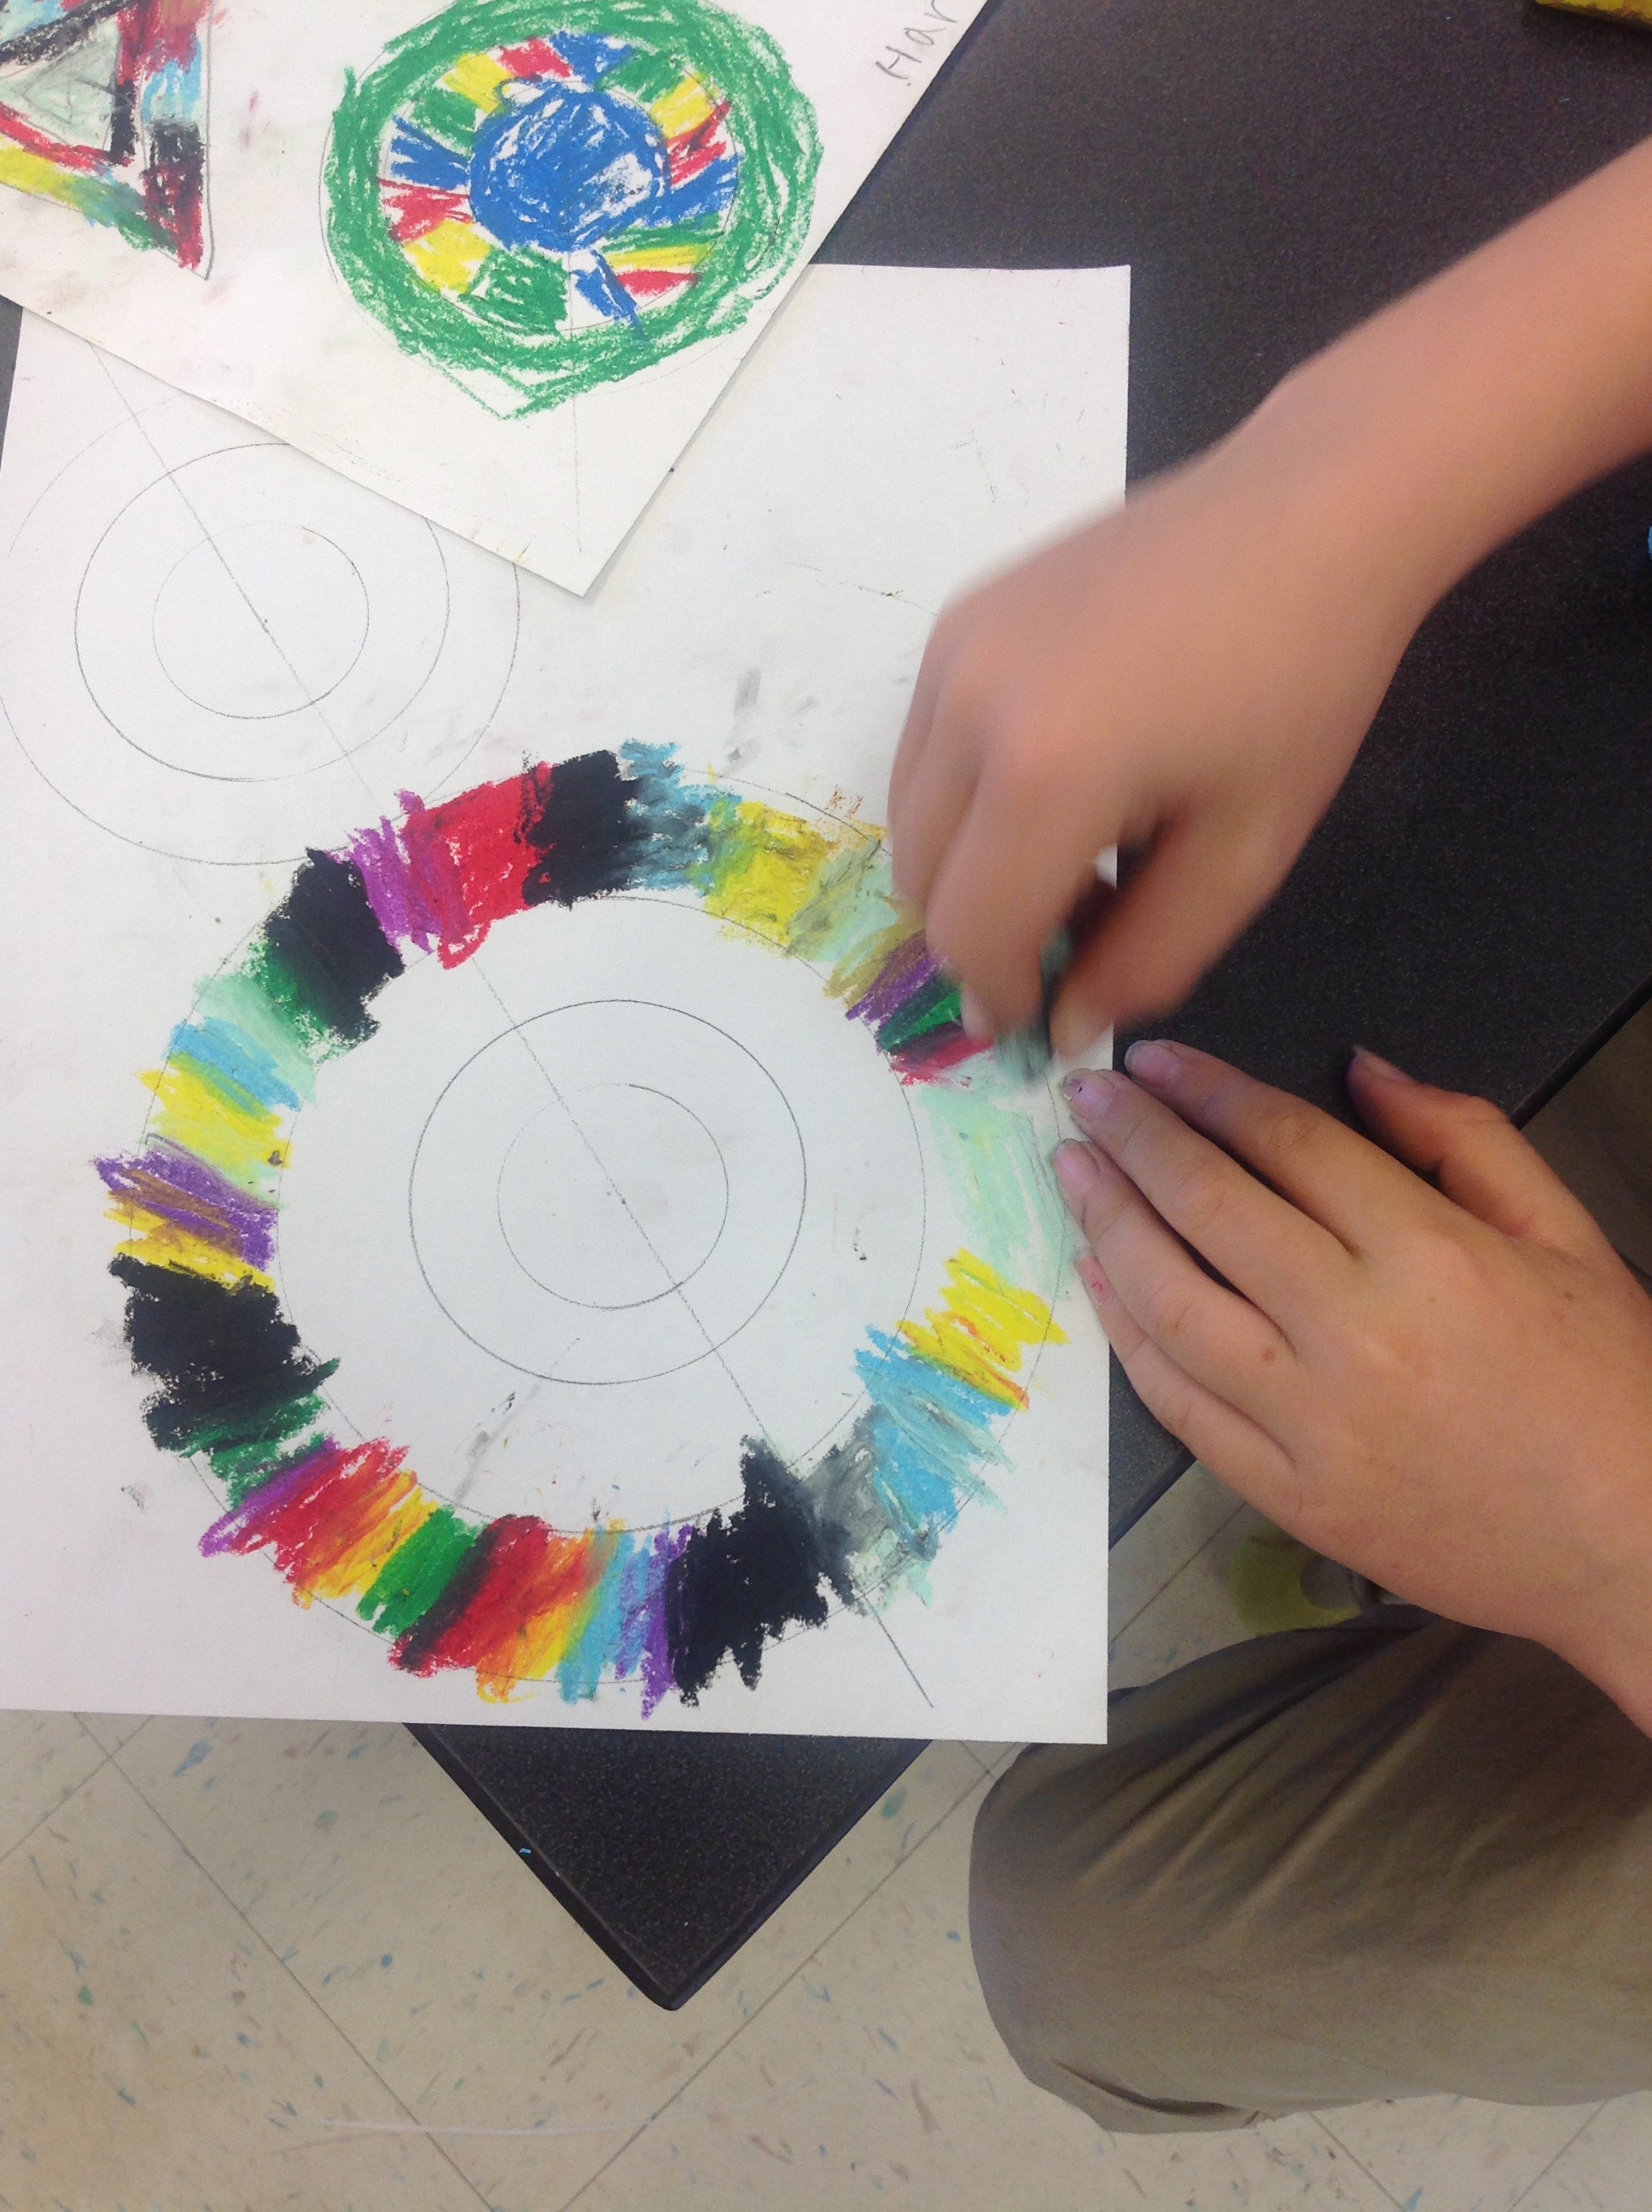
Sketchbooks: Students looked at images of Mandalas. Mandala (Sanskrit Maṇḍala, ‘circle’) is a spiritual and ritual symbol in Indian religions, representing the universe. The basic form of most mandalas is a square with four gates containing a circle with a center point. Students learned that Tibetan monks create these ephemeral pieces of art with colored sand in a very spiritual and precise manner. At the end of the ceremony, the Mandala is swept up. Students designed their own geometric mandalas and could use shapes and lines and radial symmetry. They used rulers and stencils for designing. The transferred their design to a round piece of foam. They then used oil pastels for their background and printed on it several times to create an even bigger mandala.
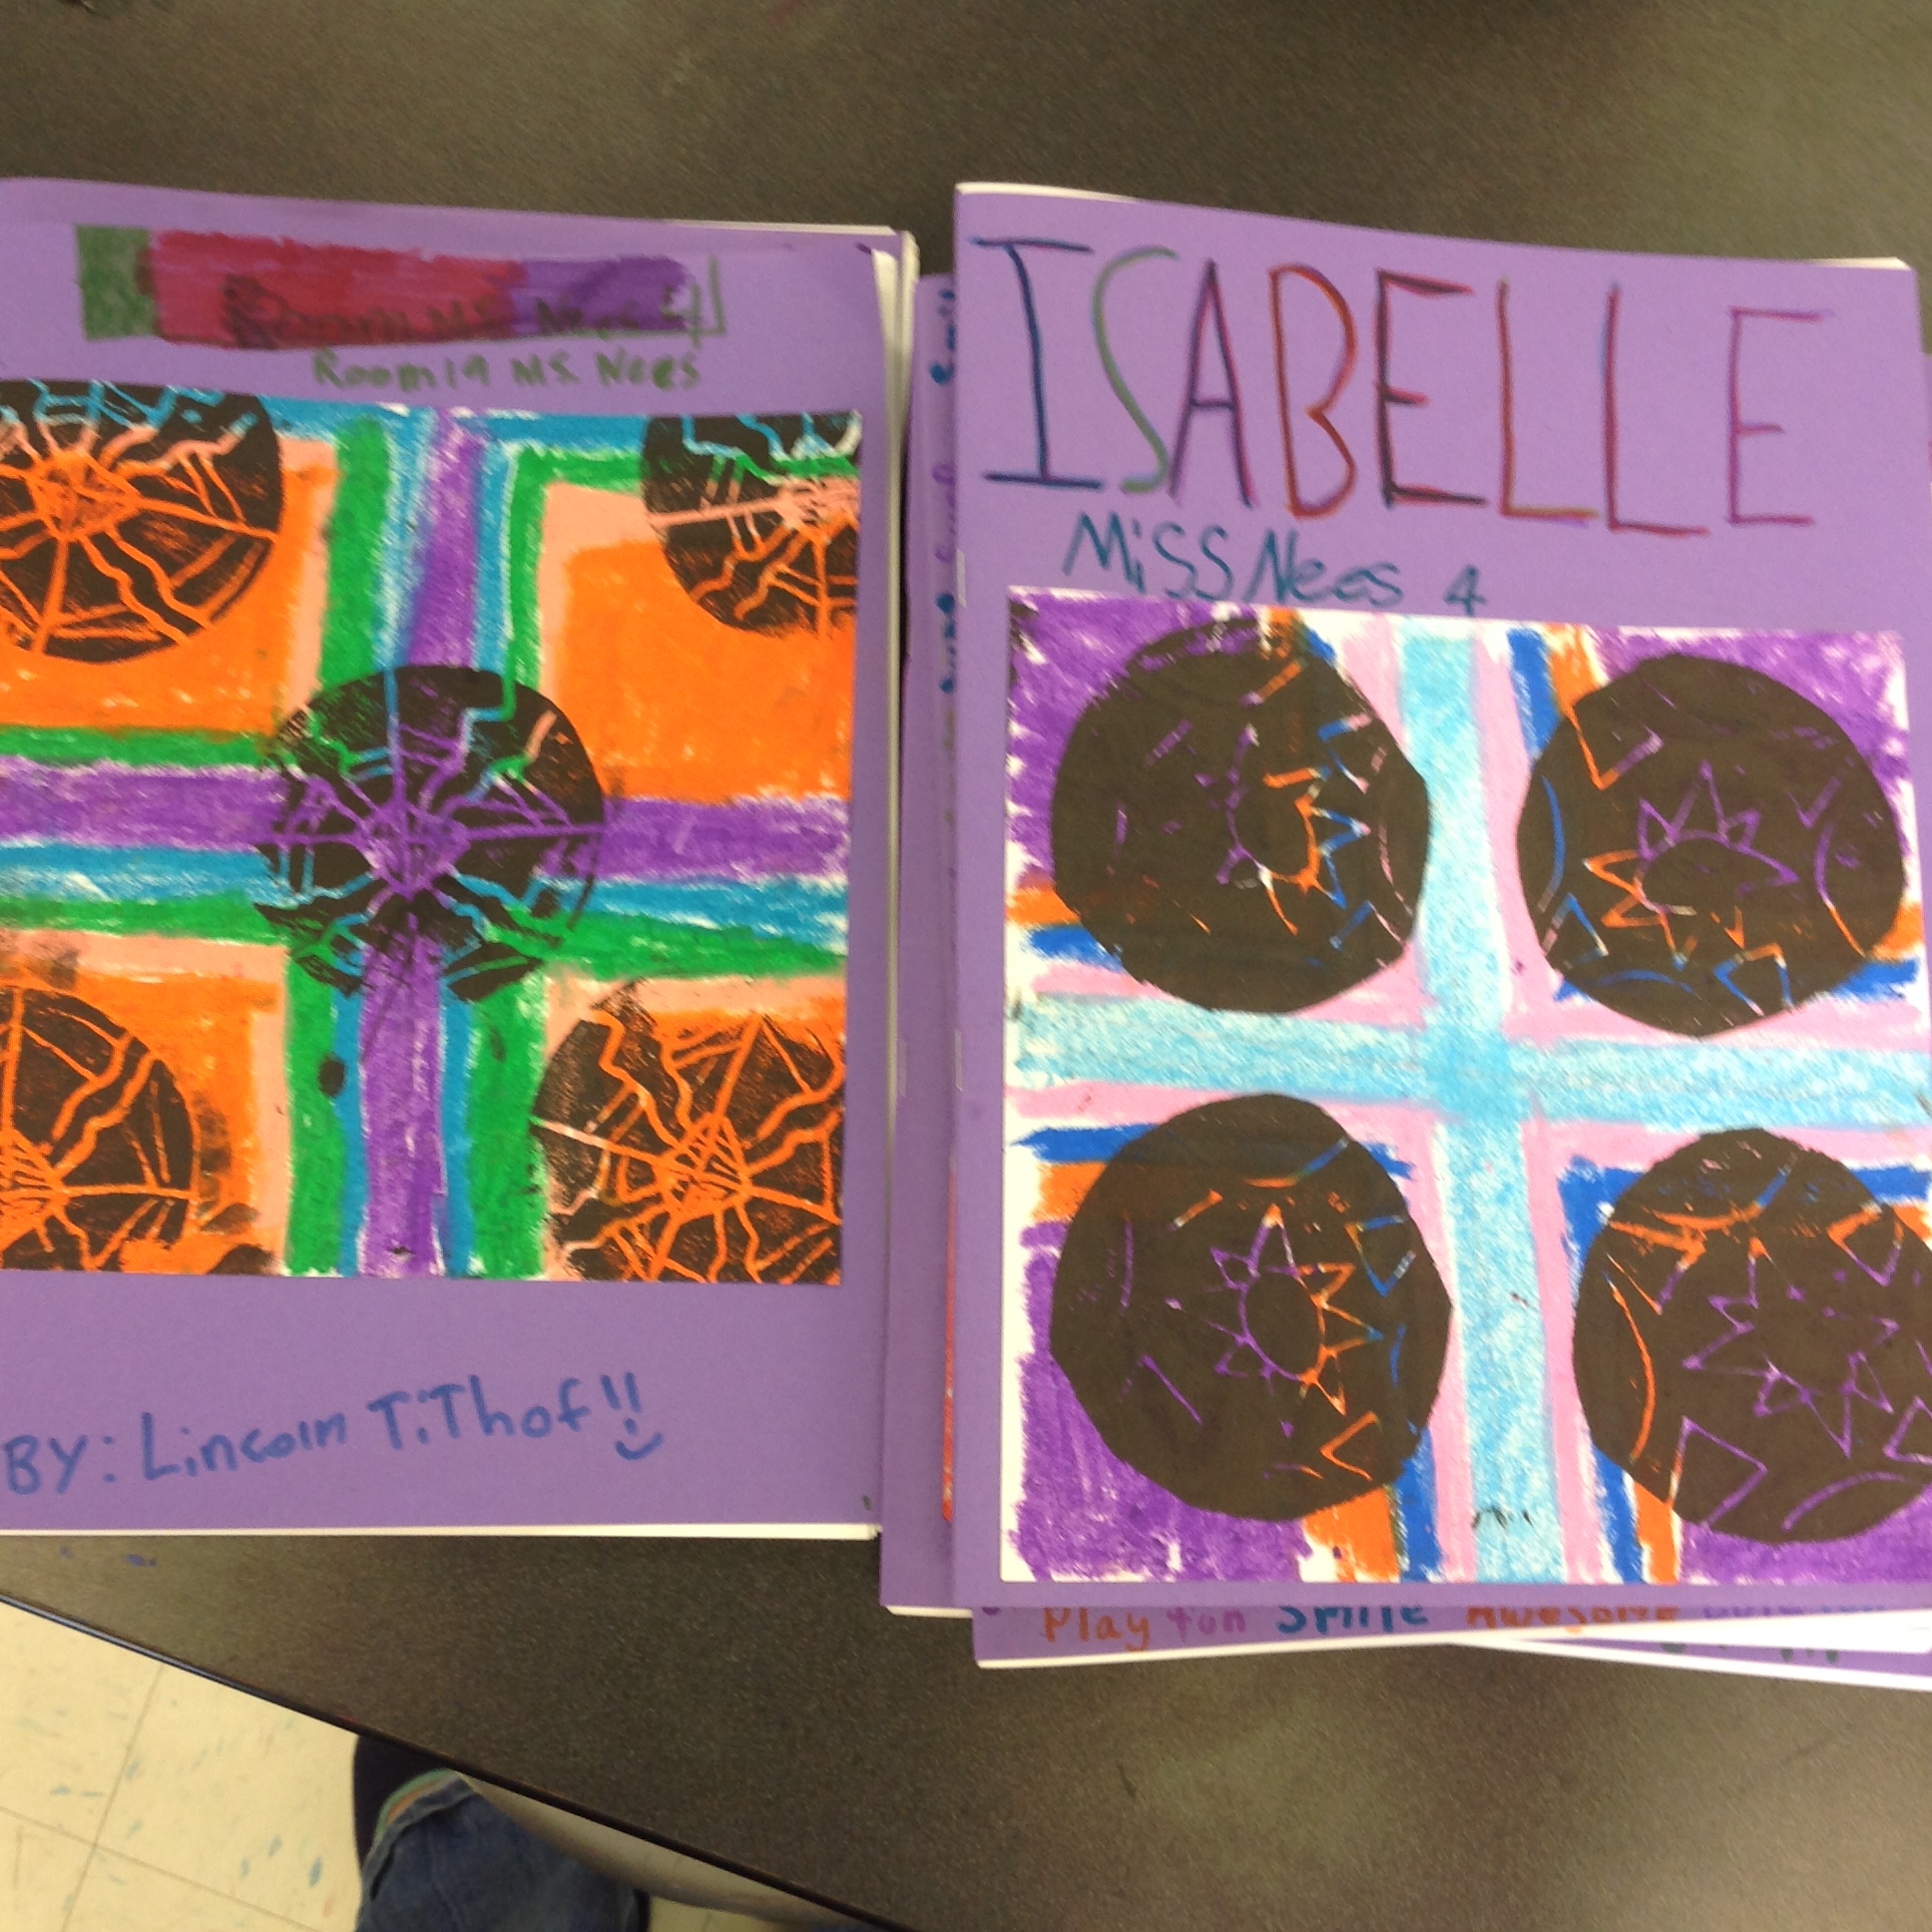
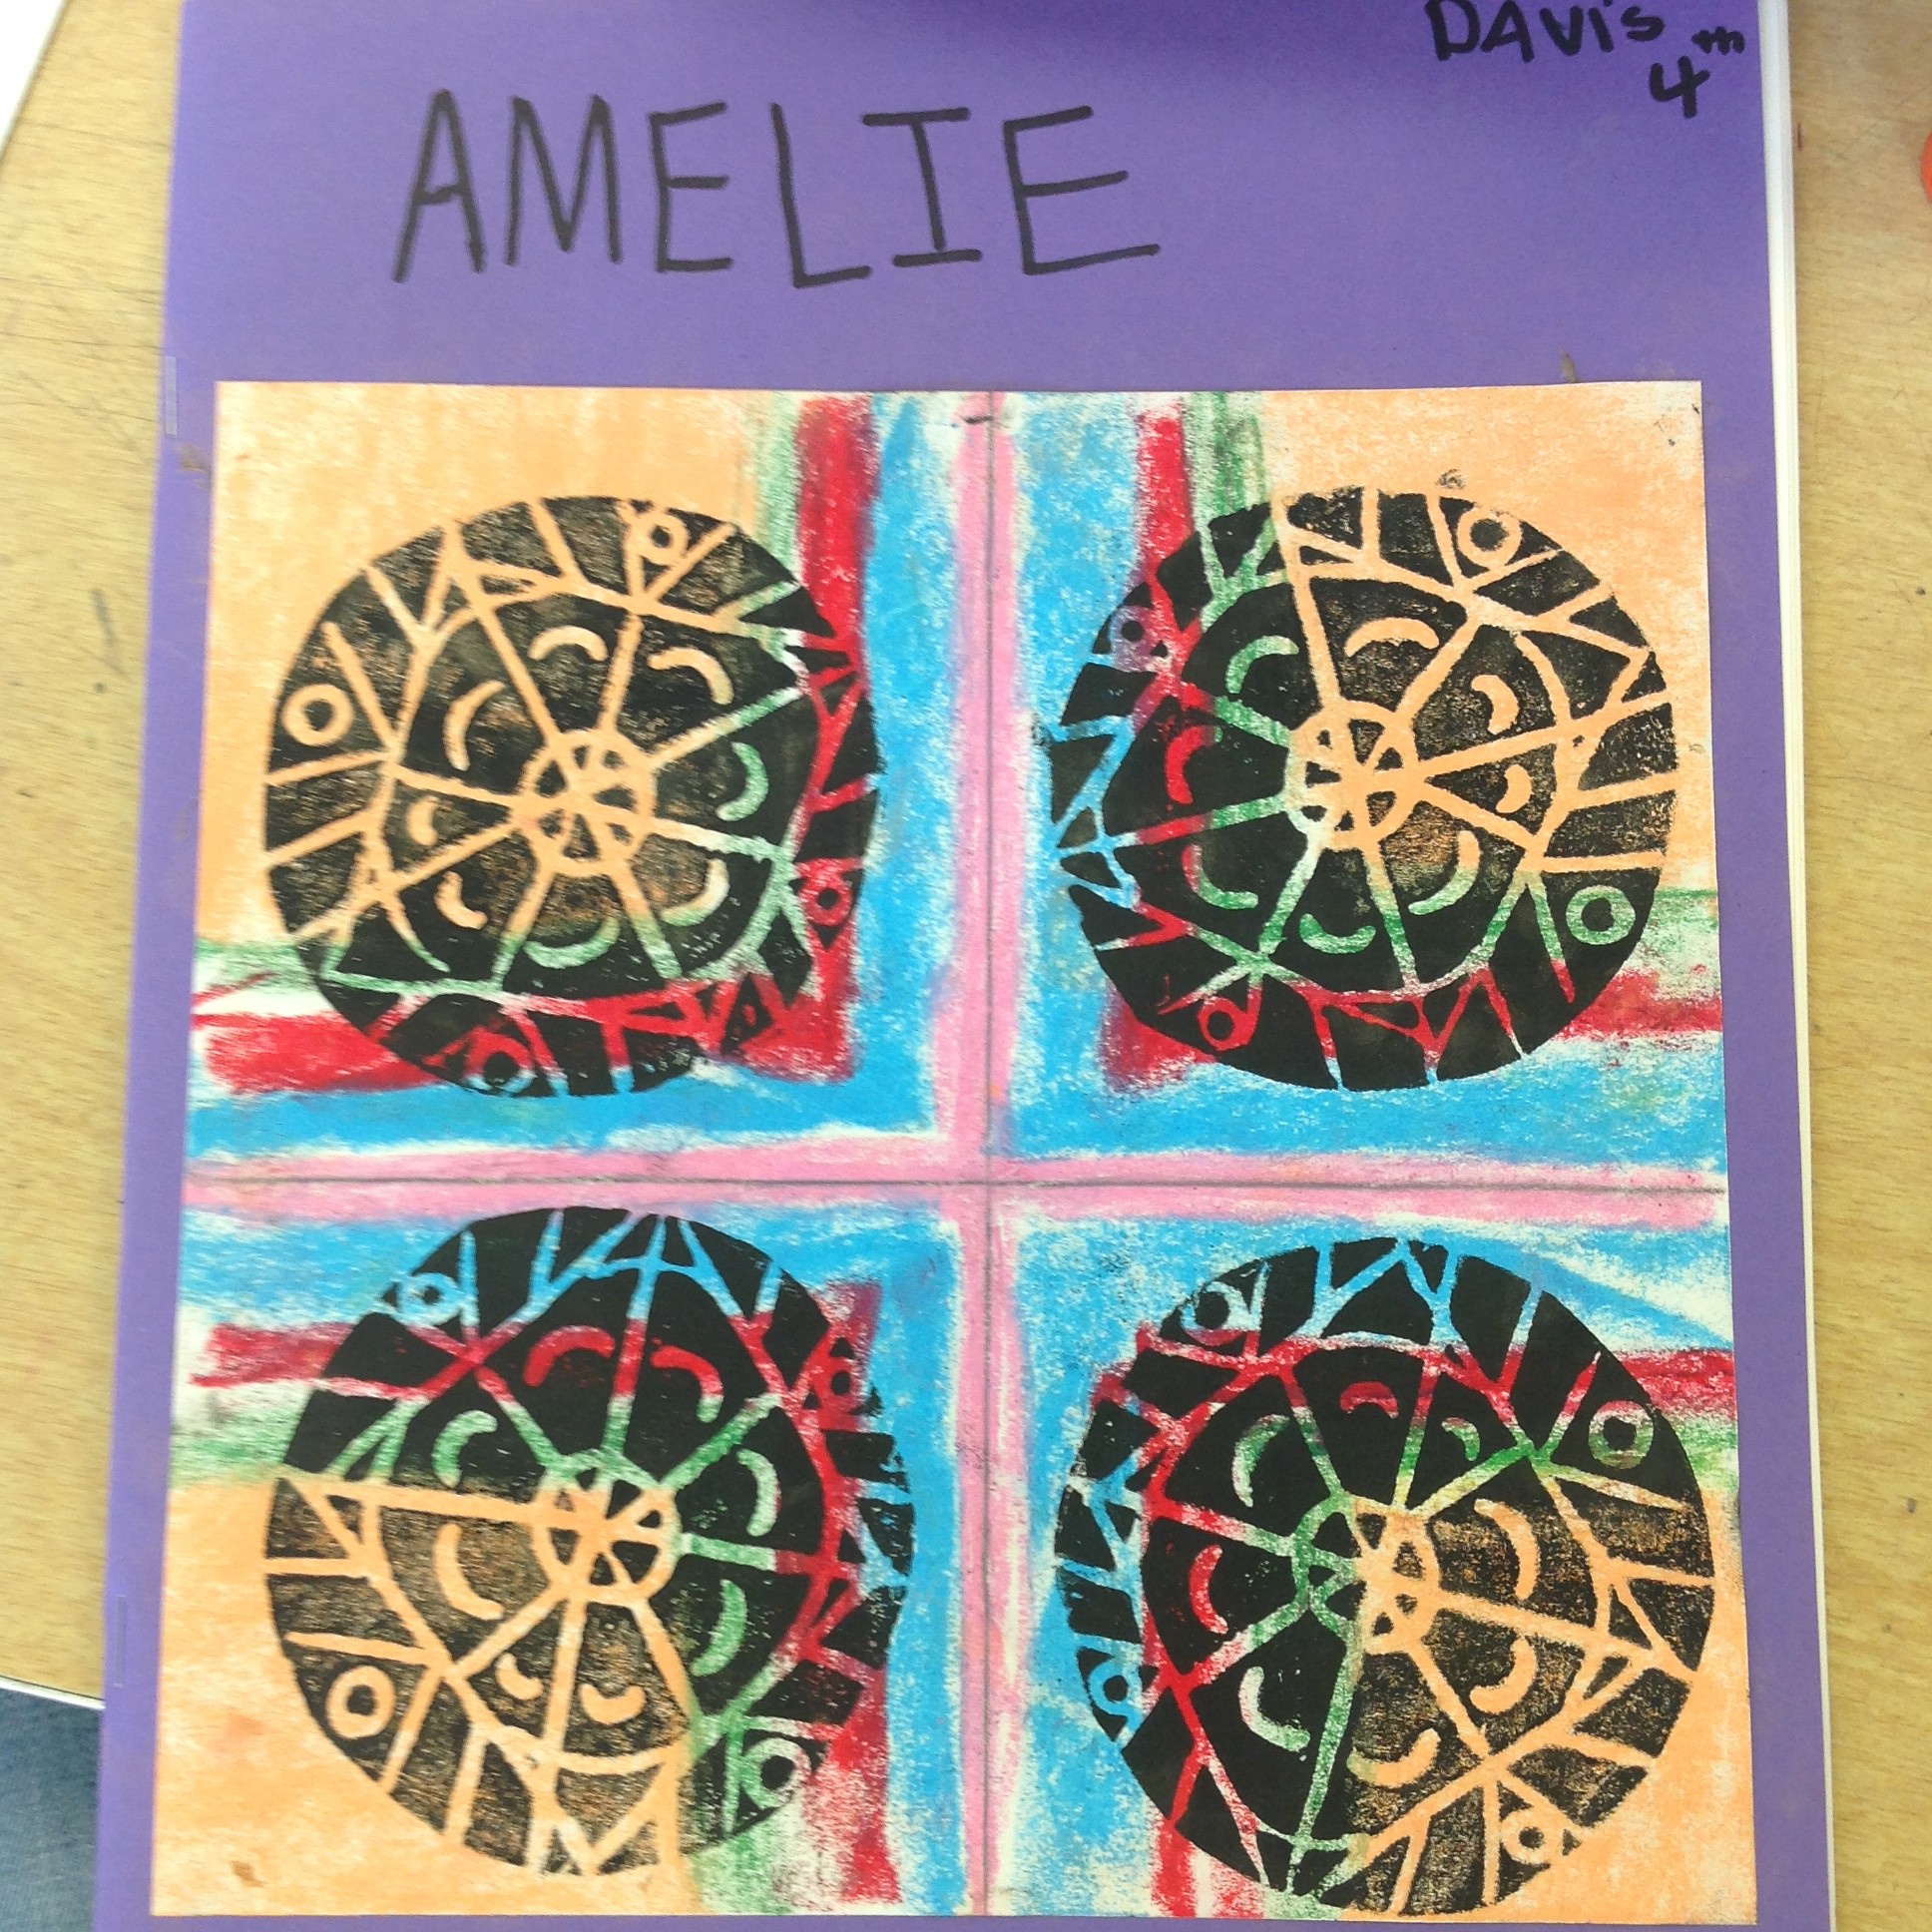


Up-cycled Mandalas: Students then used a cd as a blank circle to create a bigger Mandala. They could use sharpie, pencil and watercolors. Some students really used radial symmetry and kept their designs minimal and clean. Others chose to make their designs unique and made their Mandalas very personal or irreverent.


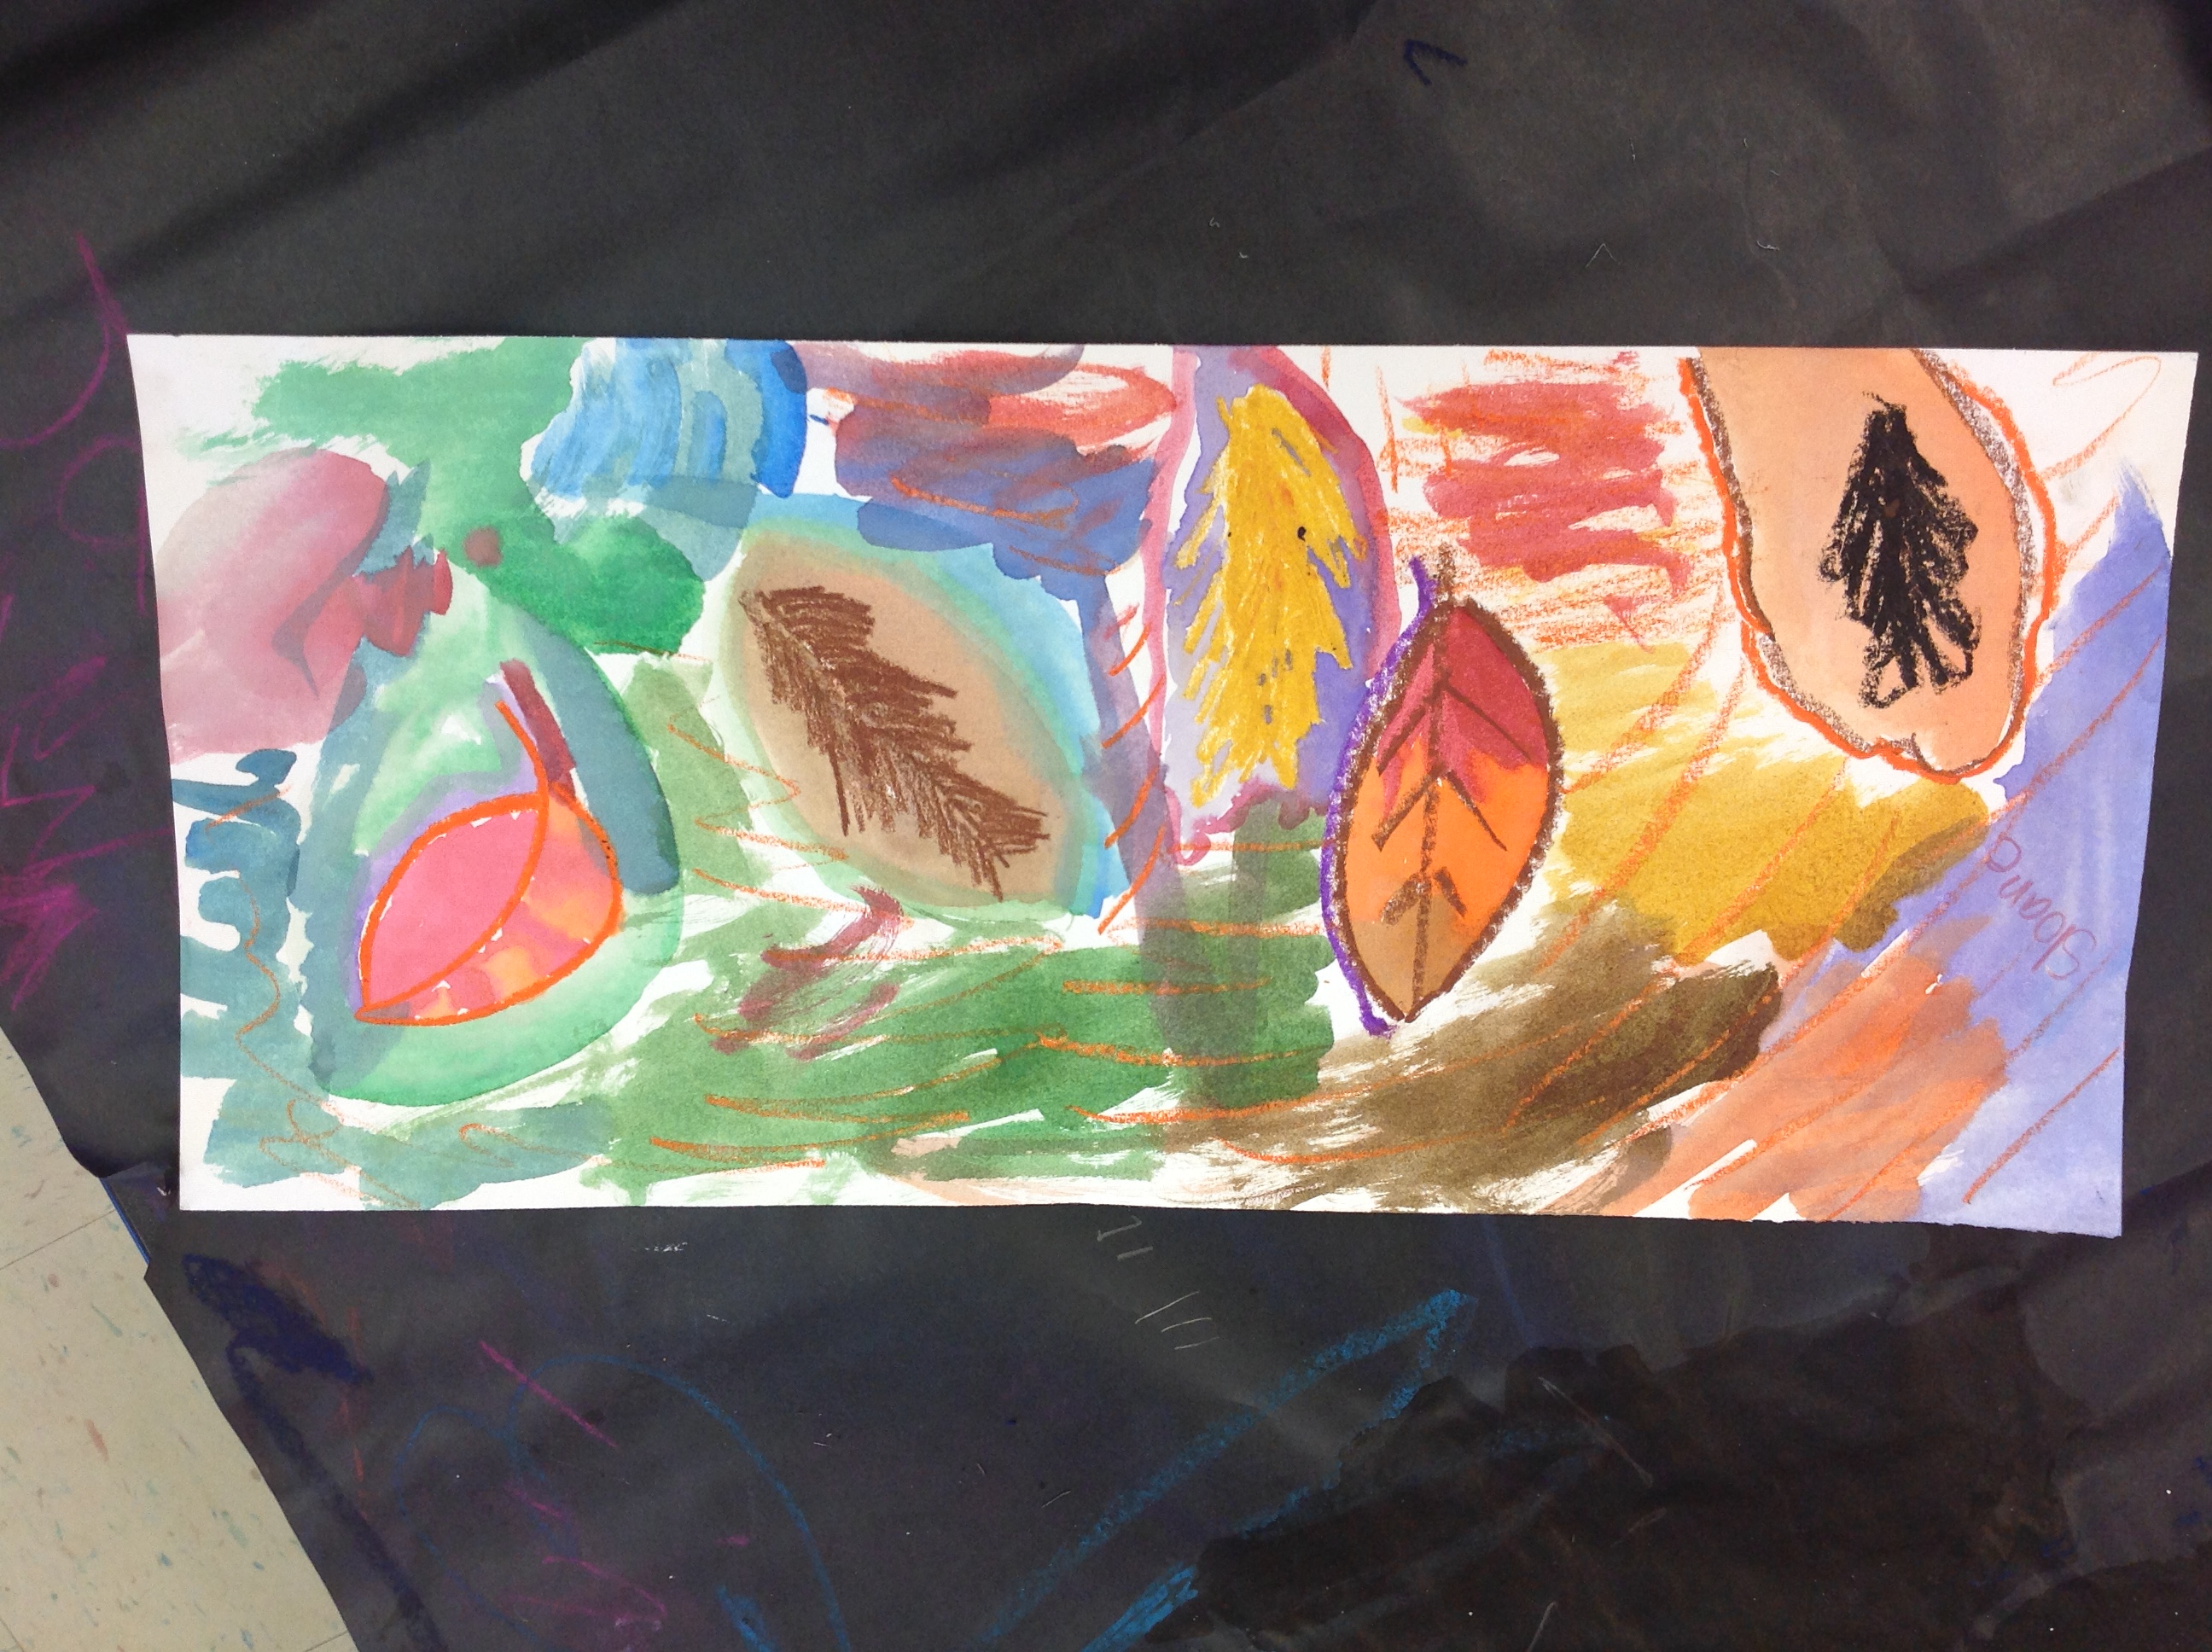
Fall Leaves: 4th graders practiced drawing elm, oak, maple leaves and fir needles in their sketchbooks. They then used crayons to draw several leaves in many directions on their final paper. They could color and watercolor in the manner which they chose. I emphasized details in the leaves and to not be concerned with realistic colors or renderings as they were creating creative representations of leaves. Otherwise they might as well take a photo or draw a scientific illustration of their leaves. These might look more accurate but won’t be be nearly as interesting, fun or individual. I think these came out great.


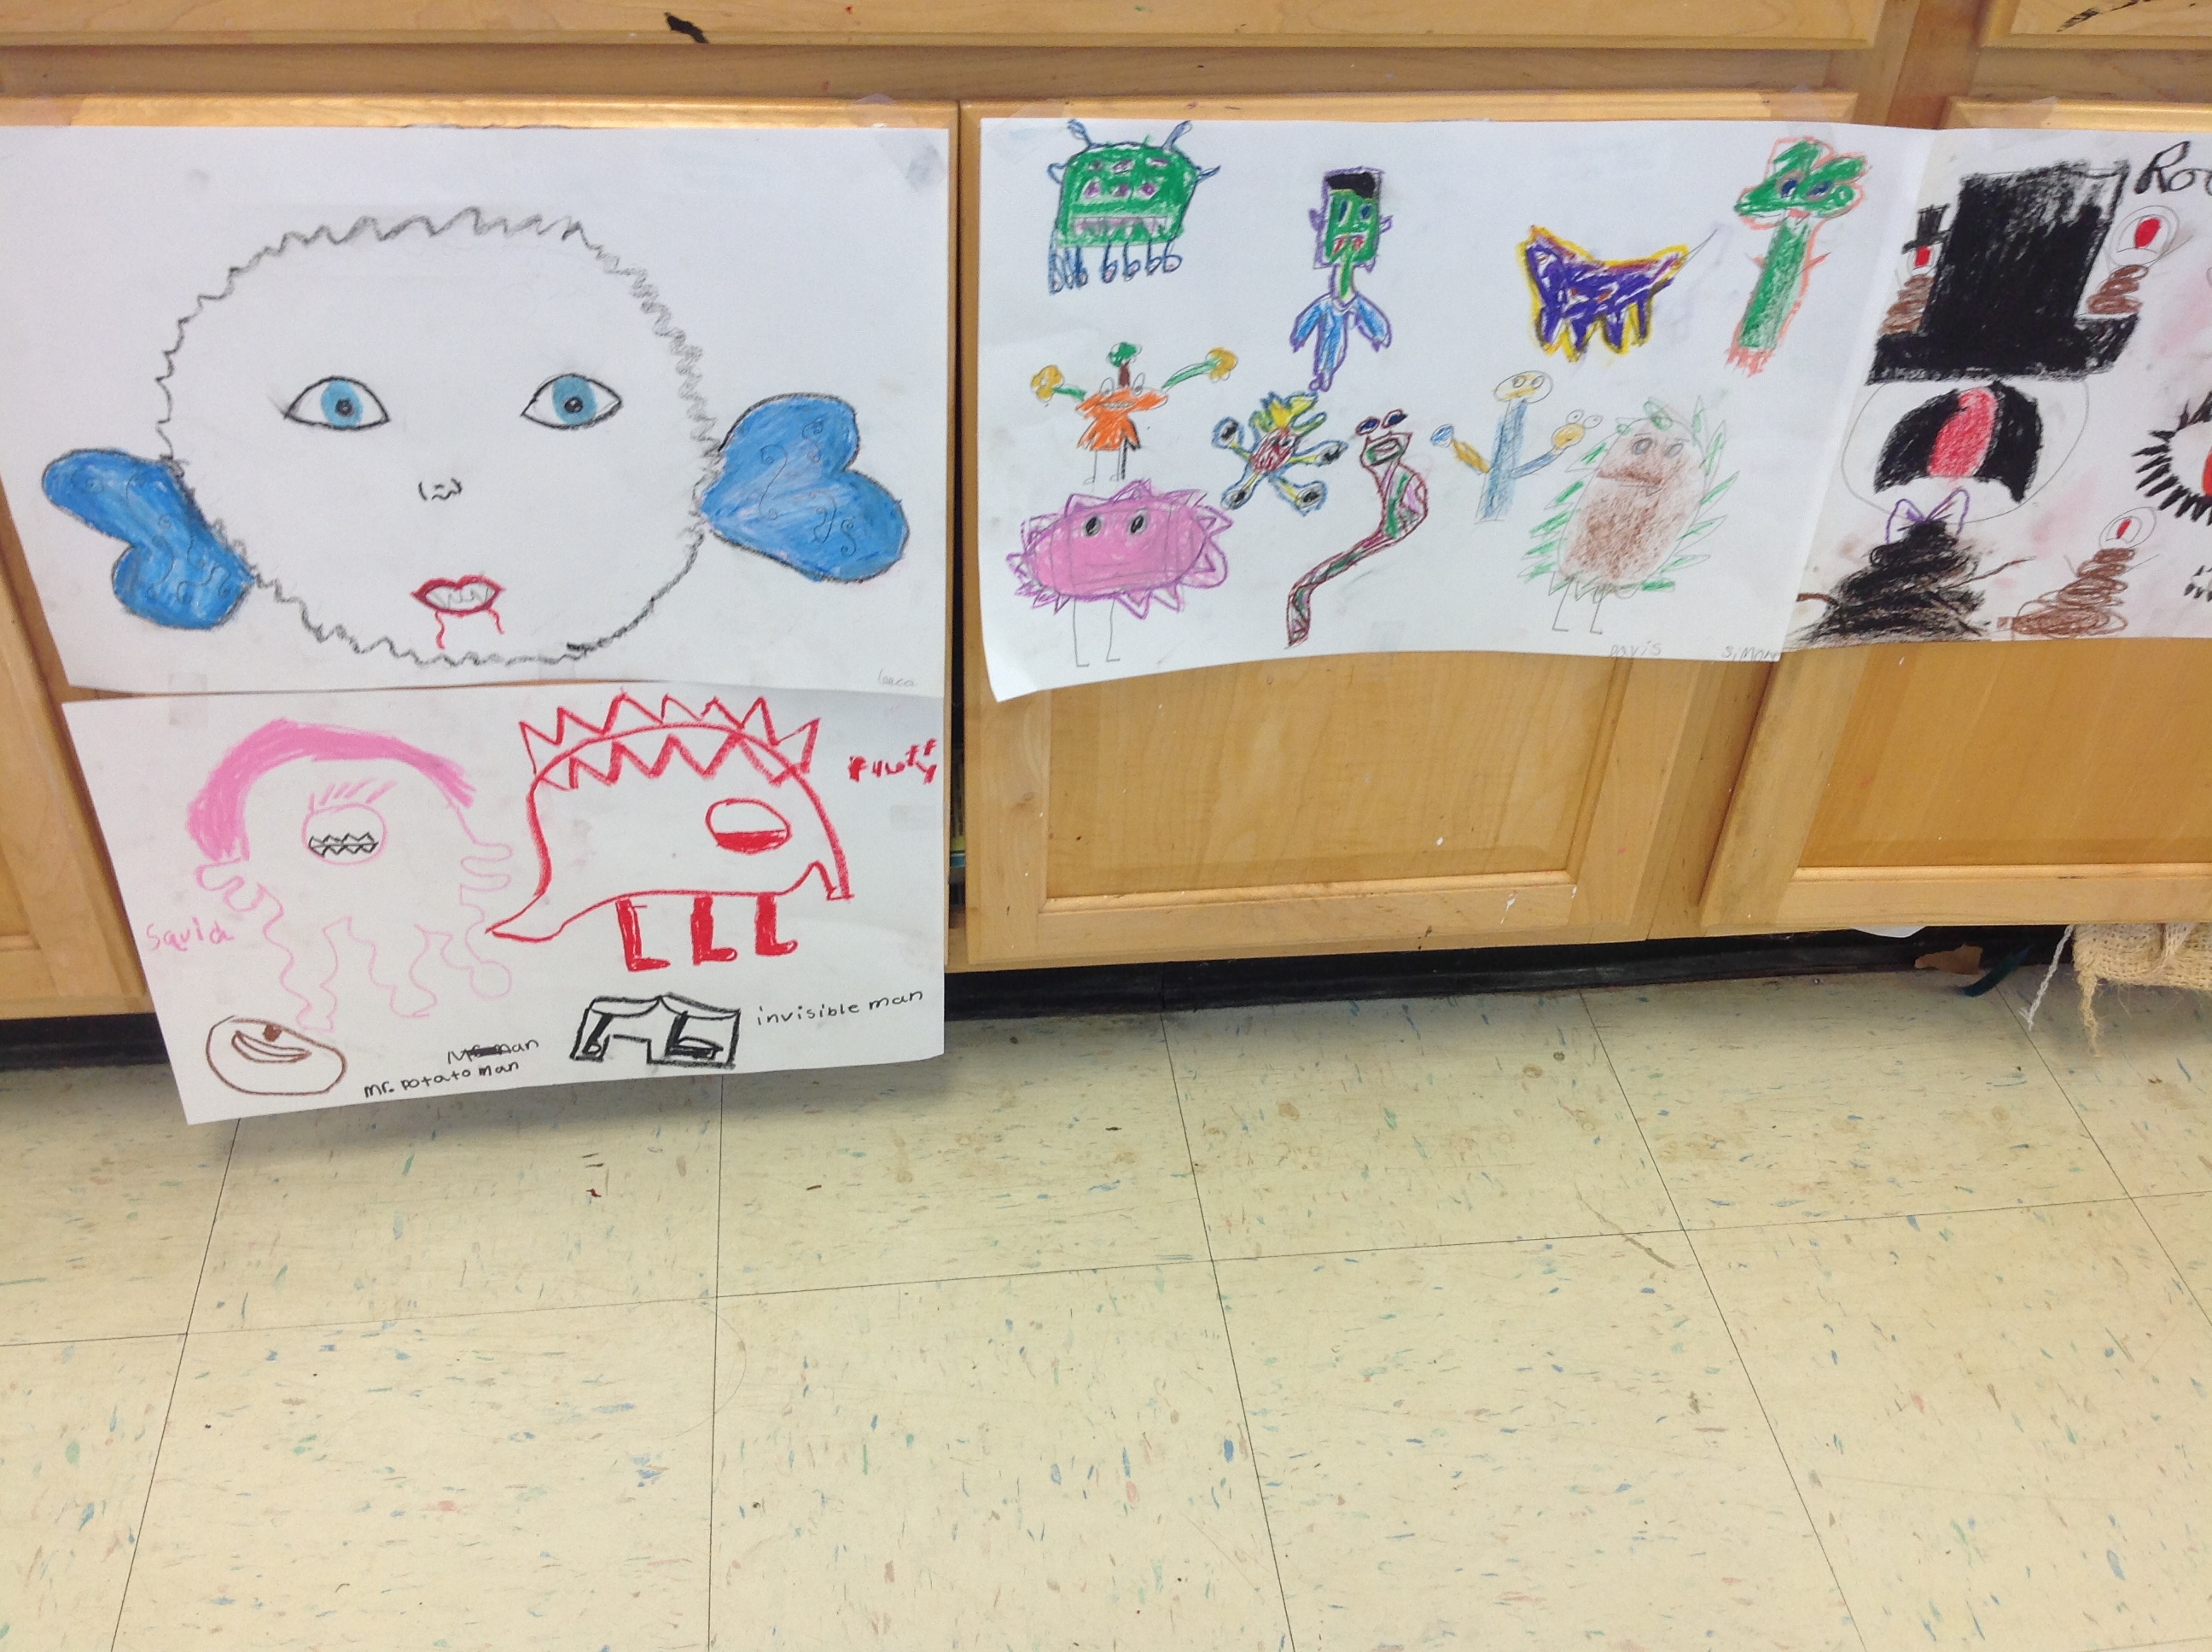
Halloween Monsters: Students drew several monster “characters” in their sketchbooks. They selected which one or ones they wanted to draw as a final piece. Many students created names for their creatures along with character traits. Many students told me they like to draw monsters and emojis when drawing in their free time. Many students also talked about their love of comics and video game characters as they drew.


Day of the Dead Calacas: Students watched the Calaca Festival video and then drew a skull freehand. I showed them examples of calaca designs that have evolved over the past few years and the increasing popularity of this Mexican and Mexican American tradition.


Students used oil pastels and thought about pattern, design and symmetry which designing their calacas.


5th grade: Students have explored and will continue to explore design in their personal works. They will be producing a coil pot and mask in clay, an abstract assemblage and will be creating a unique color wheel.
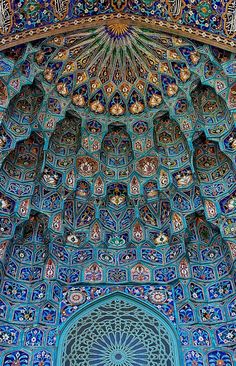
Sketchbooks: We looked to the Middle east for inspiration. Specifically within the tradition of non-figurative Islamic art, we looked at tiles. Students viewed a slideshow that described the “sacred geometry” in Islamic art and architecture. They noticed basic shapes that were repeated or varied and when put together created larger patterns. It was an interesting discussion as well and almost a comparative religions class we compared the use of imagery and human forms in Churches, Synagogues and Mosques. A few students were keen on sacred geometry as well. That is another lesson.
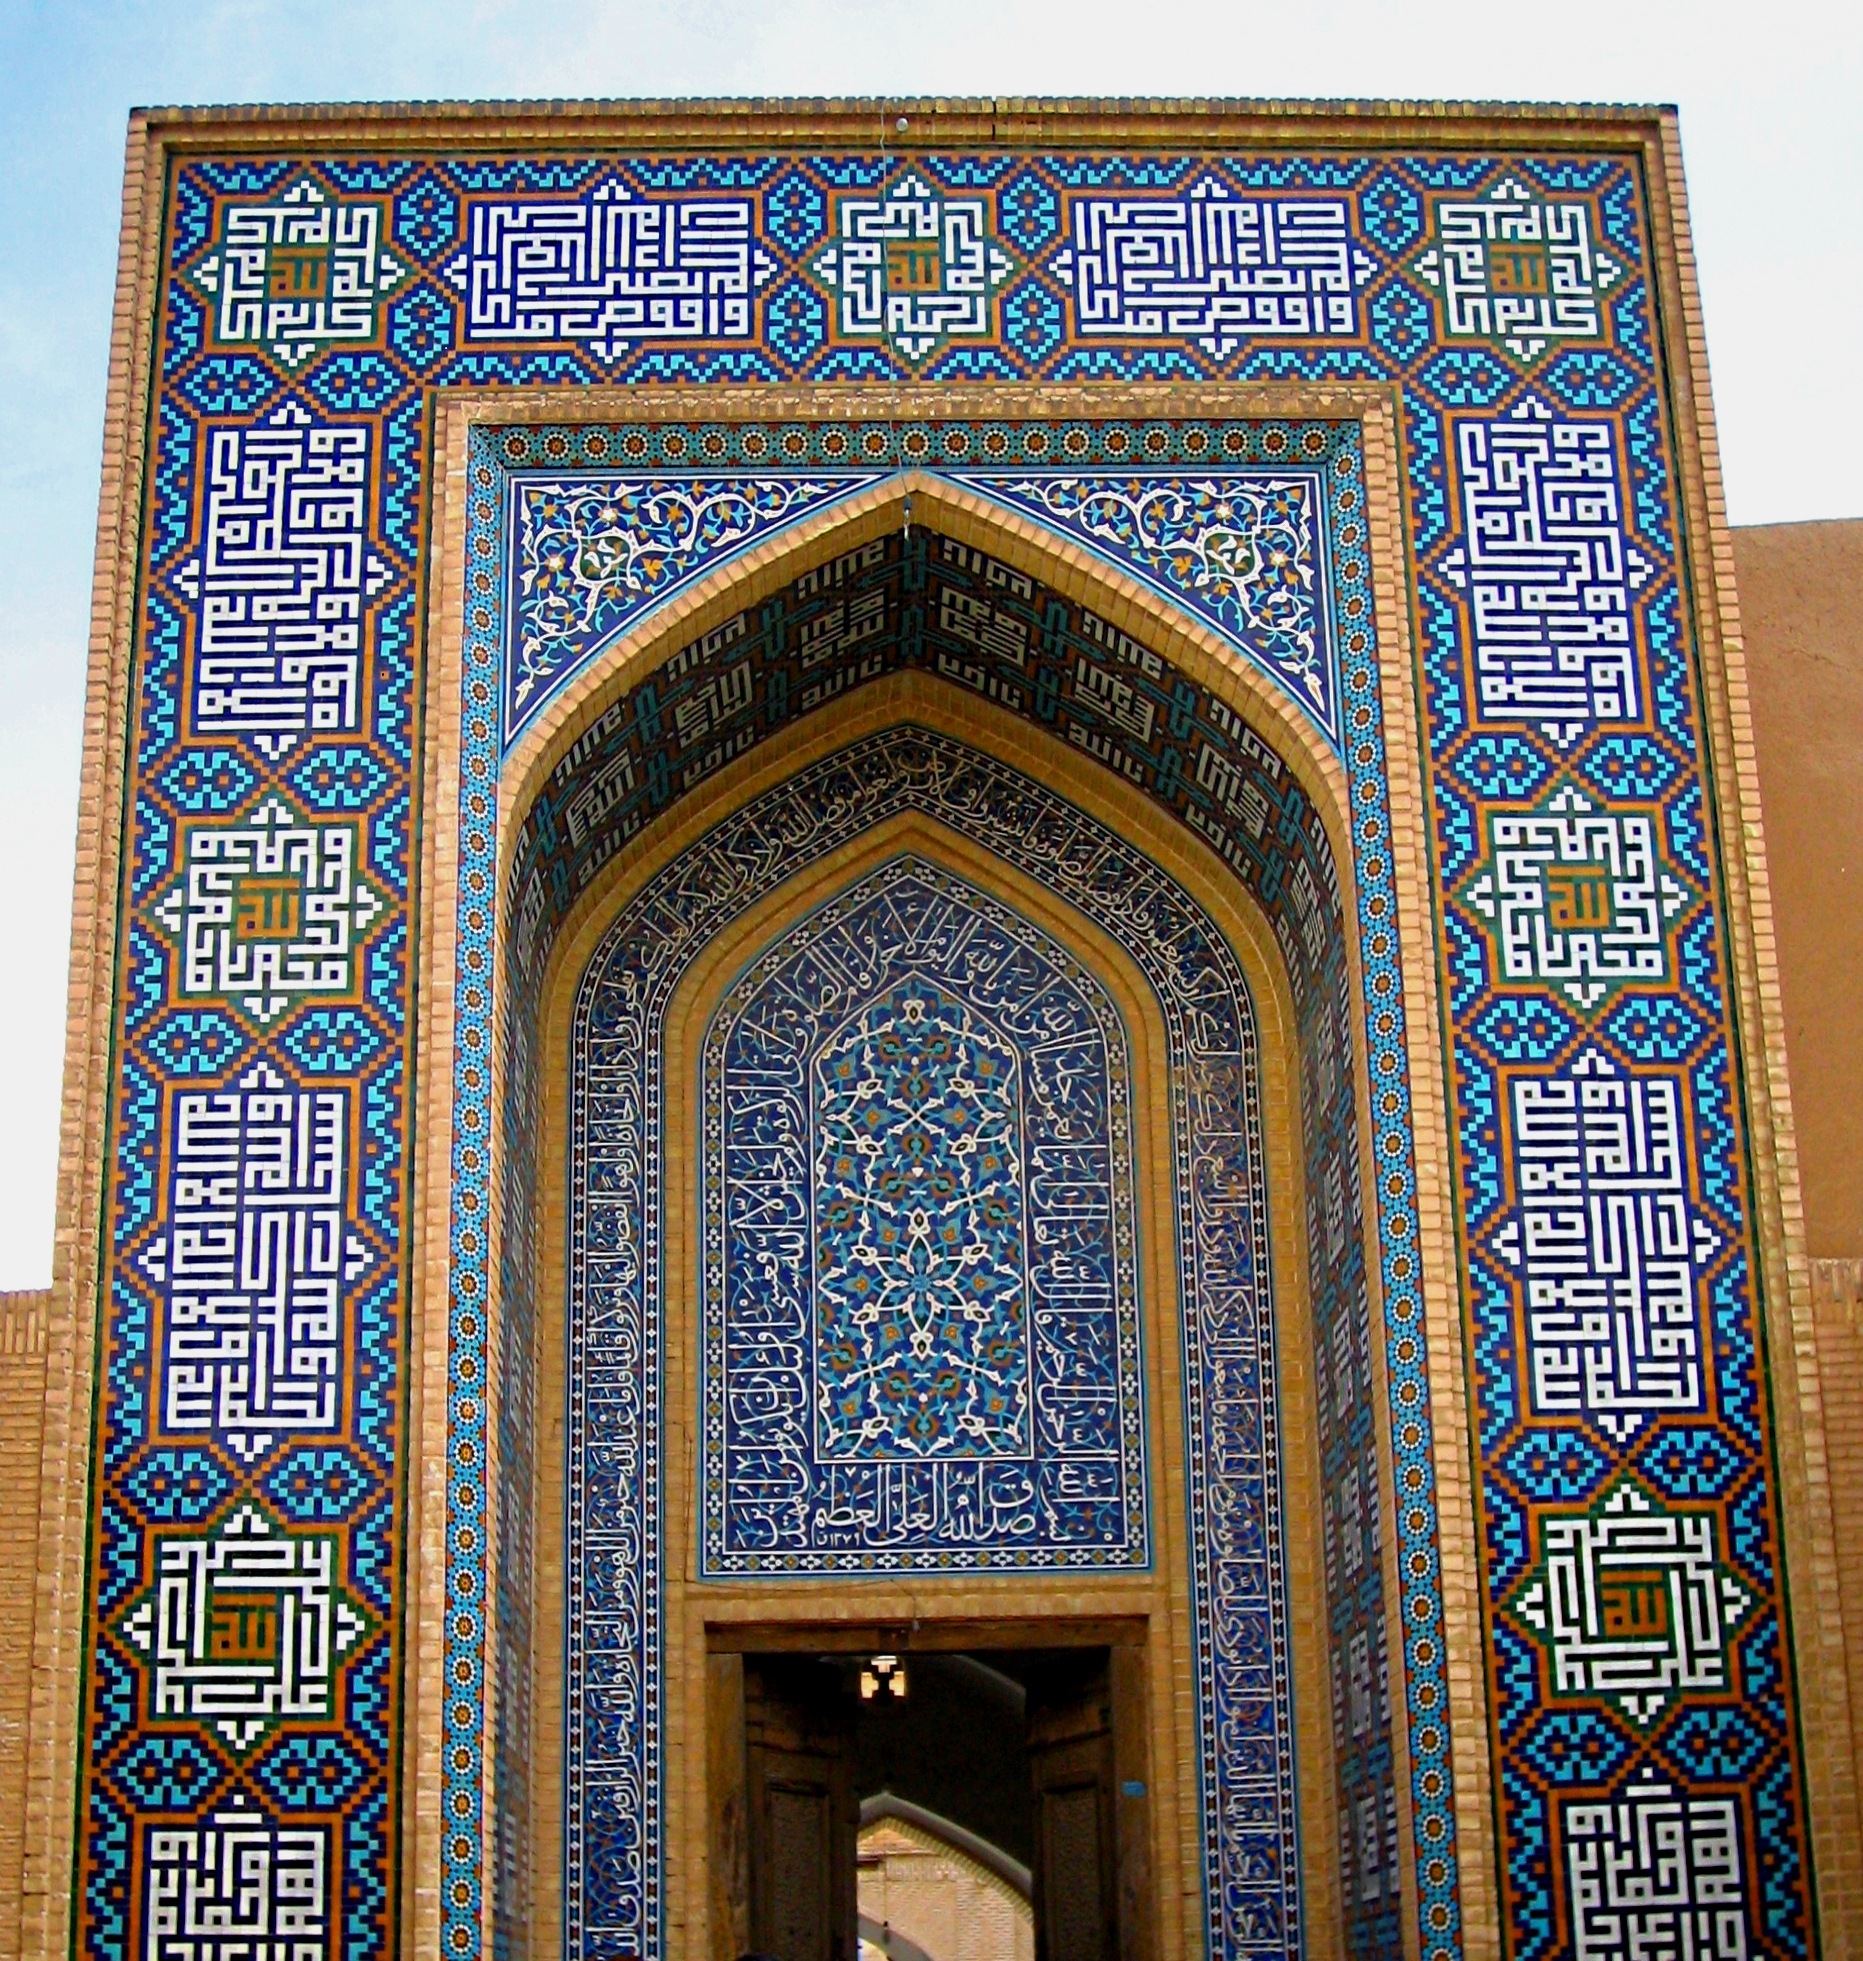


The last image is of my phone cover that I got this summer 😉
Students sketched their designs using radial symmetry on a small square piece of paper. They transferred their designs to a square piece of printing foam. They then created a color deign on a larger piece of white paper and then printed their tile 4 times. They practiced printing their tile on a scratch paper first to get the hang of rolling the ink and burnishing. This was a challenge that they had to get through.
They were impressed with the blending of the background as it added color to their tile design. They labeled their sketchbooks and glued the art into the covers.


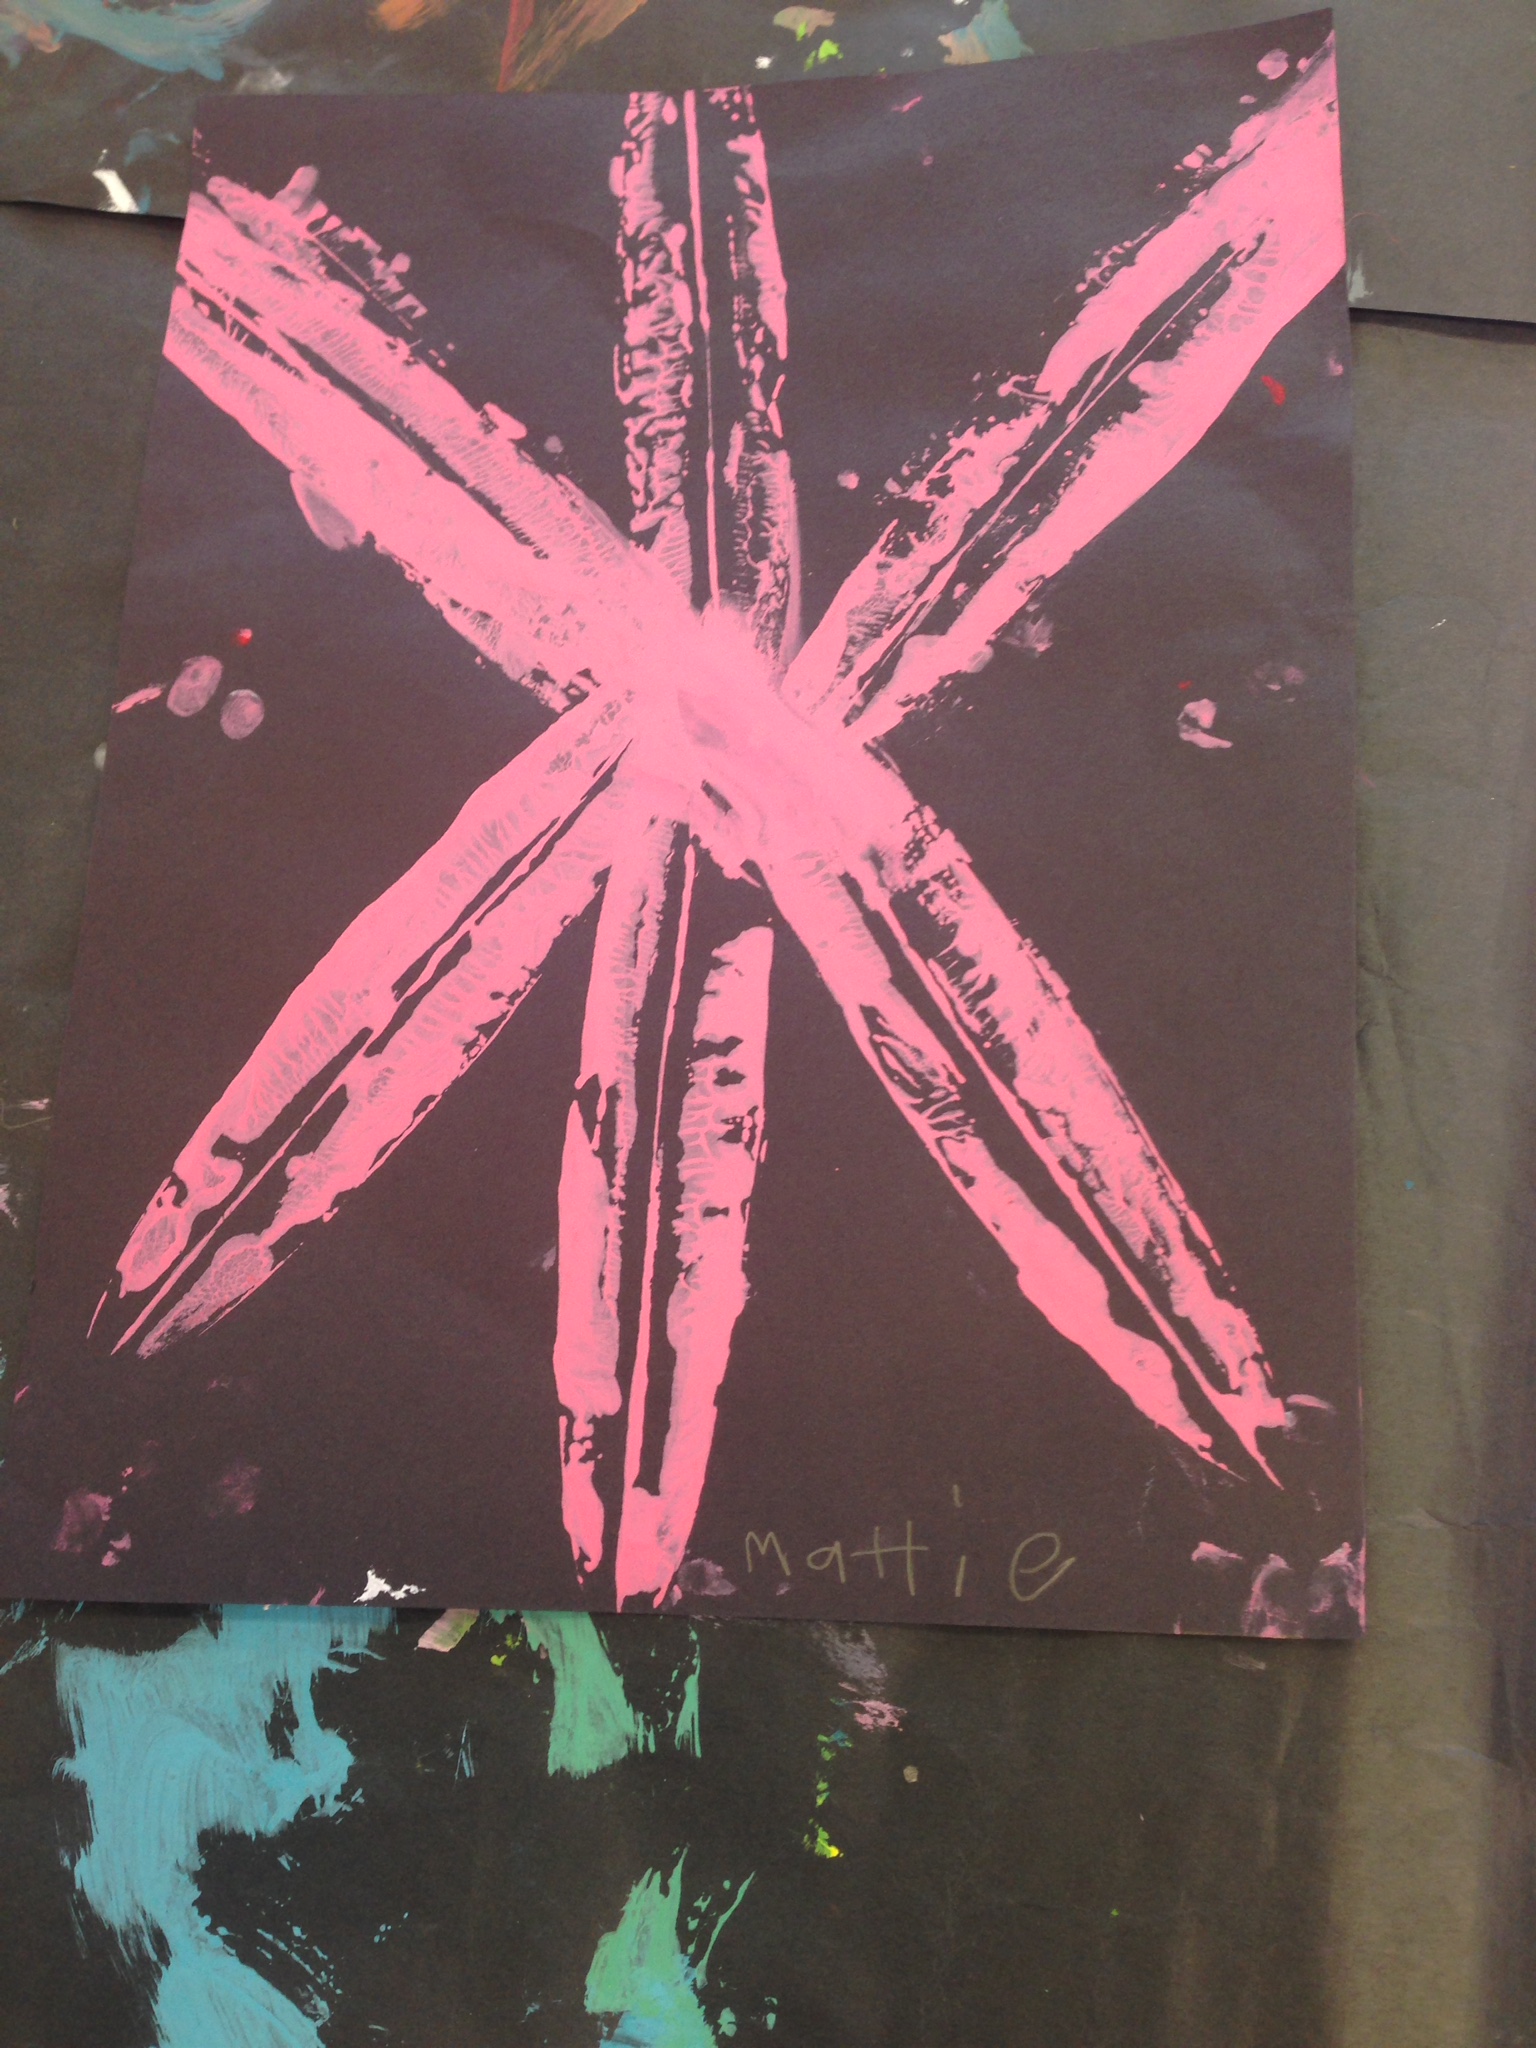
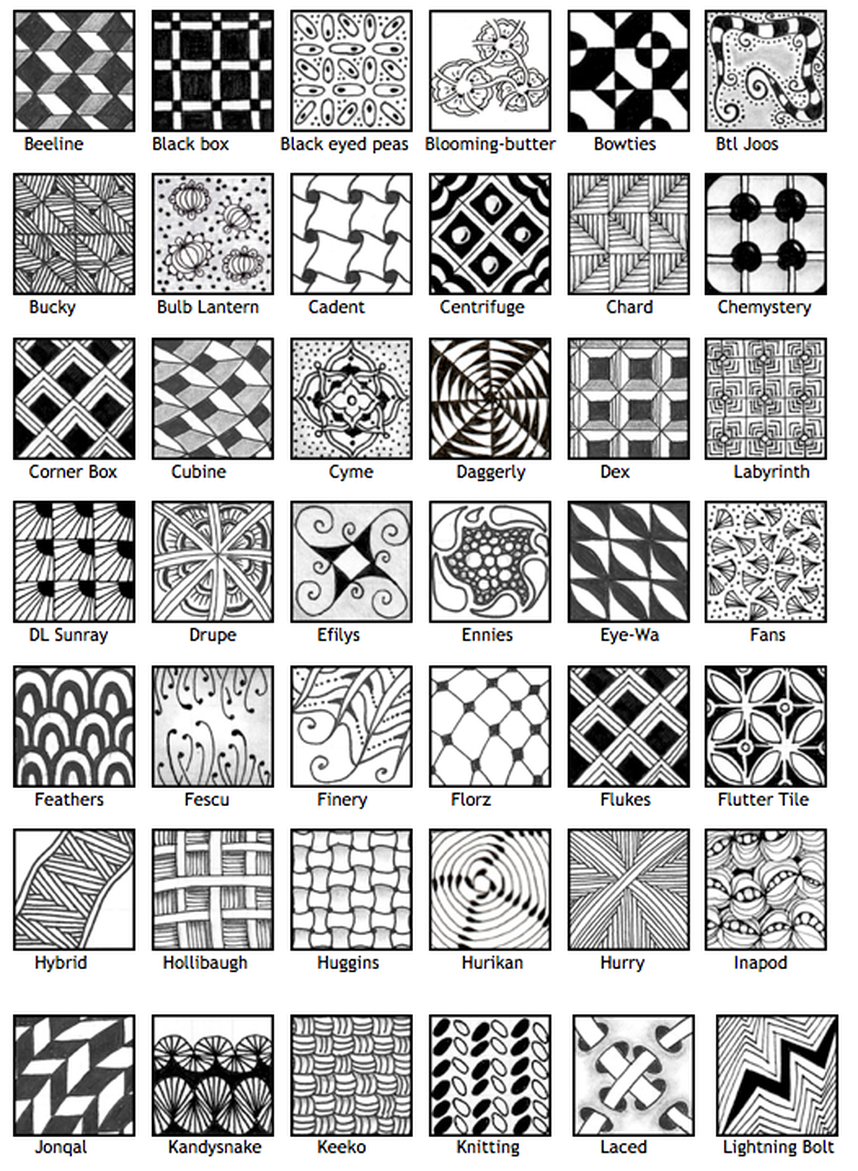
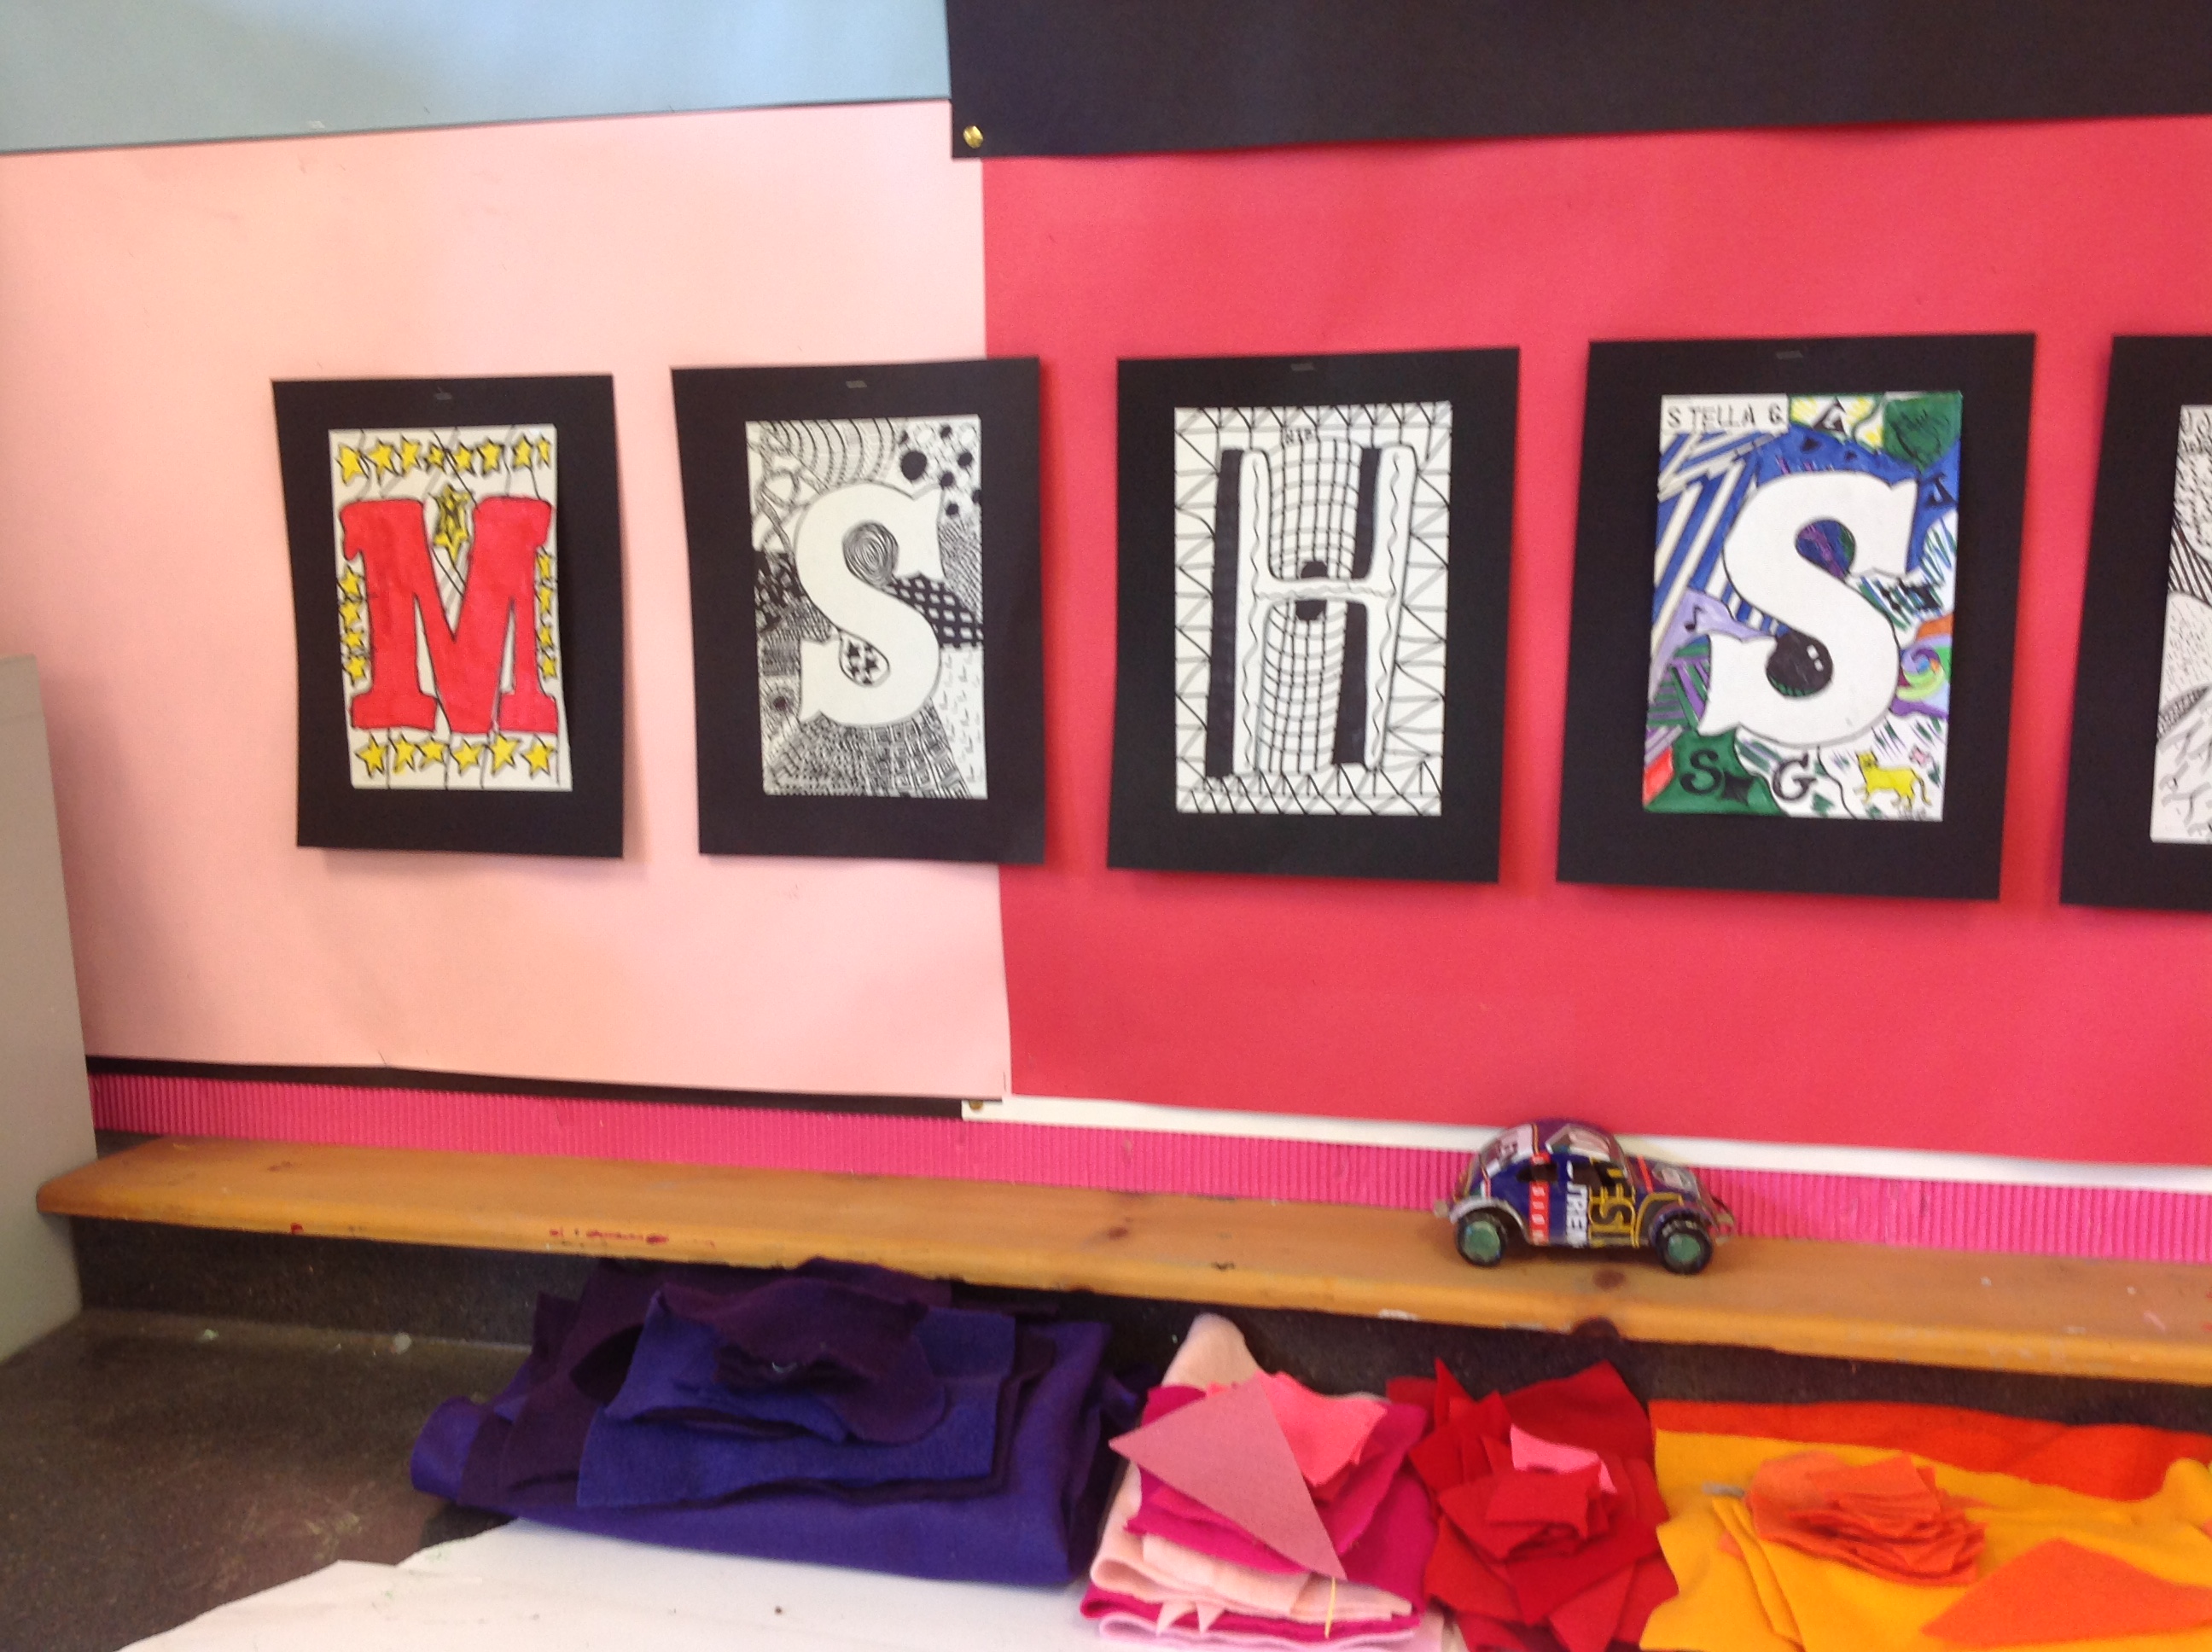
Initial Zentangles: I showed them the art of zentangles. This new term for doodling is actually pretty cool. All you need are some nice black pens and a piece of paper and you are good to go. I showed students a variety of zentangles. They liked how the basic colors were black and white and how pattern was used to in lots of different ways.
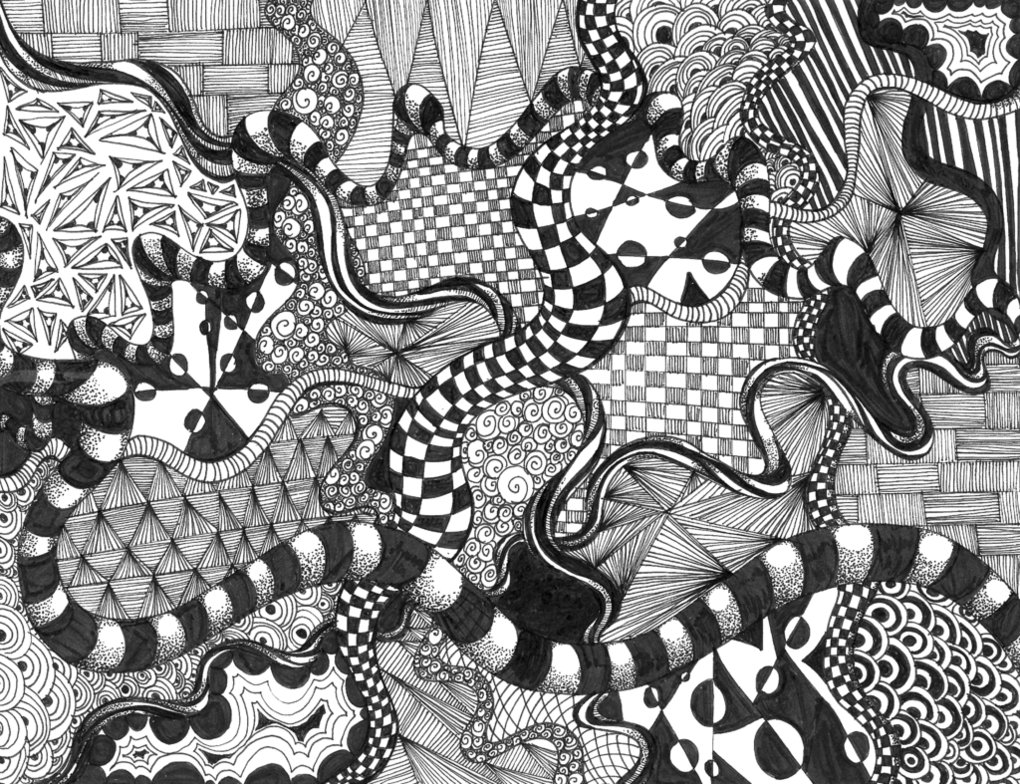
I handed out a few sheets of zentangle patterns for them to look at.
They then had to sketch or trace the first letter of their name in the center of a white piece of paper. They then broke up the negative space around the letter. They filled each new shape with a zentangle pattern. Some students chose not to outline their letter while others did. Some students used color in their work some chose not to. They used sharpies, markers and pencils. They are displayed in the art room.

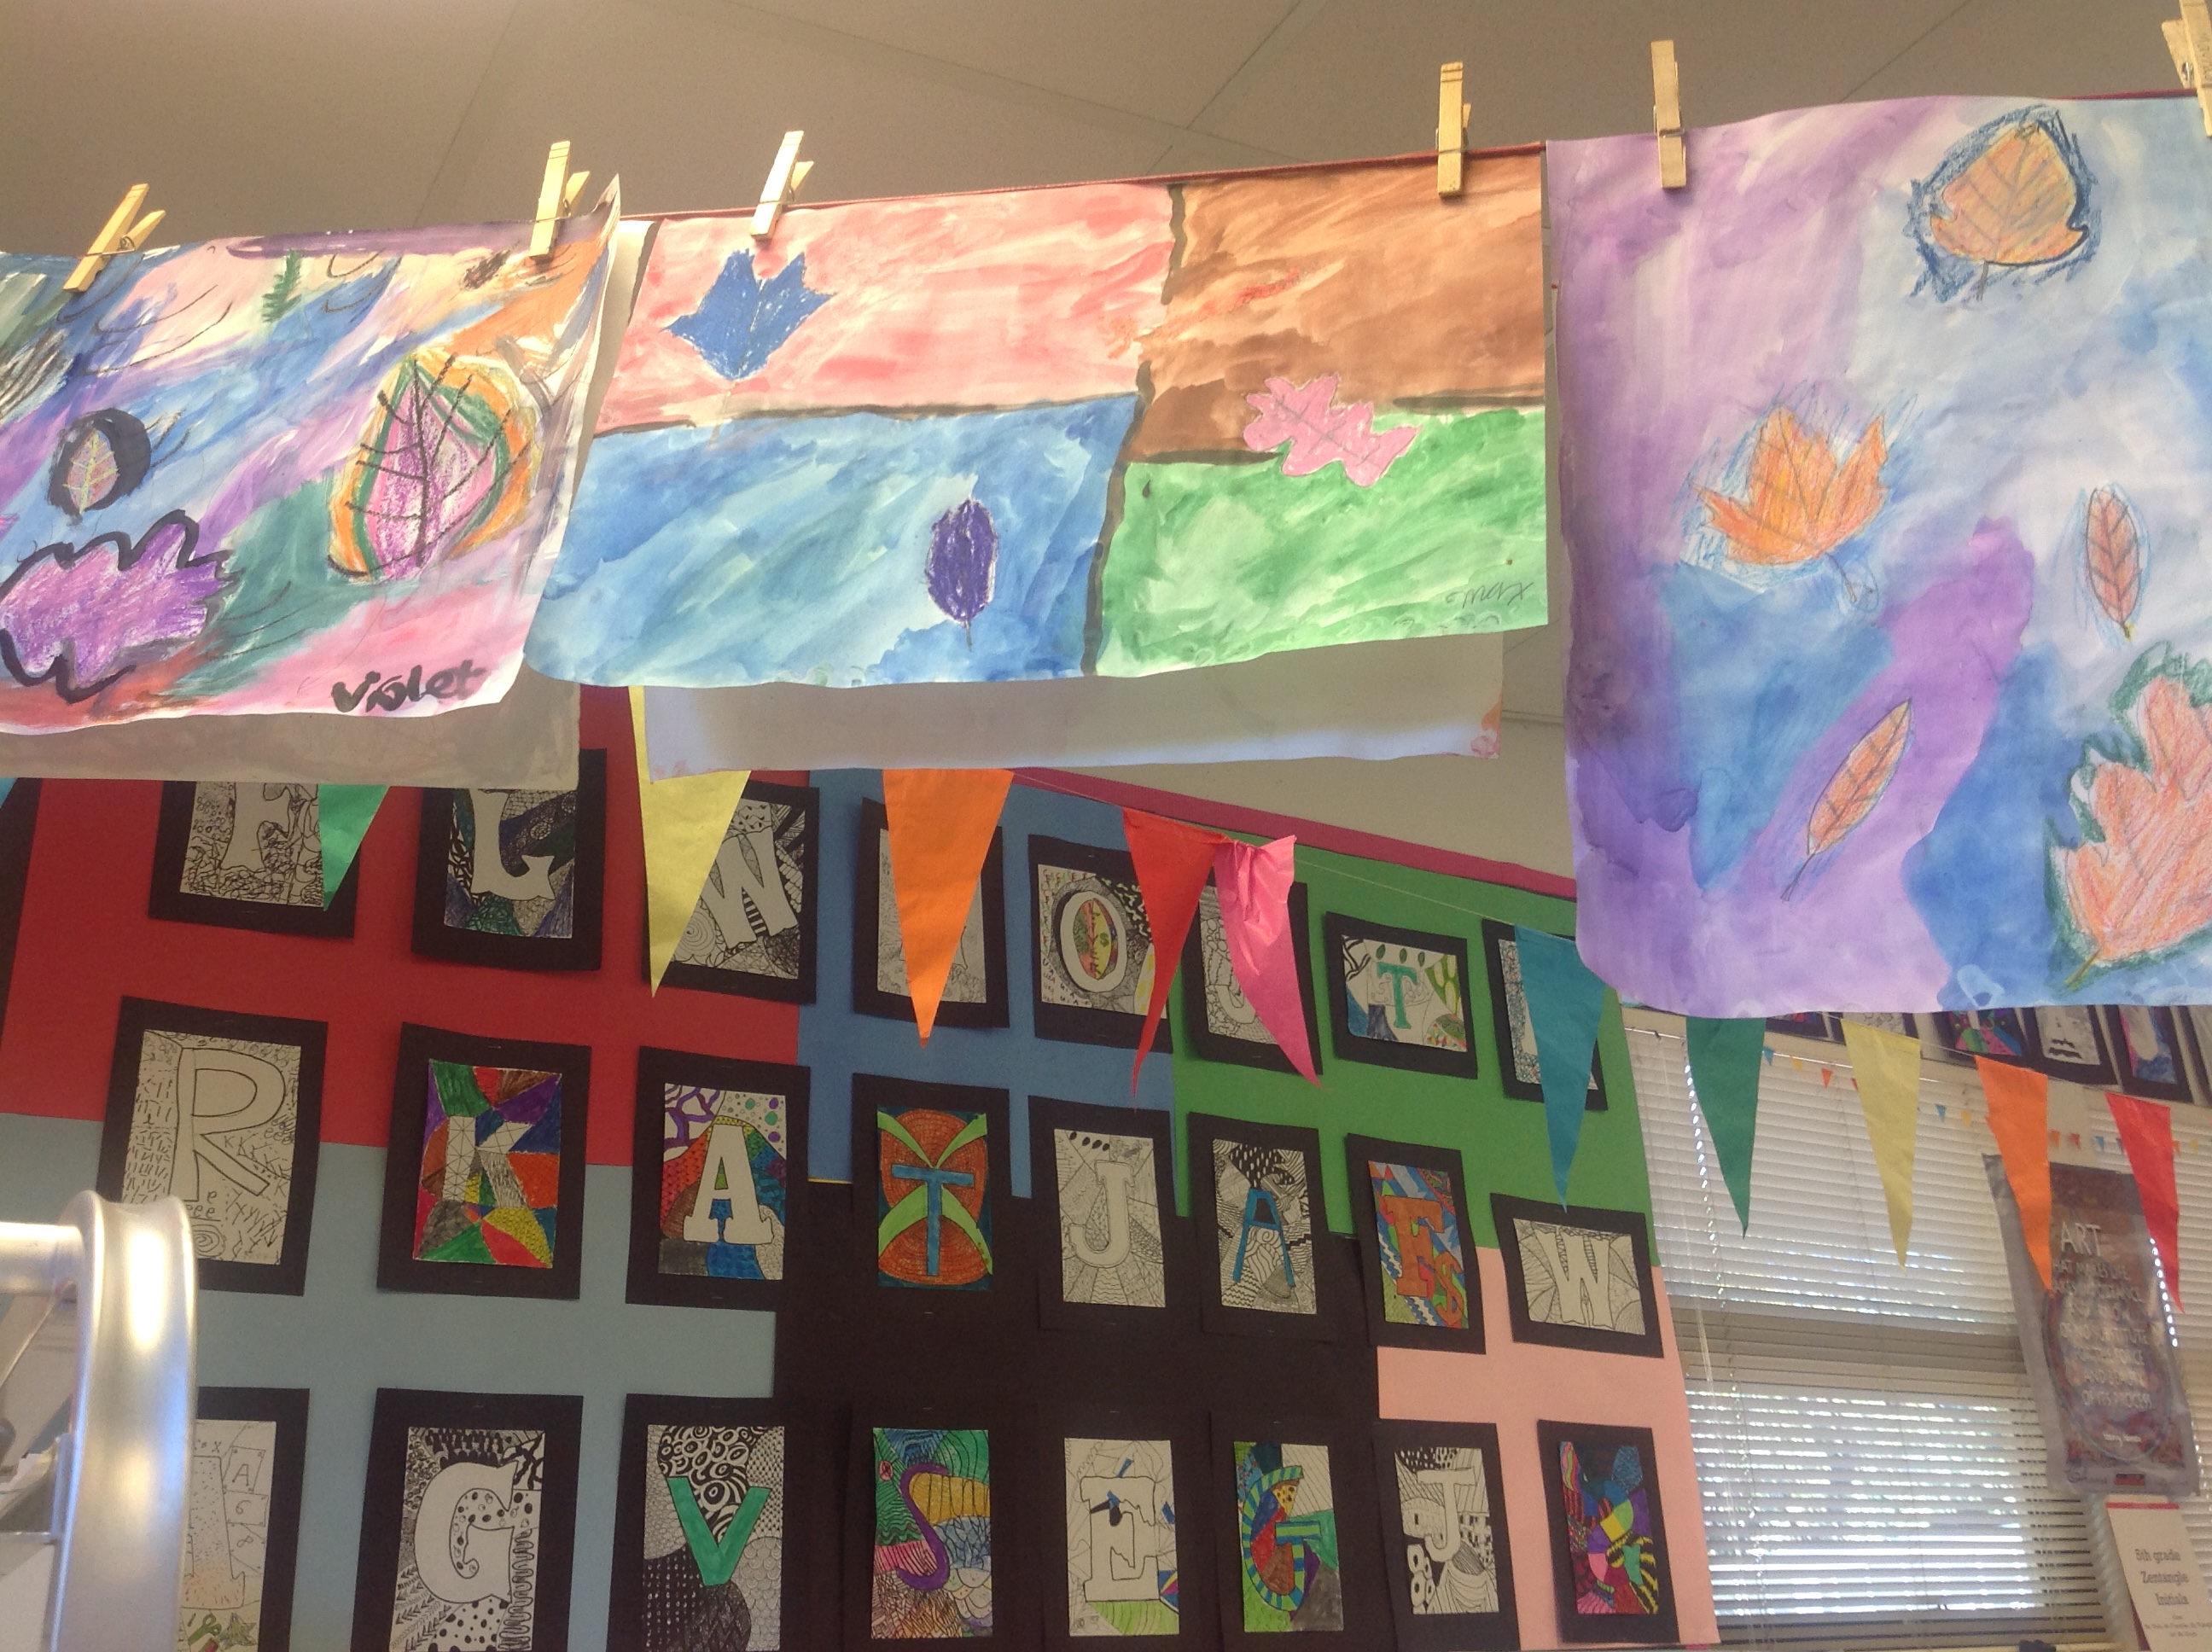


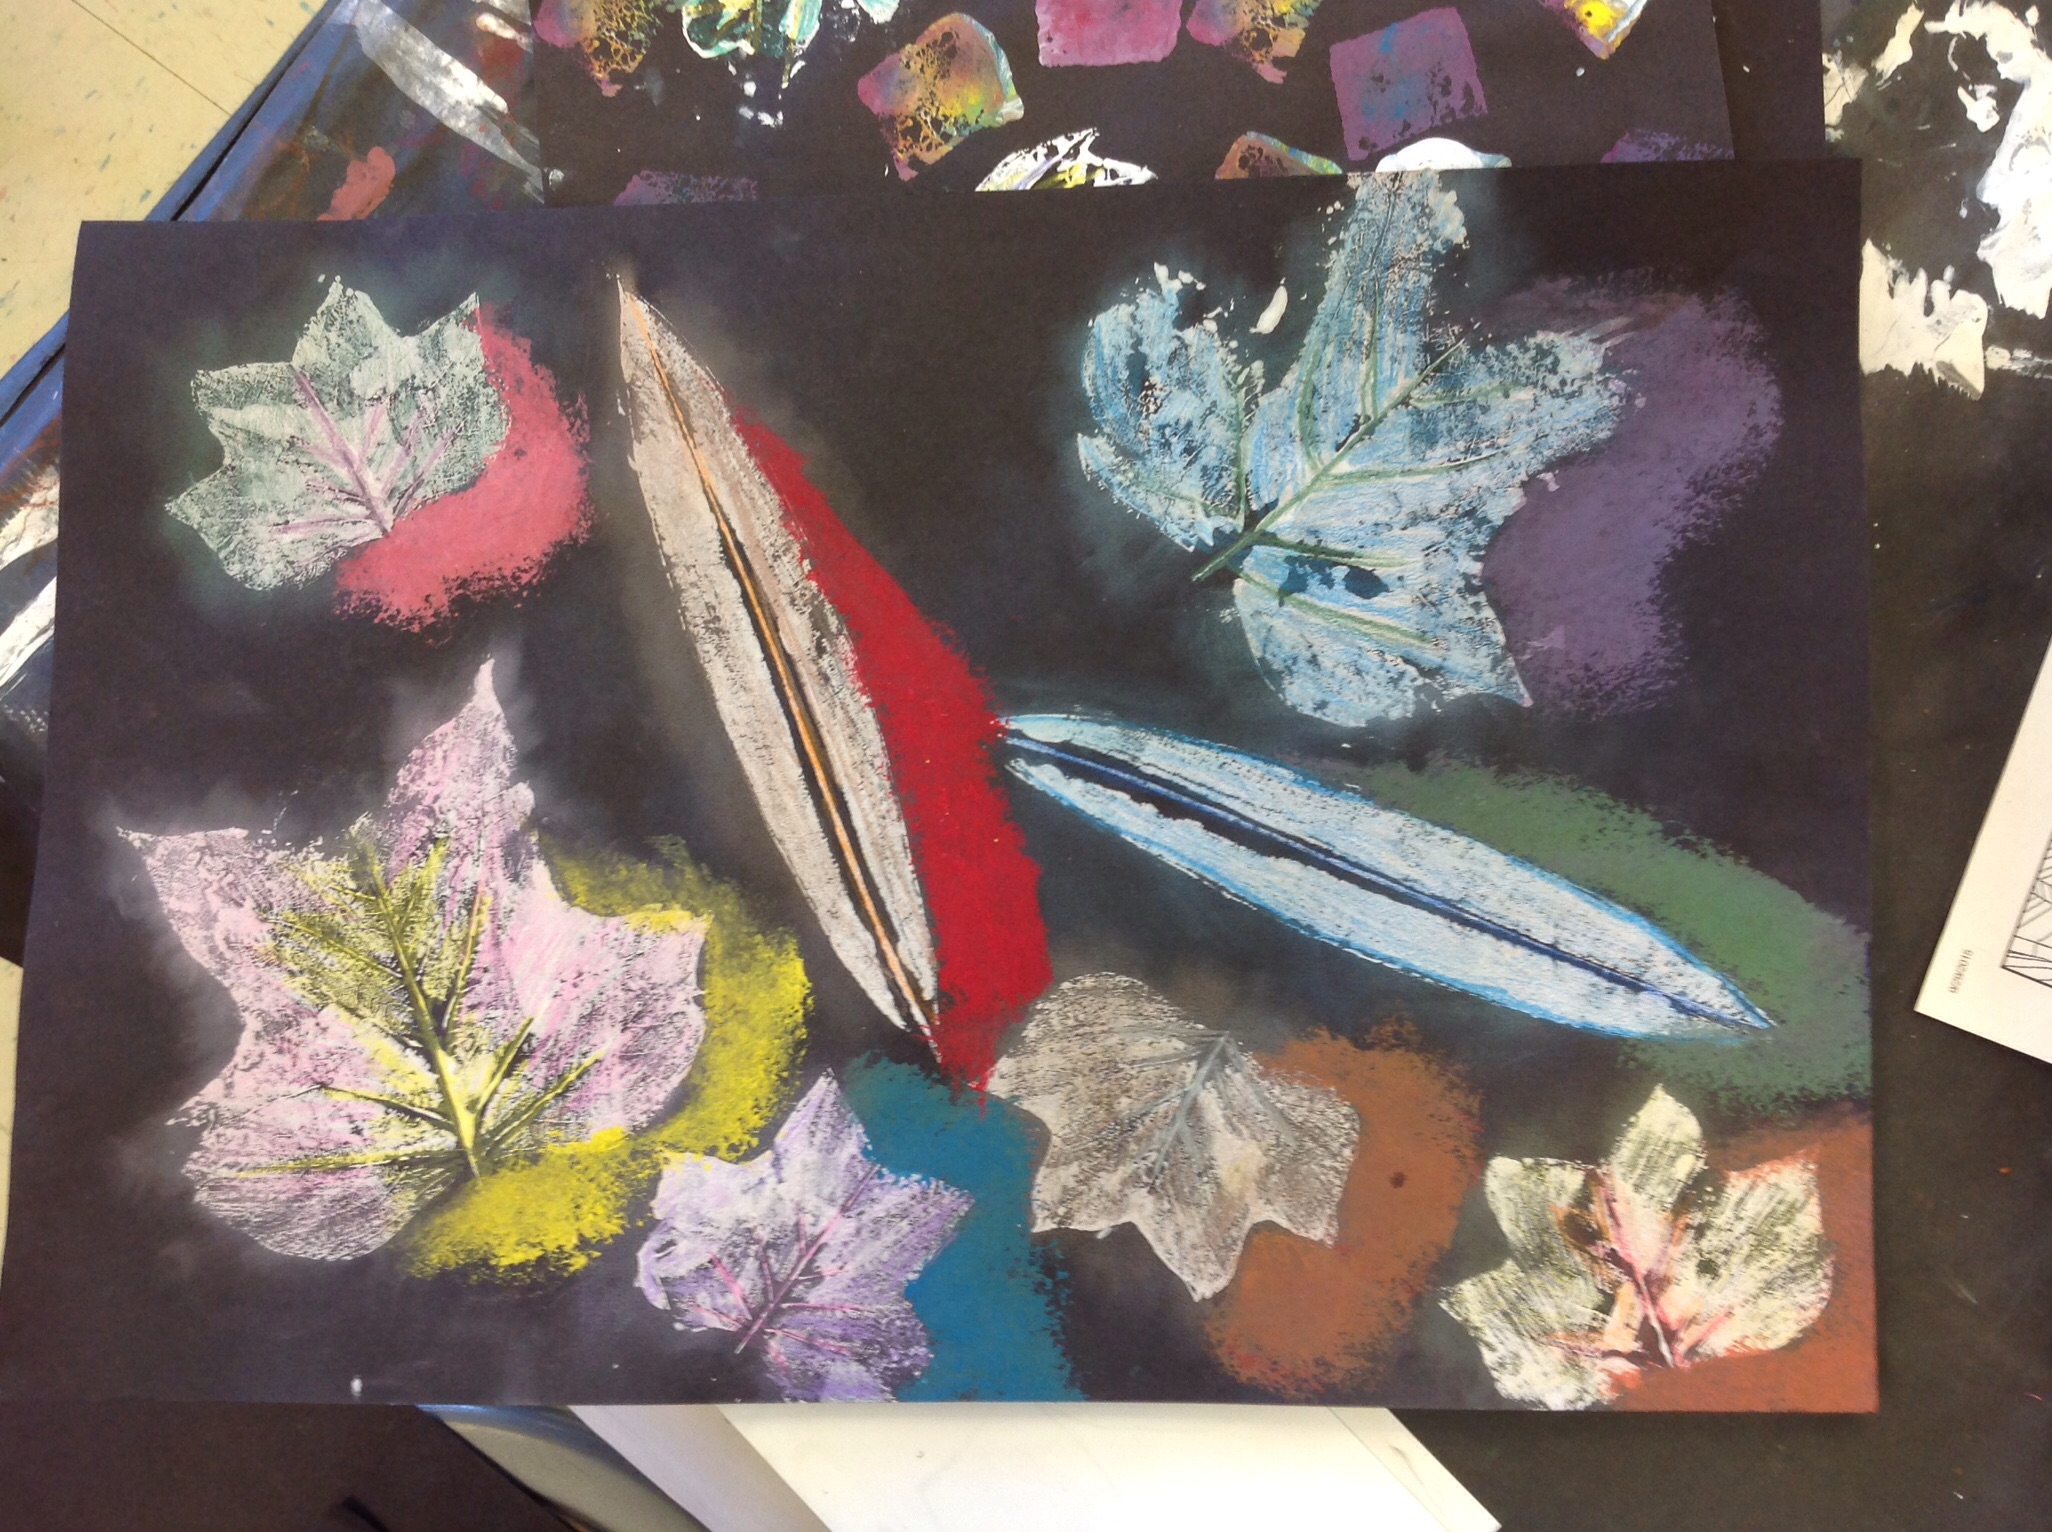
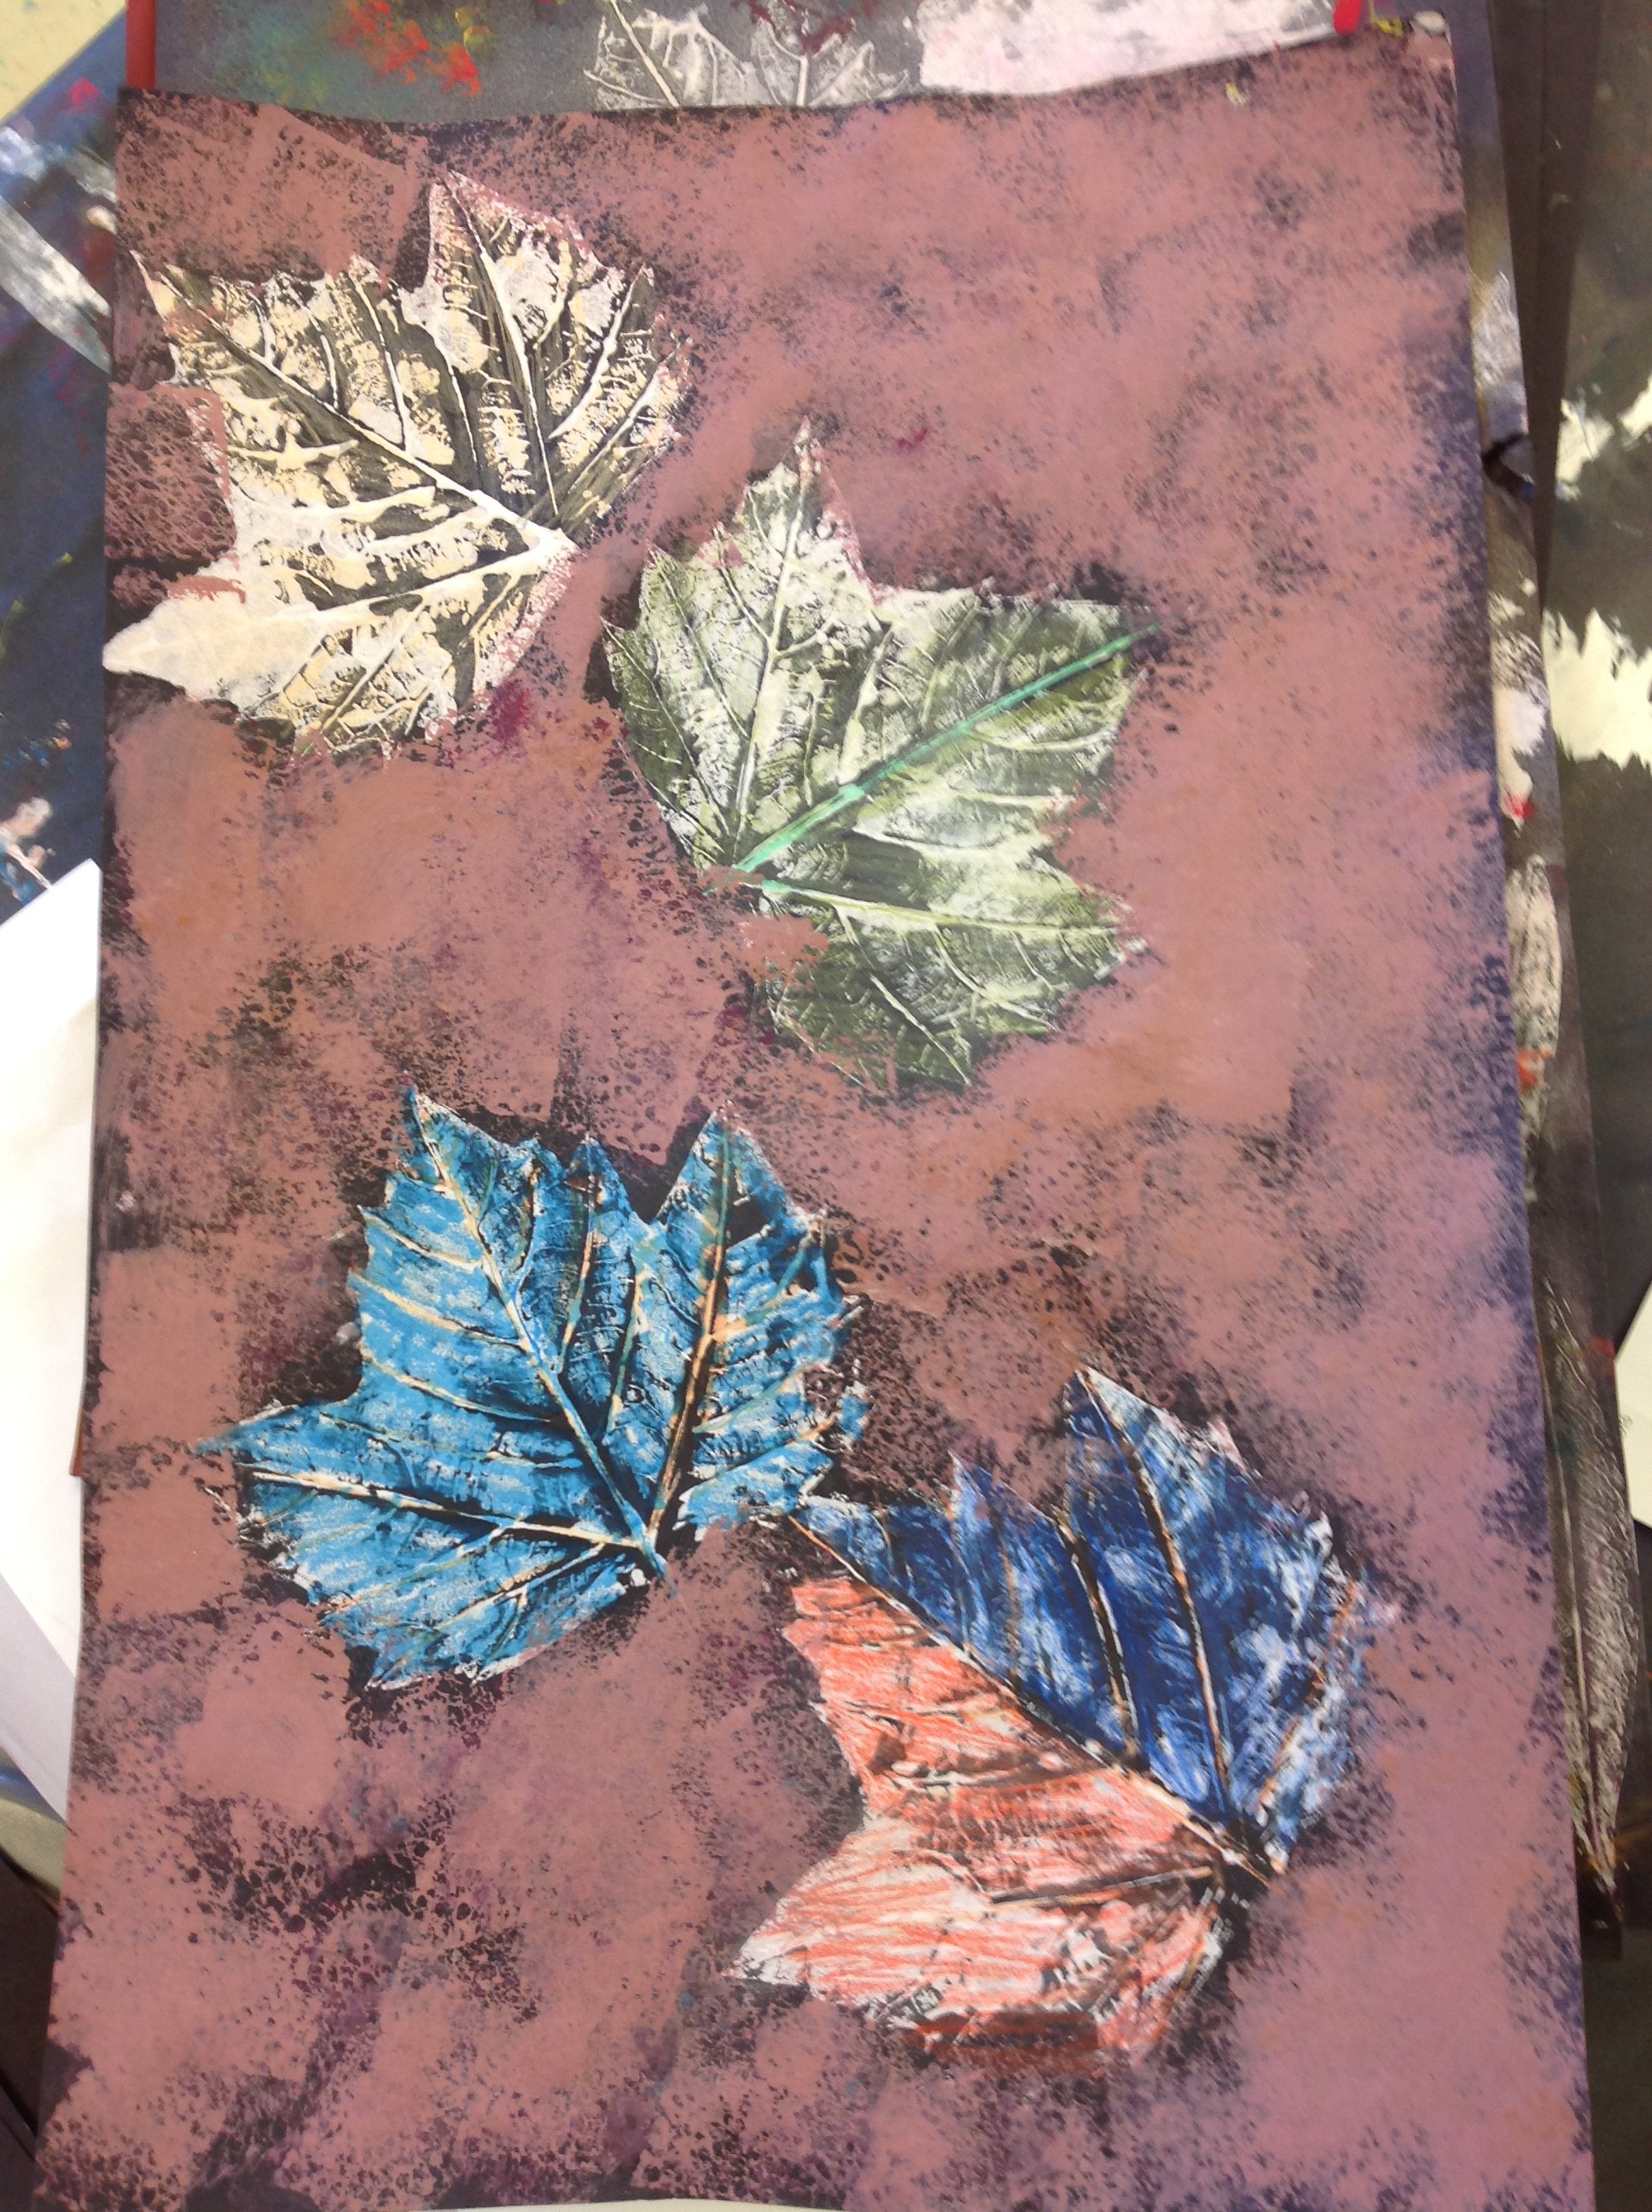
Fall Leaves: Students observed the leaves that were gathered from around campus (elm, oak, maple, fir needles) and practiced printing with them. They practiced on a small sheet of black paper and them moved onto a final, larger sheet of black paper.
Students could use white and primary color to print and sponge paint on their paper.
They could mix tints and secondary colors. I also showed them how to color in leaves with colored pencil. They could you a lot of pressure to make the color bolder or apply little pressure to their pencils to make the color lighter. They could also apply cool colors under their leaf prints to depict shadows.


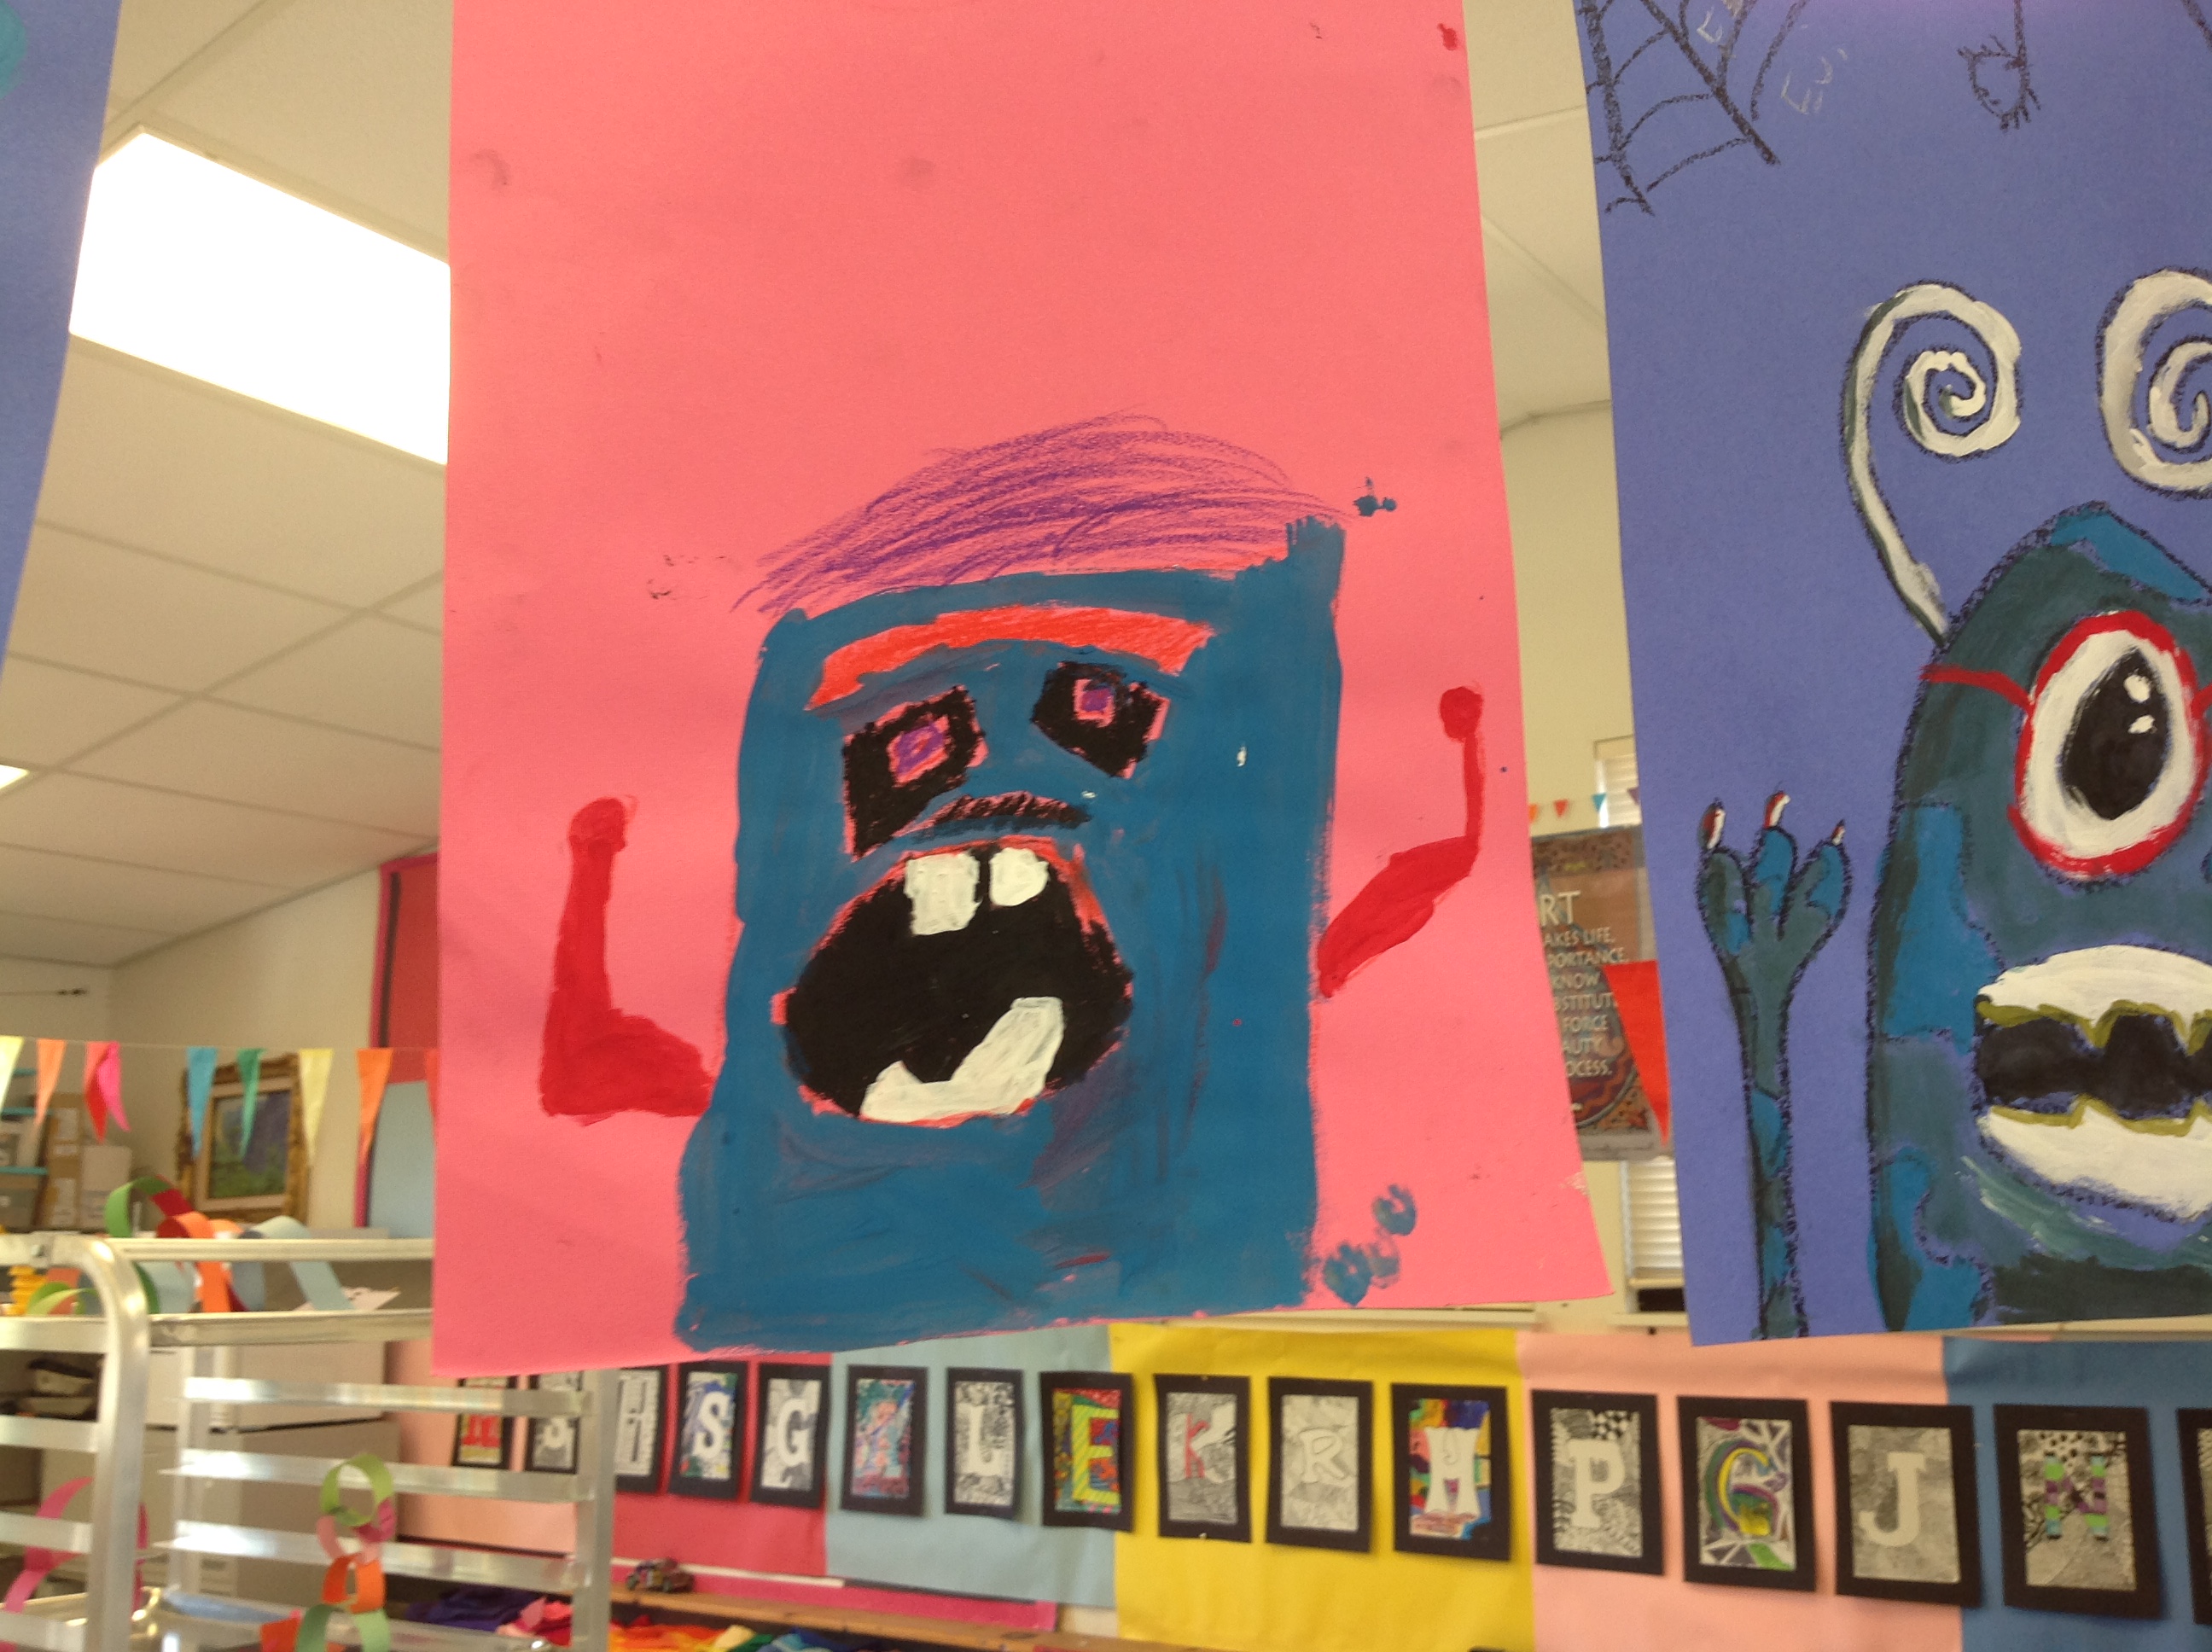
Halloween Monsters: 5th graders sketched several monsters in their sketchbooks. I gave them a few sheets doodle monsters. We talked about exaggeration and how playing with scale, size and placement of shapes on a monster can have hilarious results. They could tempera and oil pastels to render their creations.


Dia de Los Muertos: More pics to come. Students began creating 3D calacas.

